Introduction
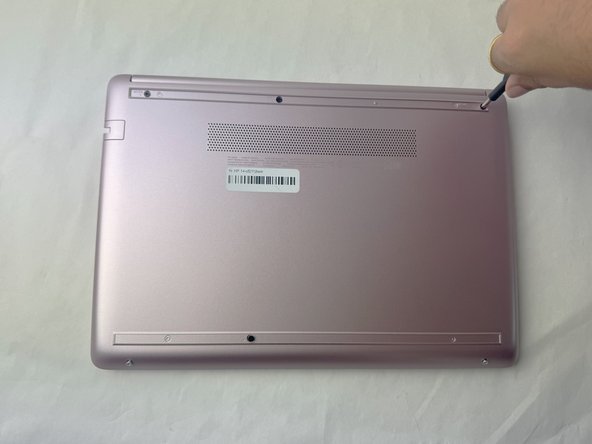
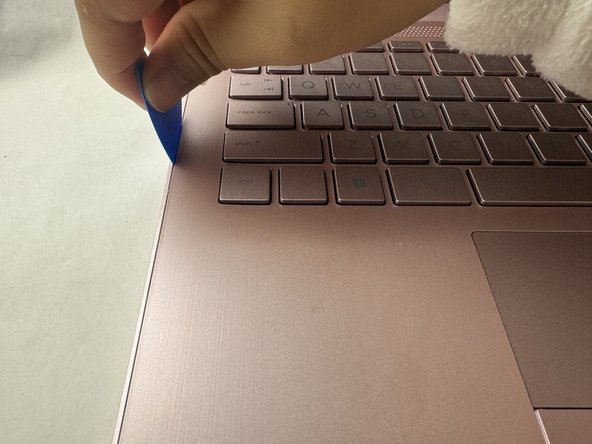
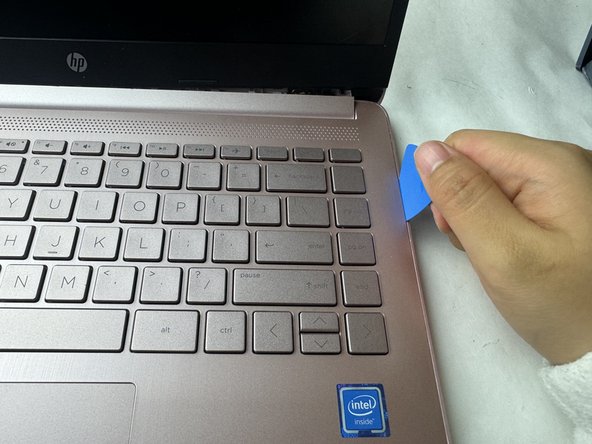
Use this guide to take the back cover on and off of your HP 14-cf2112wm. You may need this repair if the back case gets damaged or cracked, or you need to open up your laptop to gain access to the internal components for a repair.
Remember to keep the area you are working on nice and clean so no dust gets inside your computer while the back cover is off. Lastly, try to have an area to keep your screws and small parts so they don't get lost as you are taking them off the back.
Before you begin this repair, be sure to power off your laptop and unplug it from the charger.
Ce dont vous avez besoin


To reassemble your device, follow these instructions backwards.
To reassemble your device, follow these instructions backwards.

Équipe

UMass Dartmouth, Team 1-2, Konn Spring 2024 Membre de l'équipe UMass Dartmouth, Team 1-2, Konn Spring 2024
UMASSD-KONN-S24S1G2
4 membres
5 tutoriels rédigés