Aller au contenu principal

HP 14-dq0051dx Charging Port Replacement

Ce dont vous avez besoin

  1. HP 14-dq0051dx Charging Port Replacement, Back Case: étape 1, image 1 de 2 HP 14-dq0051dx Charging Port Replacement, Back Case: étape 1, image 2 de 2
    • Turn the laptop upside down so the backside is facing up.

    • Use a Phillips #1 screwdriver to remove eight screws from the back case.

  2. HP 14-dq0051dx Charging Port Replacement: étape 2, image 1 de 1
    • Turn the laptop over and open the screen.

    • Insert the opening tool into the seam between the bottom panel and the keyboard.

    • Run the opening tool along the entire seam to separate the bottom panel.

    • You may hear clicking as you release the taps that secure the case.

  3. HP 14-dq0051dx Charging Port Replacement: étape 3, image 1 de 1
    • Once the bottom panel is separated from the laptop, carefully close the laptop and turn it upside down.

    • Place both your hands on opposite ends of the bottom panel, and lift up and remove the panel.

  4. HP 14-dq0051dx Charging Port Replacement, Battery: étape 4, image 1 de 3 HP 14-dq0051dx Charging Port Replacement, Battery: étape 4, image 2 de 3 HP 14-dq0051dx Charging Port Replacement, Battery: étape 4, image 3 de 3
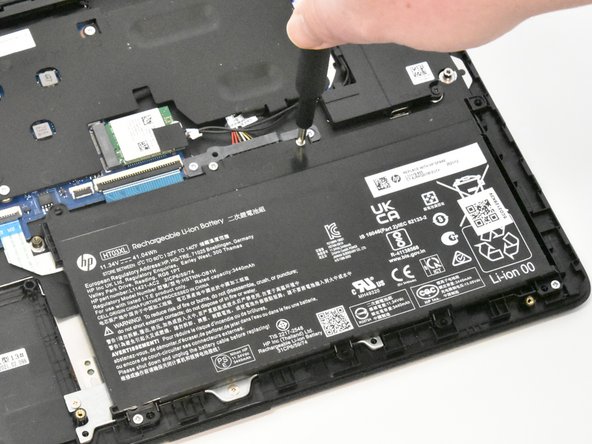
    • Use a Phillips #1 screwdriver to remove the four 2.5 mm screws that secure the battery.

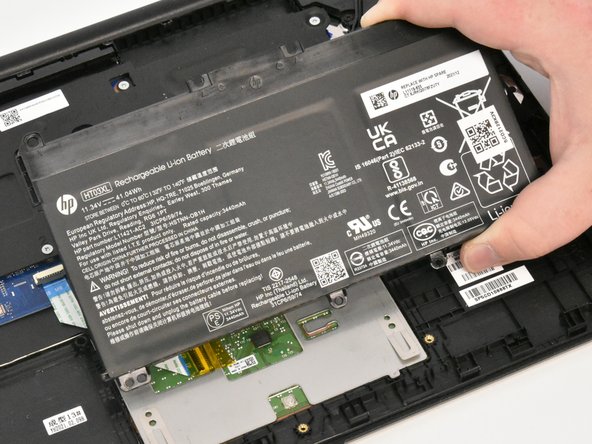
    • Remove the battery from the laptop.

  5. HP 14-dq0051dx Charging Port Replacement, Charging Port: étape 5, image 1 de 3 HP 14-dq0051dx Charging Port Replacement, Charging Port: étape 5, image 2 de 3 HP 14-dq0051dx Charging Port Replacement, Charging Port: étape 5, image 3 de 3
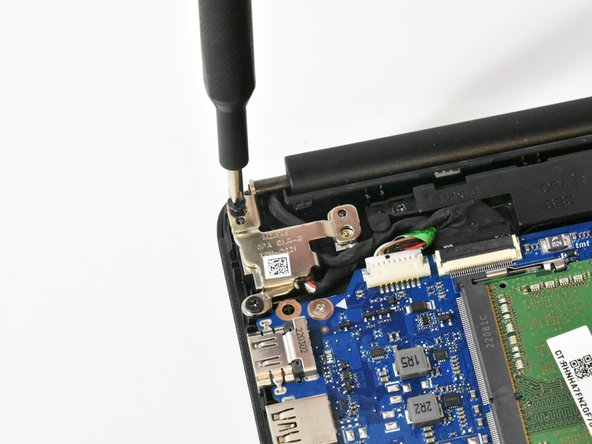
    • Use a Phillips #1 screwdriver to remove the two 4.5 mm screws from the left hinge.

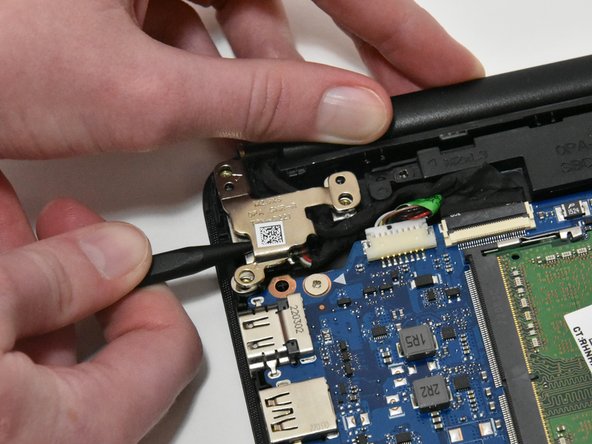
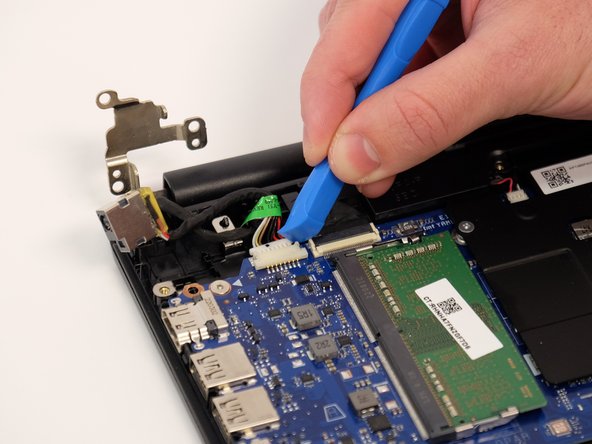
    • Rotate the hinge up and out of the way.

  6. HP 14-dq0051dx Charging Port Replacement: étape 6, image 1 de 3 HP 14-dq0051dx Charging Port Replacement: étape 6, image 2 de 3 HP 14-dq0051dx Charging Port Replacement: étape 6, image 3 de 3
    • Pull the charging port cable away from the connector in the same direction as the individual wires to unplug the charge port connector.

    • Pull evenly on the full width of the cable so that no individual wires are overly strained.

    • Remove the charging port.

Conclusion

To reassemble your device, follow these instructions in reverse order.

Lily Mahaffee

Membre depuis le 01/18/23

430 Réputation

5 tutoriels rédigés

0 commentaires

Ajouter un commentaire

Nombre de vues :

Dernières 24 heures : 0

7 derniers jours : 4

30 derniers jours : 38

Total : 359