Introduction
If you're having issues with your RAM like a blue screen of death, freezes, reboots, and corrupted files.
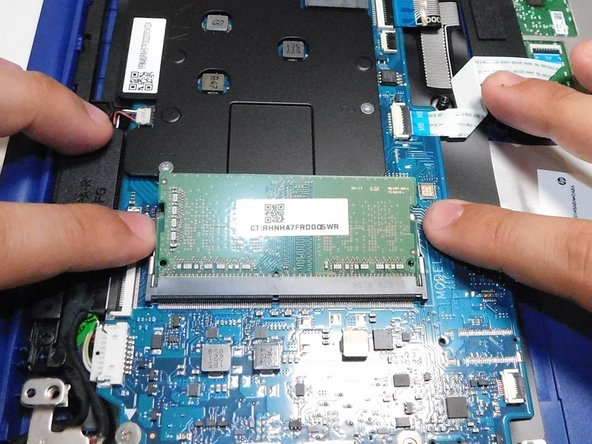
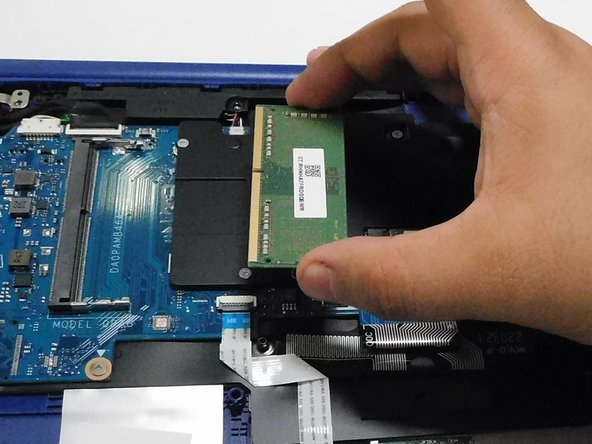
We will provide an efficient and easy way to replace your RAM.
For this guide, we will be using the iFixit Precision Bit Driver, 15 Philips Screwdriver Bit(1.4 mm), Anti-Static Wrist Strap
Ce dont vous avez besoin
-
-
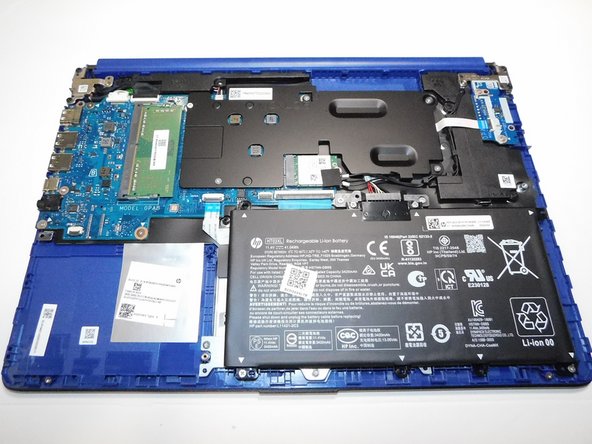
Turn the laptop upside down exposing the screws.
-
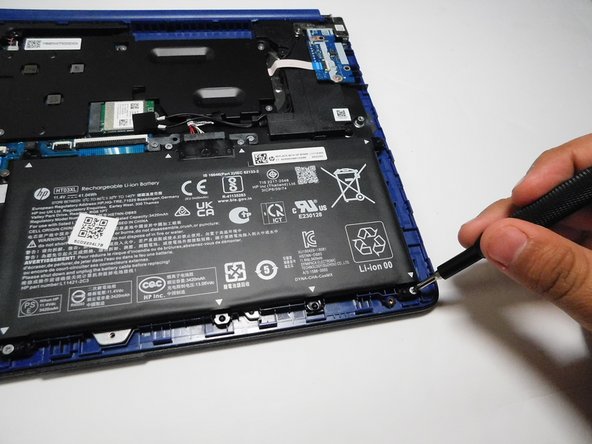
Gently remove the rubber grips to reveal the remaining screws.
-
Using a Phillips #1 screwdriver remove all eight screws.
-
-


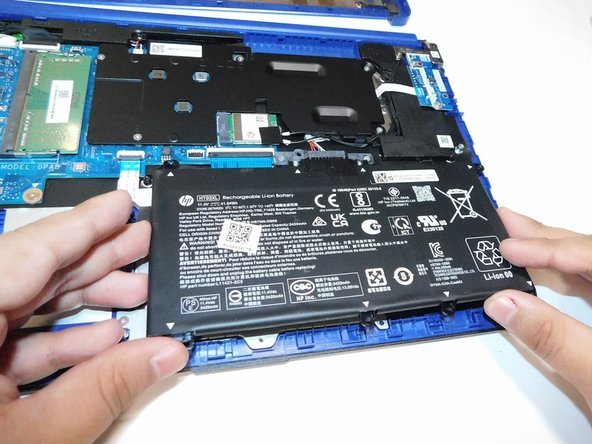

To reassemble your device, follow these instructions in reverse order.
To reassemble your device, follow these instructions in reverse order.
Équipe

Gateway, Team 8-88, Gonzalez Spring 2024 Membre de l'équipe Gateway, Team 8-88, Gonzalez Spring 2024
GCC-GONZALEZ-S24S8G88
4 membres
4 tutoriels rédigés