Ce tutoriel a des changements plus récents. Passer à la dernière version non vérifiée.
Introduction
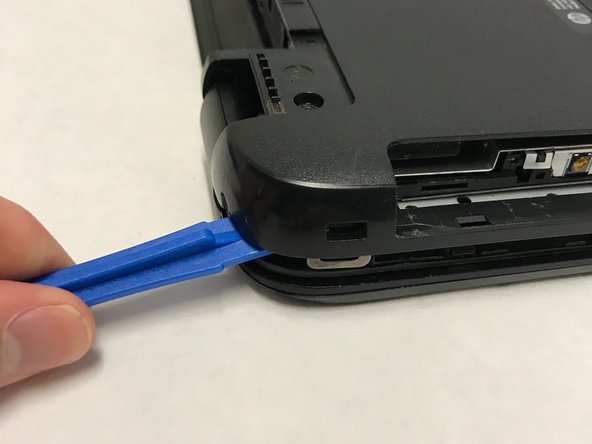
Use this guide to replace the back panel of your device.
Ce dont vous avez besoin


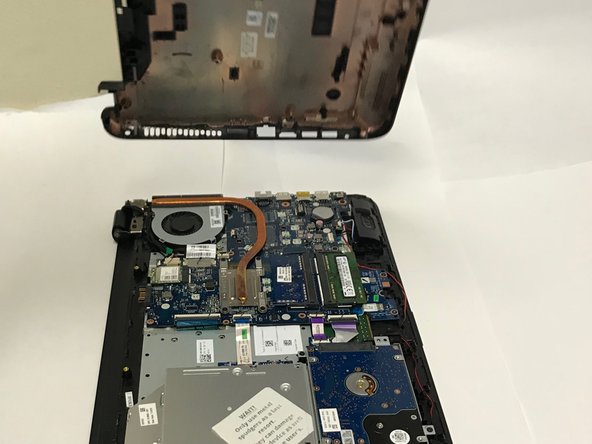
To reassemble your device, follow these instructions in reverse order.
To reassemble your device, follow these instructions in reverse order.
Annulation : je n'ai pas terminé ce tutoriel.
3 autres ont terminé cette réparation.
Équipe

Baylor, Team S1-G2, Johnson Spring 2018 Membre de l'équipe Baylor, Team S1-G2, Johnson Spring 2018
BU-JOHNSON-S18S1G2
3 membres
6 tutoriels rédigés