Aller au contenu principal

HP 15-da0012dx Screen Replacement

Ce dont vous avez besoin

  1. HP 15-da0012dx Screen Replacement, Battery: étape 1, image 1 de 2 HP 15-da0012dx Screen Replacement, Battery: étape 1, image 2 de 2
    • Power down your laptop before proceeding.

    • Turn your laptop over so that the Laptop Identification Tag on the underside of the laptop faces the ceiling.

  2. HP 15-da0012dx Screen Replacement: étape 2, image 1 de 3 HP 15-da0012dx Screen Replacement: étape 2, image 2 de 3 HP 15-da0012dx Screen Replacement: étape 2, image 3 de 3
    • Using the plastic opening tools, peel back the plastic feet from the underside of the laptop.

  3. HP 15-da0012dx Screen Replacement: étape 3, image 1 de 2 HP 15-da0012dx Screen Replacement: étape 3, image 2 de 2
    • Using a Phillips #1 screwdriver, remove the eleven 9.0 mm screws holding the back cover in place.

  4. HP 15-da0012dx Screen Replacement: étape 4, image 1 de 2 HP 15-da0012dx Screen Replacement: étape 4, image 2 de 2
    • Slide the optical drive out of the computer.

  5. HP 15-da0012dx Screen Replacement: étape 5, image 1 de 3 HP 15-da0012dx Screen Replacement: étape 5, image 2 de 3 HP 15-da0012dx Screen Replacement: étape 5, image 3 de 3
    • Flip the computer over and open the screen.

    • Start from a corner and run the plastic opening tools along the edge of the back cover.

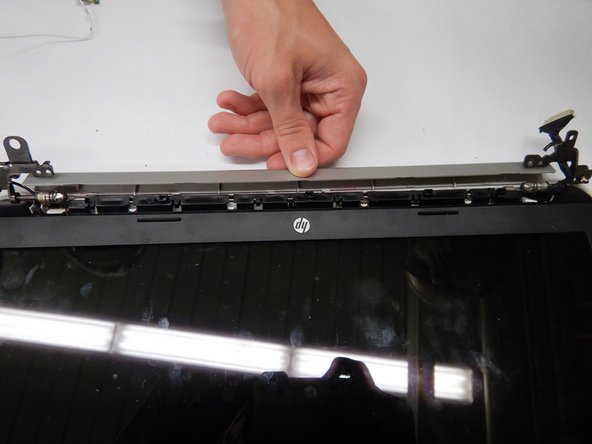
    • After the cover has been completely loosened around the entire perimeter, close the screen and flip the computer over.

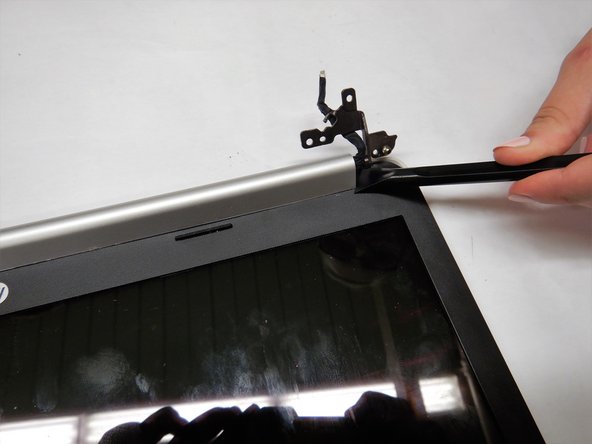
    • Gently pry back the cover starting from the middle, bottom edge.

    • Make sure not to bend or crack the plastic cover.

  6. HP 15-da0012dx Screen Replacement: étape 6, image 1 de 2 HP 15-da0012dx Screen Replacement: étape 6, image 2 de 2
    • Using the Phillips #1 screwdriver, remove the three 8.0 mm screws holding the battery in place.

  7. HP 15-da0012dx Screen Replacement: étape 7, image 1 de 2 HP 15-da0012dx Screen Replacement: étape 7, image 2 de 2
    • Remove the battery by tilting the top of the battery towards you and pulling the battery away from the mounting tabs.

  8. HP 15-da0012dx Screen Replacement, Screen: étape 8, image 1 de 2 HP 15-da0012dx Screen Replacement, Screen: étape 8, image 2 de 2
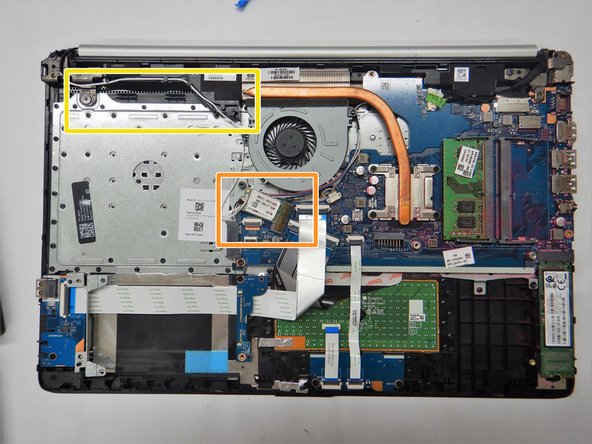
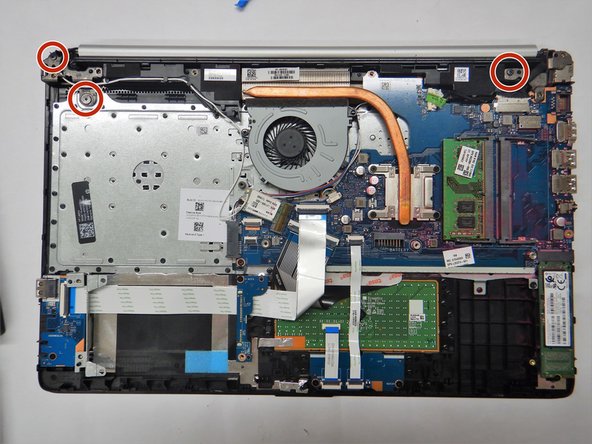
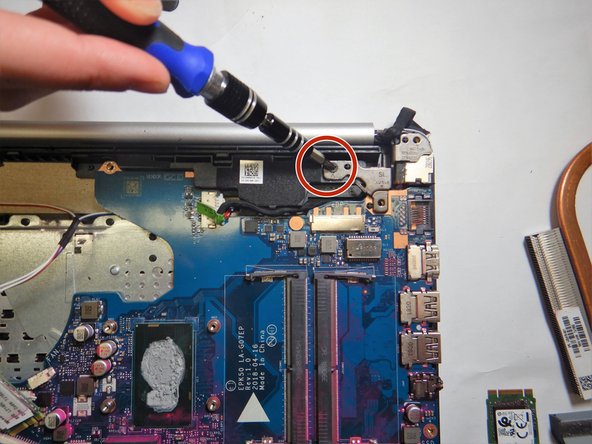
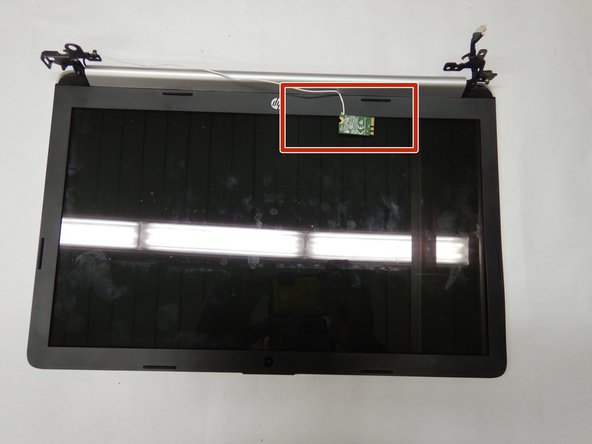
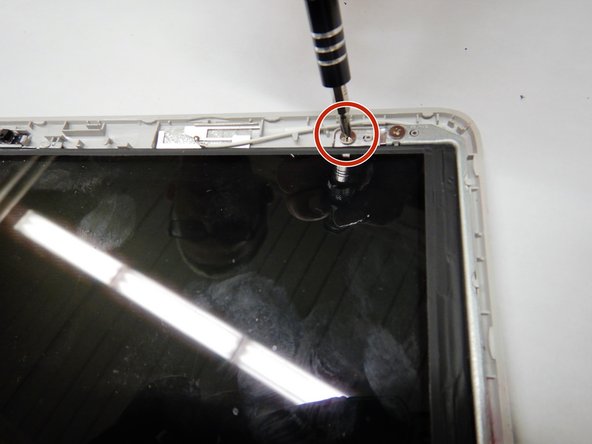
    • Remove the 3 mm Phillips #0 screw securing the WLAN card in place.

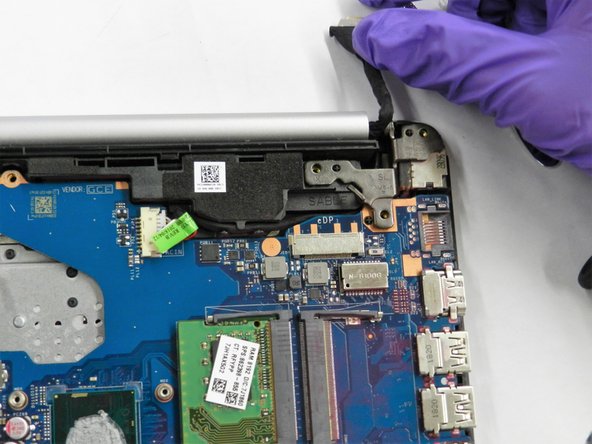
    • Carefully remove the WLAN card from the motherboard.

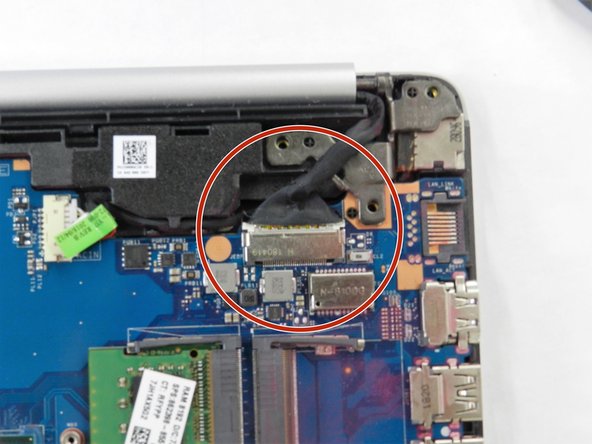
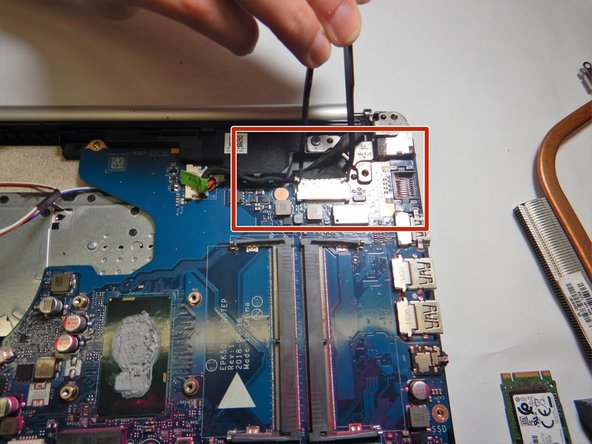
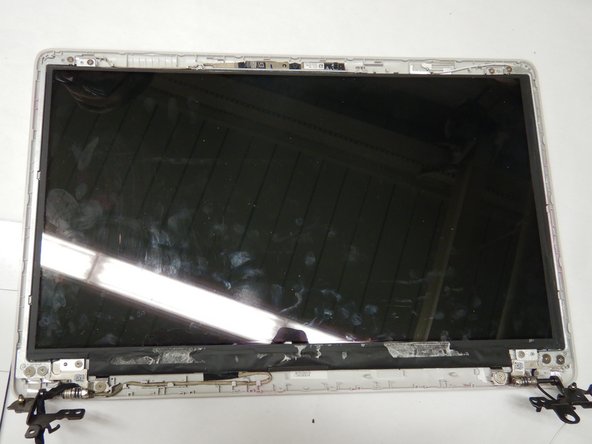
    • Gently remove the antenna cable from the wire guides in the speaker and chassis.

    • Place WLAN card off to the side being careful not to pull on the antenna cable.

    • The antenna cable is soft and can easily be damaged.

  9. HP 15-da0012dx Screen Replacement: étape 9, image 1 de 3 HP 15-da0012dx Screen Replacement: étape 9, image 2 de 3 HP 15-da0012dx Screen Replacement: étape 9, image 3 de 3
    • Carefully use the metal tweezers to remove the display connection to the motherboard.

  10. HP 15-da0012dx Screen Replacement: étape 10, image 1 de 3 HP 15-da0012dx Screen Replacement: étape 10, image 2 de 3 HP 15-da0012dx Screen Replacement: étape 10, image 3 de 3
    • Use the Phillips #1 screwdriver to disconnect the display hinges from the base of the laptop.

  11. HP 15-da0012dx Screen Replacement: étape 11, image 1 de 2 HP 15-da0012dx Screen Replacement: étape 11, image 2 de 2
    • Making sure to hold both the base and the screen, partially open laptop.

    • Carefully remove screen from laptop, making sure that the WLAN card is safely removed with it.

  12. HP 15-da0012dx Screen Replacement: étape 12, image 1 de 3 HP 15-da0012dx Screen Replacement: étape 12, image 2 de 3 HP 15-da0012dx Screen Replacement: étape 12, image 3 de 3
    • Carefully use the pry tool to separate the screen side of the hinge cover from the screen.

    • Rotate the hinge cover away from the screen to remove it from the screen.

  13. HP 15-da0012dx Screen Replacement: étape 13, image 1 de 3 HP 15-da0012dx Screen Replacement: étape 13, image 2 de 3 HP 15-da0012dx Screen Replacement: étape 13, image 3 de 3
    • Starting from the area near the hinges, gently remove the adhesive display bezel from around the screen using the iFixit opening tool.

  14. HP 15-da0012dx Screen Replacement: étape 14, image 1 de 2 HP 15-da0012dx Screen Replacement: étape 14, image 2 de 2
    • Use the Phillips #1 screwdriver to remove the four 3.0 mm screws securing the screen to the top cover.

  15. HP 15-da0012dx Screen Replacement: étape 15, image 1 de 2 HP 15-da0012dx Screen Replacement: étape 15, image 2 de 2
    • Carefully lift the screen, being aware to not pull on the display cable connecting the screen to the top cover.

    • Gently remove the display cable from the back of the screen.

    • Remove the screen from the display assembly.

Conclusion

To reassemble your device, follow these instructions in reverse order.

2 autres ont terminé cette réparation.

0 commentaires

Ajouter un commentaire

Nombre de vues :

Dernières 24 heures : 1

7 derniers jours : 8

30 derniers jours : 32

Total : 3,391