Introduction
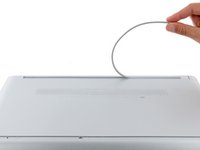
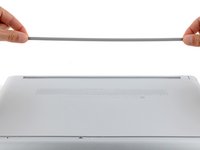
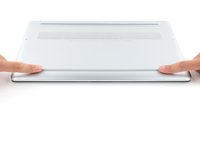
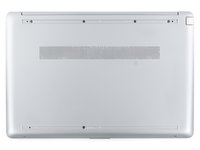
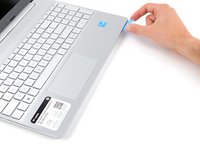
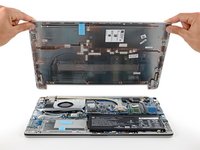
Use this guide to replace or remove the back cover on your HP 15s Laptop PC.
Note: This procedure was written using a model 15-dw3033dx HP 15s Laptop PC, but is fully compatible with any HP 15s Laptop PC whose model number starts with 15-dw.
Ce dont vous avez besoin
-
-
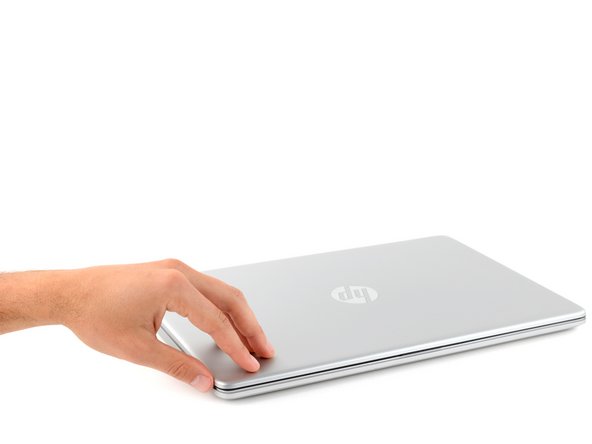
Fully shut down your laptop and unplug all cables.
-
-
-
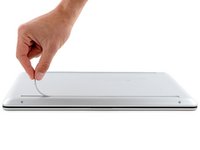
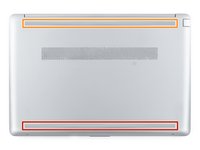
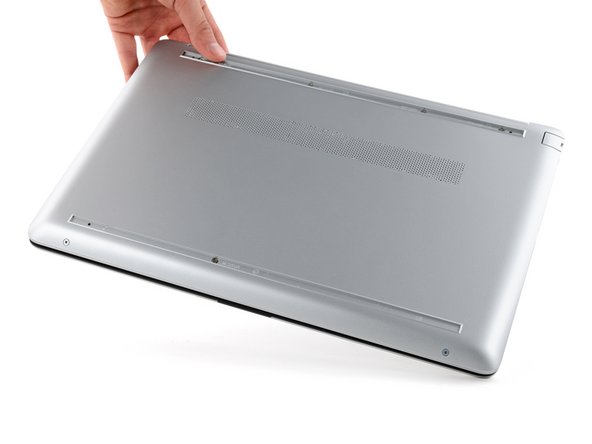
Use an opening pick to peel up an end of the front rubber foot until you can grip it with your fingers.
-
-
-
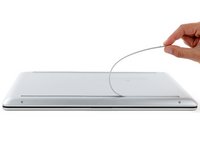
Use an opening pick to peel up an end of the rear rubber foot until you can grip it with your fingers.
-
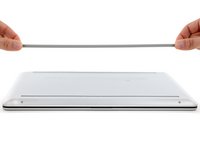
Peel the rear foot away from the back cover and remove it.
-
-
-
Outil utilisé dans cette étape :Tesa 61395 Tape$5.99
-
The front foot is thicker, with a deeper recess.
-
The rear foot is thinner, with a shallower recess.
-
If you're reusing the rubber feet, the leftover adhesive should be tacky enough to reuse.
-
If the leftover adhesive isn't sticky enough or your replacement feet didn't come with adhesive, you can use double-sided tape such as Tesa Tape to secure the feet.
-
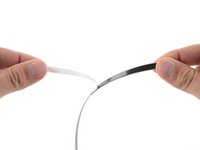
To install a foot, remove its adhesive liner, lay the foot into its matching recess, and press down firmly along the entire length of the foot to secure it.
-
-
-
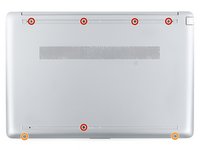
Use a Phillips screwdriver to remove the seven screws securing the back cover:
-
Five 8.5 mm-long screws
-
Two 4.6 mm-long screws
-
-
-
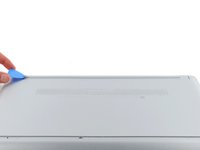
Insert the flat side of an opening pick into the seam between the top left edge of the back cover and the frame.
-
Slide the opening pick down to the bottom left corner to release the clips on the left edge.
-
To reassemble your device, follow these instructions in reverse order.
Repair didn’t go as planned? Try some basic troubleshooting, or ask our Answers community for help.
To reassemble your device, follow these instructions in reverse order.
Repair didn’t go as planned? Try some basic troubleshooting, or ask our Answers community for help.
Annulation : je n'ai pas terminé ce tutoriel.
Une autre personne a terminé cette réparation.


