Introduction
An I/O board is the connector between the laptop and external devices. If you are having trouble plugging in USBs on the left side of the laptop or USBs are not connecting to the laptop from the left, it may be a problem with your I/O board and/or I/O board cable. Use this guide to replace the I/O board and cable of your HP-15dy2024nr.
Ce dont vous avez besoin
-
-
Use a spudger to peel one corner of each of the rubber feet from the bottom of the laptop.
-
Gently peel the feet from the laptop using the spudger revealing the screws underneath.
-
-
-
-
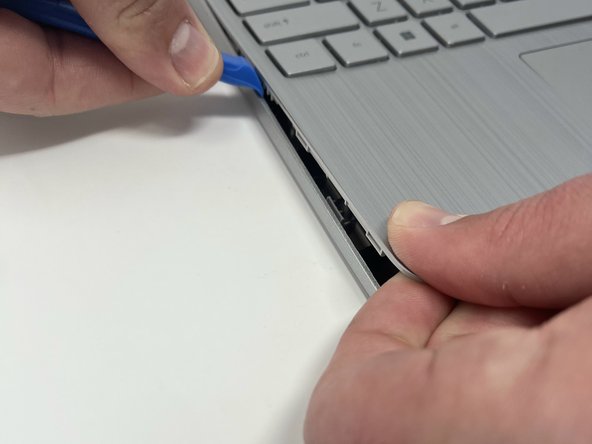
Insert an iFixit opening tool into the seam between the keyboard area and bottom cover.
-
Using another iFixit opening tool, slide along the seam to unhook the clips.
-
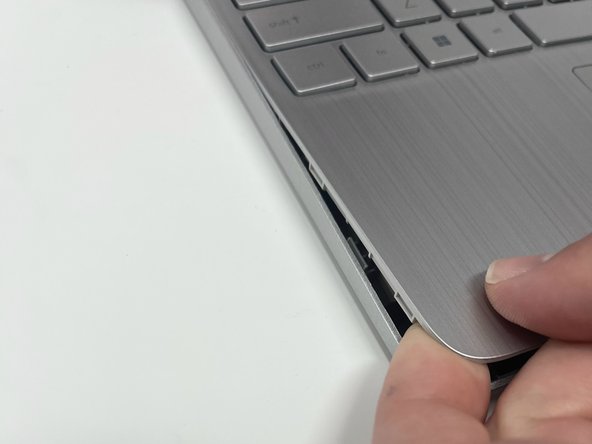
When the front of the laptop is open, you can use your finger to hold a corner open then slide an iFixit opening tool along the seam toward the back corner.
-
After the clips have been released, flip the laptop over and lift the cover.
-
-
-
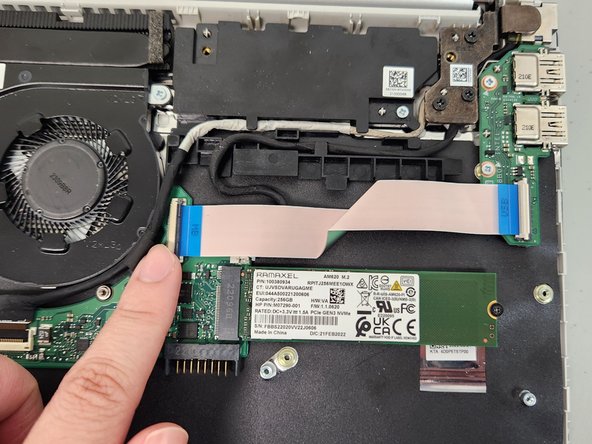
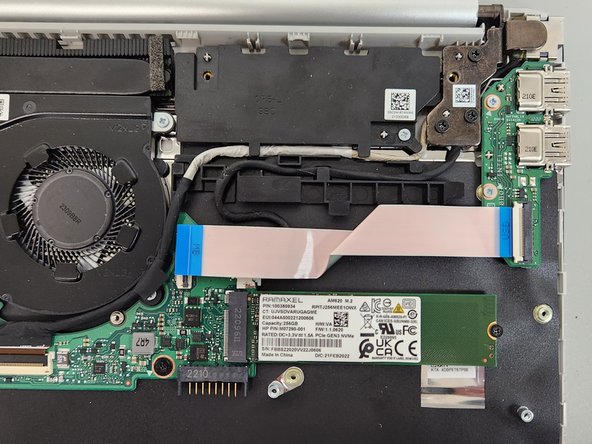
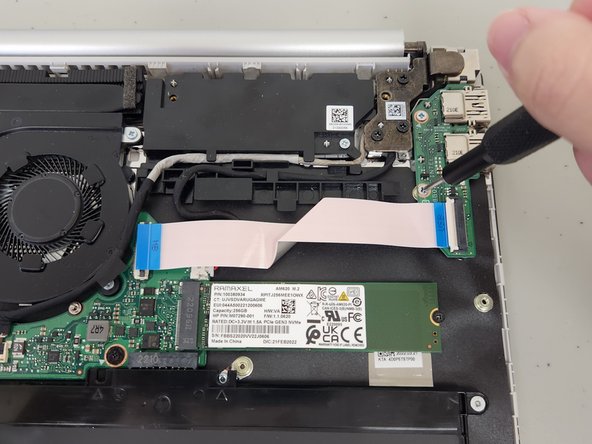
Flip up the black plastic tab holding the USB power connector to the motherboard using your hands.
-
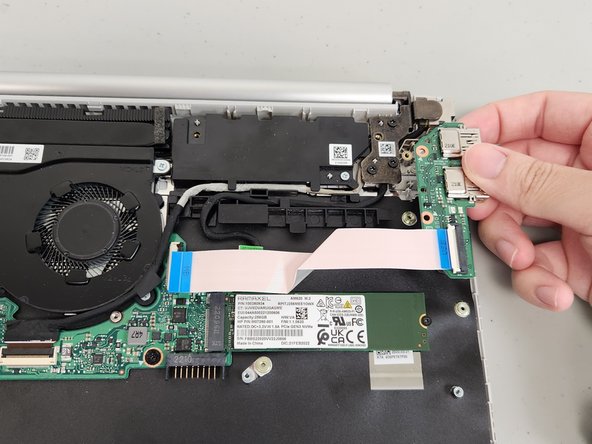
Pull the USB cable away from the motherboard.
-


To reassemble your device, follow these instructions in reverse order.
To reassemble your device, follow these instructions in reverse order.
Équipe

University of North Texas, Team 5-5, Coppersmith Spring 2024 Membre de l'équipe University of North Texas, Team 5-5, Coppersmith Spring 2024
UNT-COPPERSMITH-S24S5G5
4 membres
4 tutoriels rédigés