Aller au contenu principal

HP 17-bs049dx Motherboard Replacement

Ce dont vous avez besoin

  1. HP 17-bs049dx Motherboard Replacement, Back Panel: étape 1, image 1 de 1
    • Remove the four screws (13.7mm) with a Phillips #0 screwdriver.

    • Be sure to lift all four rubber tabs to access screws (7.51mm) underneath.

    • Rubber tabs will require force to access screws.

  2. HP 17-bs049dx Motherboard Replacement: étape 2, image 1 de 1
    • Use the Philips 0 screwdriver to unscrew the screws (7.51mm) that were underneath the battery.

  3. HP 17-bs049dx Motherboard Replacement: étape 3, image 1 de 2 HP 17-bs049dx Motherboard Replacement: étape 3, image 2 de 2
    • Pull outwards on the disk reader to remove from main frame.

    • This removal will require force.

    • All screws must be removed before removing disk reader.

  4. HP 17-bs049dx Motherboard Replacement: étape 4, image 1 de 1
    • Lift back panel to access internal components.

    • You will need to use force to pry it open.

  5. HP 17-bs049dx Motherboard Replacement, Hard Drive: étape 5, image 1 de 1
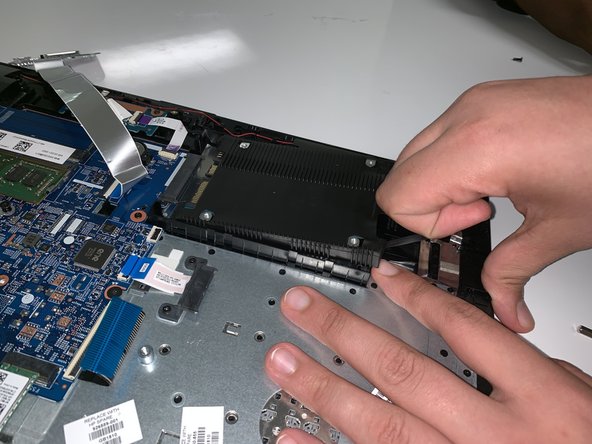
    • Remove screw (7.51mm) on USB port with "Phillips 0 Screwdriver".

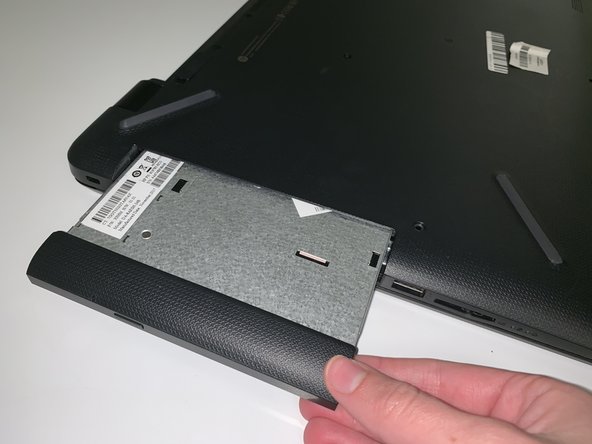
    • Lift the USB port over and away from hard drive.

  6. HP 17-bs049dx Motherboard Replacement: étape 6, image 1 de 2 HP 17-bs049dx Motherboard Replacement: étape 6, image 2 de 2
    • Lift rubber black tabs located on the hard drive upwards.

    • Disconnect hard drive from motherboard by pulling towards you.

  7. HP 17-bs049dx Motherboard Replacement, Motherboard: étape 7, image 1 de 3 HP 17-bs049dx Motherboard Replacement, Motherboard: étape 7, image 2 de 3 HP 17-bs049dx Motherboard Replacement, Motherboard: étape 7, image 3 de 3
    • Make sure to unplug everything connected to the motherboard.

    • Be gentle with this step.

  8. HP 17-bs049dx Motherboard Replacement: étape 8, image 1 de 1
    • Remove the screws (7.51mm) with a Phillips #0 screwdriver.

    • Once all of the screws are removed, remove the motherboard from the device.

Conclusion

To reassemble your device, follow these instructions in reverse order.

Une autre personne a terminé cette réparation.

Chanceline Mbiaoh

Membre depuis le 09/26/18

207 Réputation

1 tutoriel rédigé

Équipe

0 commentaires

Ajouter un commentaire

Nombre de vues :

Dernières 24 heures : 2

7 derniers jours : 8

30 derniers jours : 12

Total : 809