Aller au contenu principal

HP 7 PLUS 1301 Front and Back Camera Replacement

Ce dont vous avez besoin

  1. HP 7 PLUS 1301 Front and Back Camera Replacement, Front and Back Camera: étape 1, image 1 de 2 HP 7 PLUS 1301 Front and Back Camera Replacement, Front and Back Camera: étape 1, image 2 de 2
    • Make sure the device is off and not plugged in before starting.

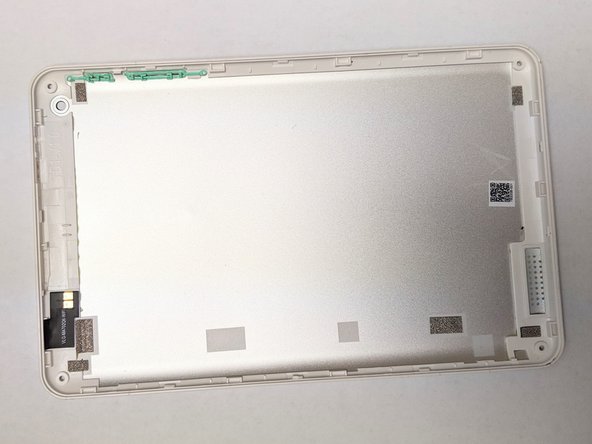
    • Using a Torx T5 screwdriver, remove the 3mm screws on all four corners of the device.

  2. HP 7 PLUS 1301 Front and Back Camera Replacement: étape 2, image 1 de 2 HP 7 PLUS 1301 Front and Back Camera Replacement: étape 2, image 2 de 2
    • Using the plastic opening tool, push in between the front, then slide it around.

    • Slide the plastic opening tool all the way around the tablet to separate the back cover.

    • Be careful when trying to remove the back as the screen can be damaged with excessive force.

  3. HP 7 PLUS 1301 Front and Back Camera Replacement: étape 3, image 1 de 2 HP 7 PLUS 1301 Front and Back Camera Replacement: étape 3, image 2 de 2
    • Continue sliding the plastic opening tool around the tablet until the cover fully separates from the device.

    • Remove the back cover.

  4. HP 7 PLUS 1301 Front and Back Camera Replacement: étape 4, image 1 de 1
    • Locate the front and rear cameras.

  5. HP 7 PLUS 1301 Front and Back Camera Replacement: étape 5, image 1 de 2 HP 7 PLUS 1301 Front and Back Camera Replacement: étape 5, image 2 de 2
    • Using the opening tool, locate the rectangular gray connector near the camera and gently release its connection.

    • Lift the connector out and away from the board.

    • This will come out very easily so don't use much force.

  6. HP 7 PLUS 1301 Front and Back Camera Replacement: étape 6, image 1 de 2 HP 7 PLUS 1301 Front and Back Camera Replacement: étape 6, image 2 de 2
    • Gently push the tabs on both sides until the front camera is loose.

    • Using your blunt tweezers, lift the front camera gently away from the board.

  7. HP 7 PLUS 1301 Front and Back Camera Replacement: étape 7, image 1 de 3 HP 7 PLUS 1301 Front and Back Camera Replacement: étape 7, image 2 de 3 HP 7 PLUS 1301 Front and Back Camera Replacement: étape 7, image 3 de 3
    • Using your angled tweezers, gently pry out the back camera.

    • The camera is held down with tape.

    • Lift the back camera out of its socket and gently pull out both cameras.

Conclusion

To reassemble your device, follow these instructions in reverse order.

Une autre personne a terminé cette réparation.

ahmed musleh

Membre depuis le 02/05/19

195 Réputation

1 tutoriel rédigé

Équipe

UC Davis, Team S20-G6, Lore Winter 2019 Membre de l'équipe UC Davis, Team S20-G6, Lore Winter 2019

UCD-LORE-W19S20G6

3 membres

4 tutoriels rédigés

0 commentaires

Ajouter un commentaire

Nombre de vues :

Dernières 24 heures : 0

7 derniers jours : 0

30 derniers jours : 1

Total : 142