Ce tutoriel a des changements plus récents. Passer à la dernière version non vérifiée.
Introduction
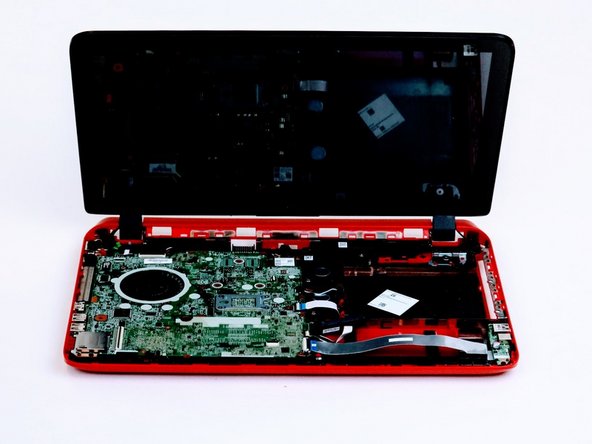
Use this guide to replace the WIFI card on your HP Beats Special Edition 15-p390nr. Make sure you have removed the keyboard panel by referring to the prerequisite guide.
Ce dont vous avez besoin
-
-
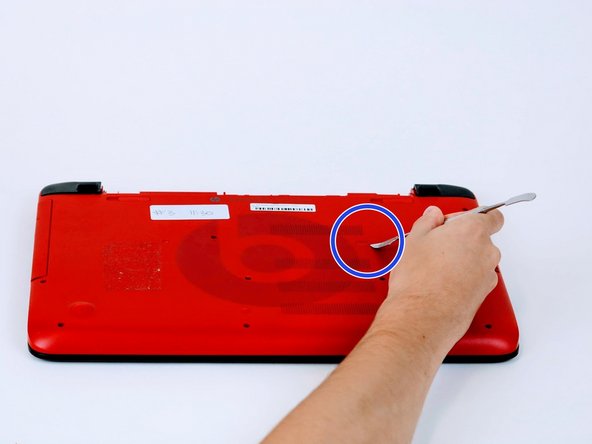
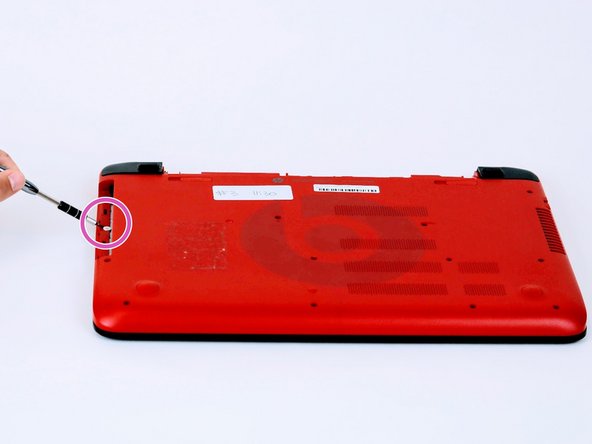
Turn computer over and begin removing noticeable 8mm screws with a Phillips #0 screwdriver.
-
-


To reassemble your device, follow these instructions in reverse order.
To reassemble your device, follow these instructions in reverse order.
Annulation : je n'ai pas terminé ce tutoriel.
3 autres ont terminé cette réparation.

Équipe

Linn Benton Community College, Team S1-G3, Karnes Fall 2018 Membre de l'équipe Linn Benton Community College, Team S1-G3, Karnes Fall 2018
LBCC-KARNES-F18S1G3
4 membres
7 tutoriels rédigés