Aller au contenu principal

HP DS0011 DX Battery and M2 Replacement

Ce dont vous avez besoin

  1. HP DS0011 DX Battery and M2 Replacement, Shut Down Laptop: étape 1, image 1 de 1
    • Firstly, shut down the laptop so that the hard drive is not damaged while removing and replacing the m.2. After doing this, set laptop down on its back.

  2. HP DS0011 DX Battery and M2 Replacement, Remove Back Cover Screws: étape 2, image 1 de 2 HP DS0011 DX Battery and M2 Replacement, Remove Back Cover Screws: étape 2, image 2 de 2
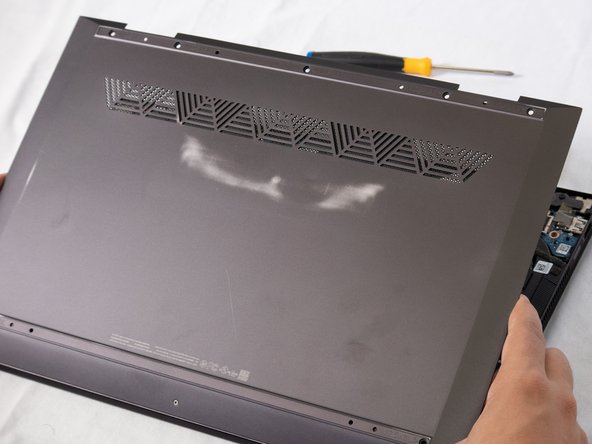
    • Remove the screws on the back cover using a Phillips head screwdriver.

  3. HP DS0011 DX Battery and M2 Replacement, Remove Back Cover: étape 3, image 1 de 2 HP DS0011 DX Battery and M2 Replacement, Remove Back Cover: étape 3, image 2 de 2
    • Approach the back cover from the corners and pry it off with a flathead so that the m.2 is exposed.

  4. HP DS0011 DX Battery and M2 Replacement, Remove screws from m.2.: étape 4, image 1 de 1
    • Remove the screws from the m.2 so that it can be removed. Adjust Phillips head accordingly.

  5. HP DS0011 DX Battery and M2 Replacement, Unplug m.2.: étape 5, image 1 de 1
    • Unplug the m.2 from the laptop and remove it. Remove gently to ensure other parts of the laptop are not damaged.

  6. HP DS0011 DX Battery and M2 Replacement, Replace With New m.2.: étape 6, image 1 de 1
    • Replace the old m.2 with the new one. Plug in the new m.2 to the m.2 port and screw in tightly.

  7. HP DS0011 DX Battery and M2 Replacement, Unscrew Battery: étape 7, image 1 de 1
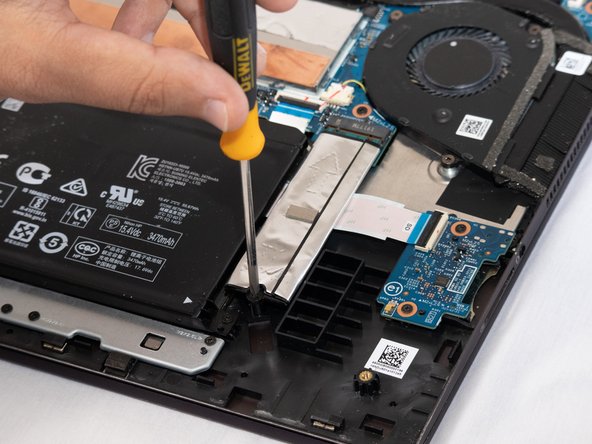
    • Adjust Phillips head screw-driver and unscrew the screws for the battery.

  8. HP DS0011 DX Battery and M2 Replacement, Remove Battery: étape 8, image 1 de 1
    • Take out the battery by lifting up and pulling from the port.

  9. HP DS0011 DX Battery and M2 Replacement, Replace With New Battery: étape 9, image 1 de 2 HP DS0011 DX Battery and M2 Replacement, Replace With New Battery: étape 9, image 2 de 2
    • Replace the old battery with the new one. Plug battery into port and screw the screws.

  10. HP DS0011 DX Battery and M2 Replacement, Put Back Cover Back On: étape 10, image 1 de 2 HP DS0011 DX Battery and M2 Replacement, Put Back Cover Back On: étape 10, image 2 de 2
    • After completely screwing in the battery and m2, put the back cover on by putting it on the magnetic contact and pushing it down into the clips.

  11. HP DS0011 DX Battery and M2 Replacement, Screw Back Cover back: étape 11, image 1 de 1
    • Screw the back cover back on to the laptop.

Conclusion

Once completed it may take a little bit for the computer to reboot. If the computer does not restart, contact a speacialist.

Zak Boyadjian

Membre depuis le 11/23/21

193 Réputation

1 tutoriel rédigé

0 commentaires

Ajouter un commentaire

Nombre de vues :

Dernières 24 heures : 0

7 derniers jours : 1

30 derniers jours : 5

Total : 200