Introduction
This guide will show you how to remove the camera from the HP Elite X2 1013 G3 tablet. The camera allows a person to use visual technology for communication over long distance. The camera can either be damaged by over use or if another object were to hit it and crack the lens of the camera.
Ce dont vous avez besoin
-
-
Flip the device over so the base is facing the ceiling.
-
Lift up the tablet stand.
-
Remove the four 2 mm screws from the tablet using a T5 Torx screwdriver.
-
-
-
-
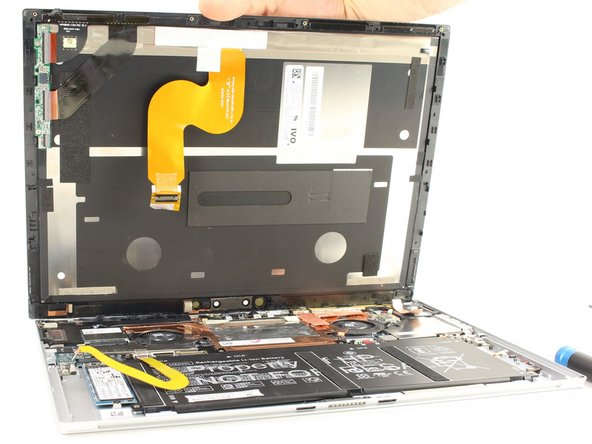
Place the tip of an opening tool beneath the camera housing.
-
Slowly move the tool up and down until the camera pops off the laptop.
-
Remove the connector and lift the camera away from the laptop.
-


To reassemble your device, follow these instructions in reverse order.
To reassemble your device, follow these instructions in reverse order.

Équipe

The Citadel Military College of South Carolina, Team 2-18, Eggleston Fall 2021 Membre de l'équipe The Citadel Military College of South Carolina, Team 2-18, Eggleston Fall 2021
CMCSC-EGGLESTON-F21S2G18
2 membres
3 tutoriels rédigés