Introduction
If your HP Elitebook x360 1040 G5 is damaged badly enough, it may be time for a new motherboard. In order to start this guide, the steps from the lower case replacement guide and battery replacement guide must be completed. This skills required to complete the steps in this guide are used to complete the prerequisite guides. However, caution should be exercise when removing and reinserting ribbon cables. They can be damaged easily.
Ce dont vous avez besoin
-
-
Use the T5 Torx screwdriver to remove the six 4 mm screws from the underside of the laptop.
-
-
-
Use the Phillips 1 screwdriver to remove the five 3mm Phillips screws from the battery assembly.
-
-
-
-
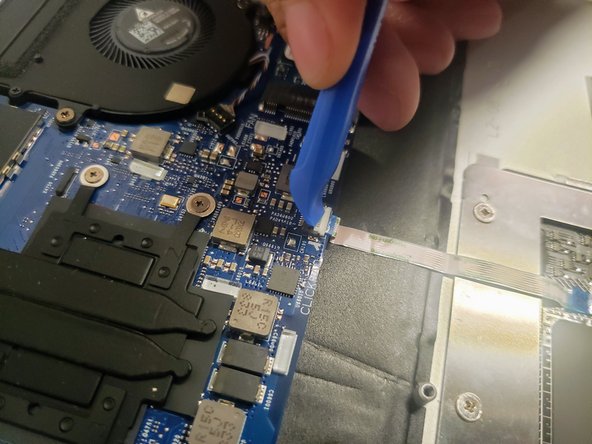
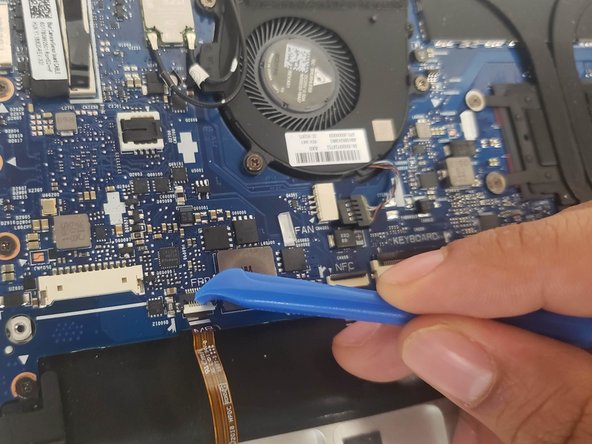
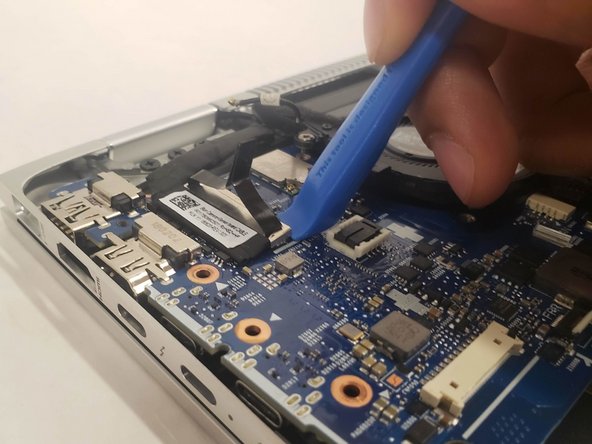
With the battery removed, begin by removing the two coaxial connectors located near the hinge using an ESD-safe spudger.
-
To do this, slide the tip of the spudger under the wire until it is snug against the connector. Then, pry straight up from the board.
-
-
-
Remove the five M2 X 3mm screws from the perimeter of the motherboard using the Phillips #1 screwdriver.
-
Remove the two M2 X 5mm screws from the upper corners of the motherboard using the Phillips #1 screwdriver.
-
Finally, remove the two interior M2 X 3mm screws from the motherboard's cooling system.
-


To reassemble your device, follow these instructions in reverse order.
To reassemble your device, follow these instructions in reverse order.
Annulation : je n'ai pas terminé ce tutoriel.
Une autre personne a terminé cette réparation.

Équipe

IUPUI, Team S1-G1, Hovde Fall 2019 Membre de l'équipe IUPUI, Team S1-G1, Hovde Fall 2019
IUPUI-HOVDE-F19S1G1
3 membres
4 tutoriels rédigés
Un commentaire
Hi! I think you should also mention that there is a sim-card slot dummy holding a motherbord, you can not lift it when a holder or a dummy is inside. it should be poked out with a pincer through the hole one the side of a motherboard above the slot itself (it do not eject on a spring like a normal sim card holder)