Introduction
Bring the life back into your HP Envy m6-w105dx with this guide on how to replace its battery. Replacing the battery is quite easy and will greatly improve your device’s ability to hold a charge. If the battery is swollen please use extreme caution.
This guide is for the battery replacement of the HP Envy x360 m6-150dx. This will instruct you to remove the front panel assembly in order to access the battery. If you feel comfortable with removing the front assembly, you can go directly to the battery removal steps.
Please ensure that the battery is completely dead and the computer is not plugged in. If there is any power stored in the battery, it could cause bodily harm while being worked on. Please also ensure that there is no heat radiating from the device as this could also inflict harm while being worked on.
Ce dont vous avez besoin
-
-
Use the opening pick to lift up the eight rubber grips on the underside of the device.
-
With the #1 Phillips screwdriver, remove the twelve 6mm screws from the back case.
-
-
-
-
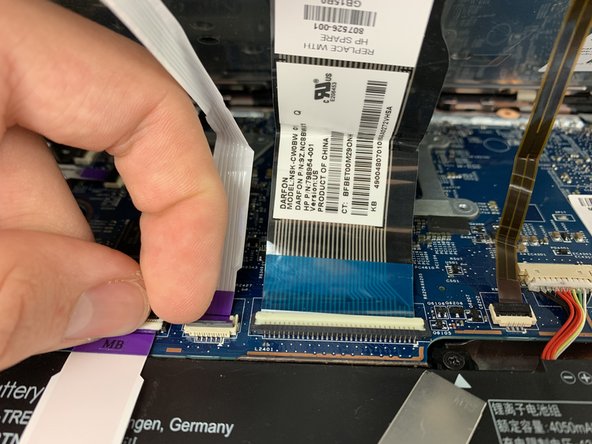
Carefully flip up the locking tabs on the ZIF connectors and remove the ribbon cables from the connectors.
-
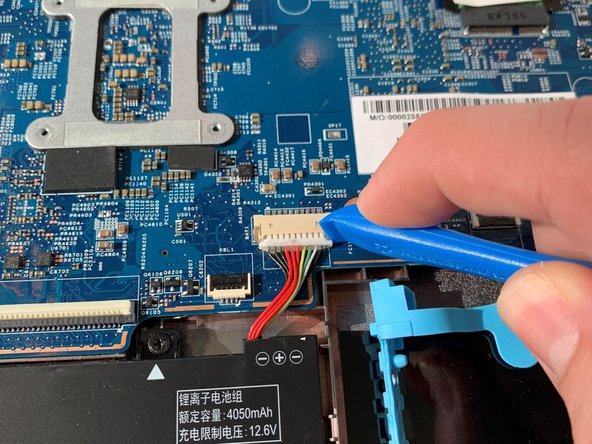
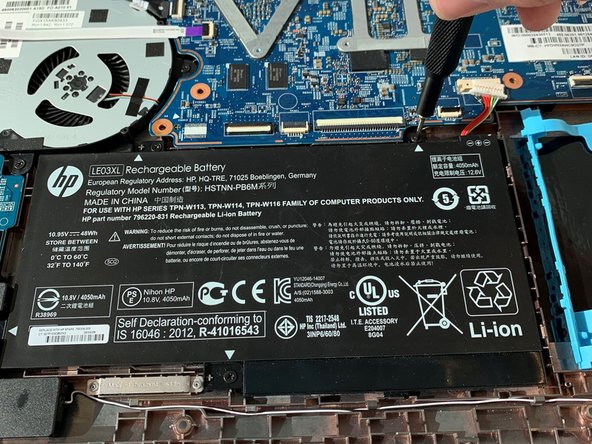
Disconnect the battery cable by sliding it downward from the connector with an iFixit opening tool.
-


To reassemble your device, follow these instructions in reverse order.
To reassemble your device, follow these instructions in reverse order.
Annulation : je n'ai pas terminé ce tutoriel.
3 autres ont terminé cette réparation.
Équipe

Embry-Riddle Aeronautical University, Team S5-G3, Watkins Spring 2020 Membre de l'équipe Embry-Riddle Aeronautical University, Team S5-G3, Watkins Spring 2020
ERAU-WATKINS-S20S5G3
4 membres
5 tutoriels rédigés