Introduction
Hi everyone, here I am with a new guide.
I hope you will like the guide. It's based mostly on this one: HP G62-453 Teardown
Good luck.
Ce dont vous avez besoin
-
-
First of all, we will remove the battery and open up the 2 panels at the bottom of the laptop. You'll see the RAM, HDD and Wifi.
-
-
-
This is the step where we will remove the screws from the whole case.
-
First remove the screws in the battery compartment.
-
Remove the rest of the case screws. There is one screw at the top left corner not shown in the pictures
-
There are 2 hidden screws in the HDD compartment. ( M2.5x6.5)
-
-
-
-
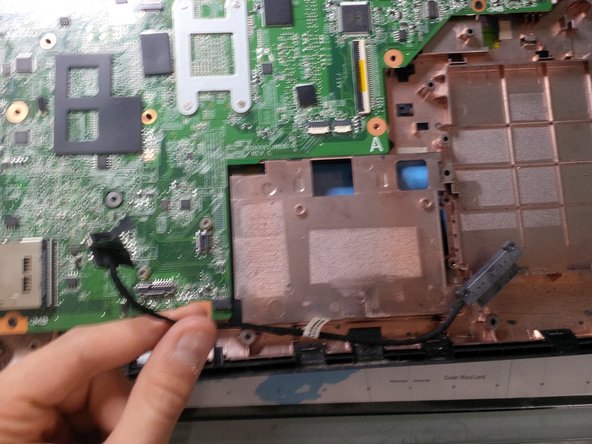
Now remove the usb conncetor + the dc jack connector.
-
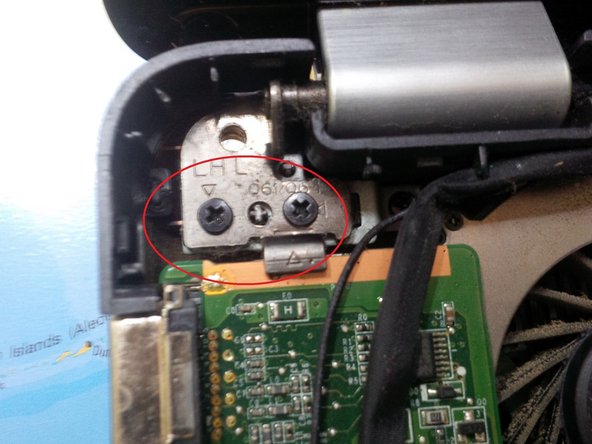
After removing all the cables/ wires and screws, we can remove the screws from the screen hinge. It should only be needed to remove the screws on the left hinge.
-
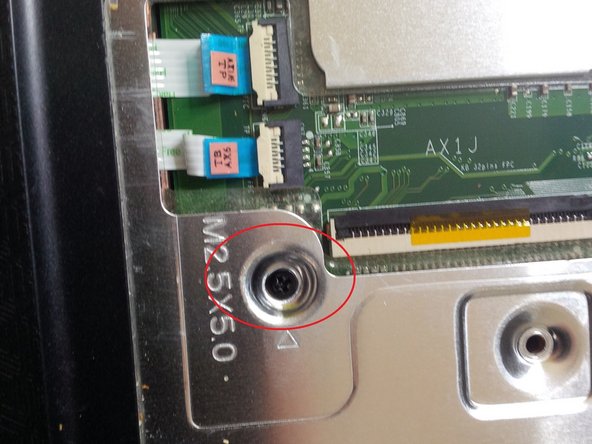
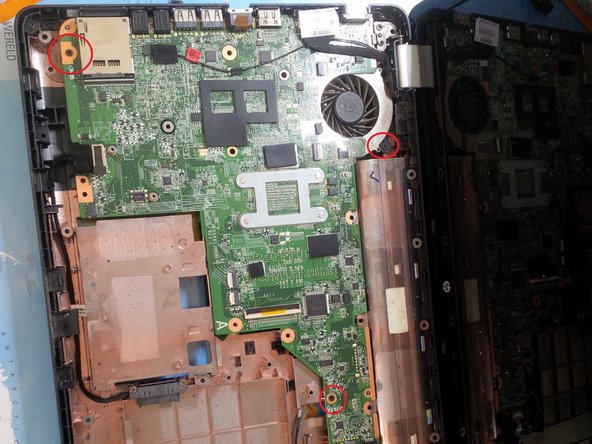
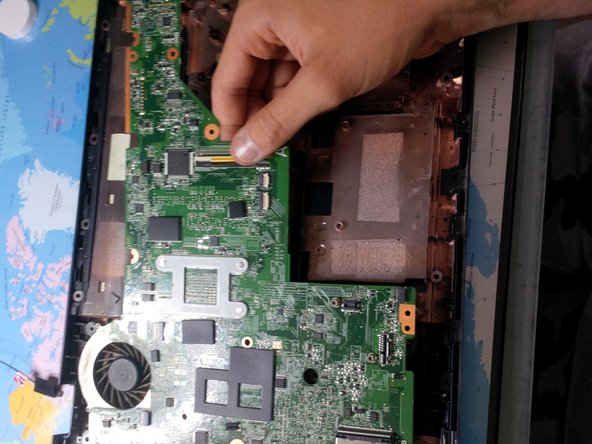
Remove the motherboard by pulling it up and sliding it to the right. you might need to move the screen a few mm so you can slide the motherboard free.
-
-
-
Now re-assemble the laptop. Just reverse everything you did.
-
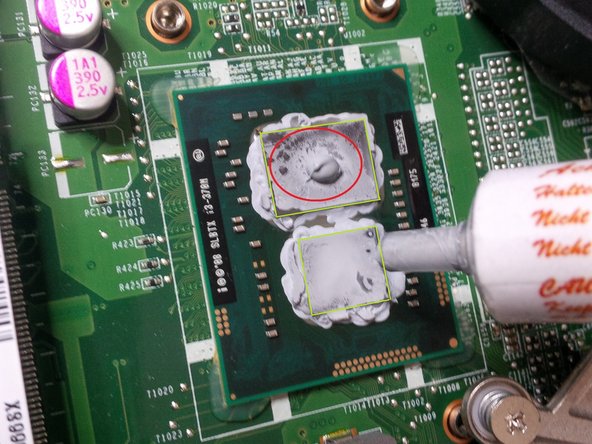
When you have screwed on the heatsink hold the fan with a finger and blast the heatsink fins with compressed air to get any dirt out. you might have to blow from both sides of the fins to get trapped dirt out.
-
Give case a short blast of air also to get dirt out... also blast the connectors as they are good at collecting dust and dirt
-


To reassemble your device, follow these instructions in reverse order.
To reassemble your device, follow these instructions in reverse order.
Annulation : je n'ai pas terminé ce tutoriel.
7 autres ont terminé cette réparation.