Cette version peut contenir des modifications incorrectes. Passez au dernier aperçu vérifié.
Ce dont vous avez besoin
-
Cette étape n’est pas traduite. Aidez à la traduire
-
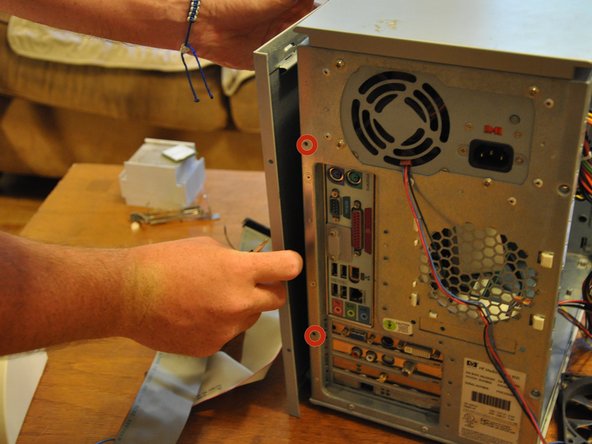
Remove the two (9 mm) hand screws on the back panel.
-
-
Cette étape n’est pas traduite. Aidez à la traduire
-
Place the tower on its side.
-
Slide the side panel horizontally to detach, and pull upward to remove.
-
-
Cette étape n’est pas traduite. Aidez à la traduire
-
Orient the tower vertically.
-
Using the #0 Phillips head screwdriver, unscrew and remove the two (5 mm) screws that fasten the remaining side panel to the tower.
-
Slide the side panel out of its notches, and pull it gently off of the tower.
-
-
-
Cette étape n’est pas traduite. Aidez à la traduire
-
Gently move the tower so that it is in the horizontal orientation.
-
Press down the black tabs (proximal to you) that fasten the front panel to the tower.
-
Press down on the distal, black tabs (symmetric with respect to the previous tabs).
-
Pull front panel forward slightly.
-
-
Cette étape n’est pas traduite. Aidez à la traduire
-
Orient the tower vertically.
-
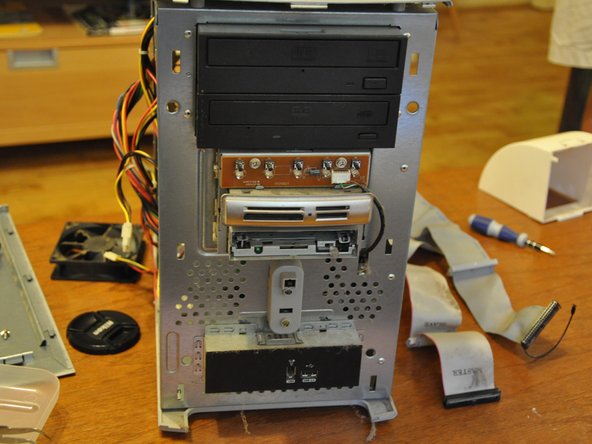
The front panel will come off in a hinge-like fashion, exposing the drives underneath.
-
-
Cette étape n’est pas traduite. Aidez à la traduire
-
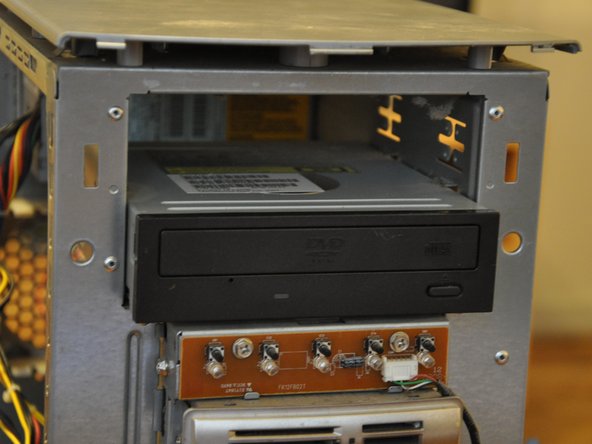
Identify the optical drive.
-
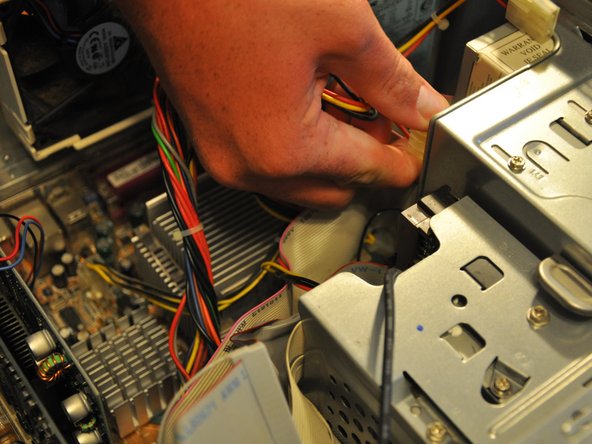
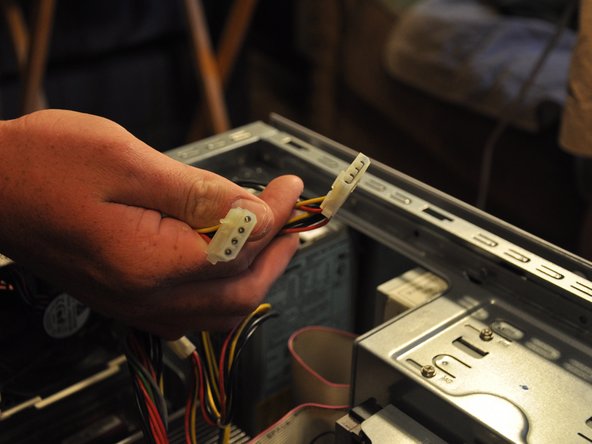
Pull the molex connectors out of the posterior end of the optical drive.
-
-
Cette étape n’est pas traduite. Aidez à la traduire
-
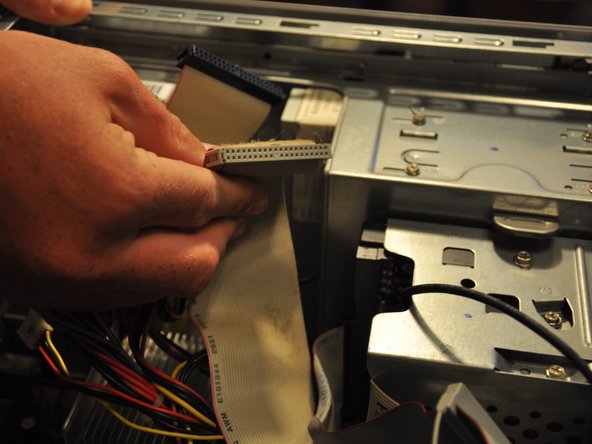
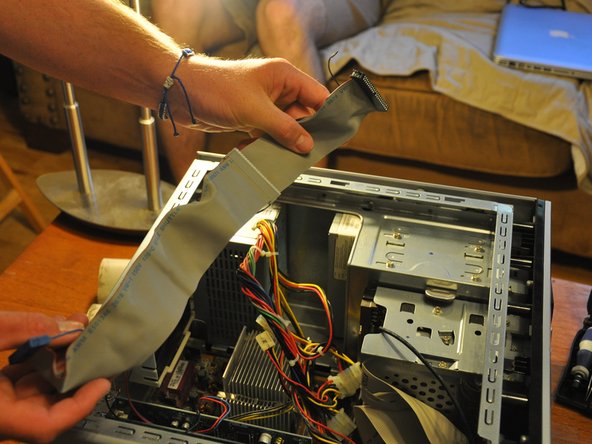
Pull the ribbon cable out of the back of the optical drive.
-
-
Cette étape n’est pas traduite. Aidez à la traduire
-
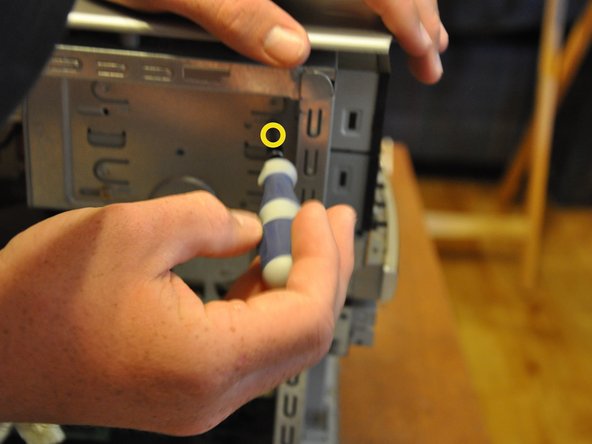
Using the Phillips #0 screwdriver, remove the two 5 mm screws that fasten the optical drive into its port.
-
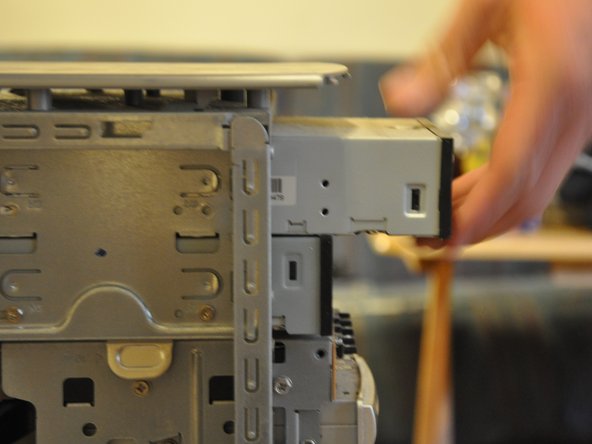
Gently pull the optical drive through the front cavity.
-
-
Cette étape n’est pas traduite. Aidez à la traduire
-
Remove the optical drive completely from its port.
-


Annulation : je n'ai pas terminé ce tutoriel.
2 autres ont terminé cette réparation.
Équipe

Clemson, Team 6-1, Benson Spring 2014 Membre de l'équipe Clemson, Team 6-1, Benson Spring 2014
CLEM-BENSON-S14S6G1
3 membres
15 tutoriels rédigés