Introduction
Pour remplacer la tête d'impression, vous avez besoin d'une fine pince à épiler pour pénétrer dans de petites crevasses et d'un tournevis pour retirer les vis. Assurez-vous d'extraire toutes les cartouches d'encre du chariot avant de commencer le démontage. Consultez la page de dépannage avant de remplacer la tête d'impression pour vous assurer qu'un remplacement est absolument nécessaire. Soyez prêt à mettre de l'encre sur vos mains, car certains composants peuvent contenir de l'encre.
Ce dont vous avez besoin
-
-
Ouvrez le couvercle principal aussi loin que possible.
-
Utilisez un outil d'ouverture en plastique pour retirer délicatement la charnière du côté droit en la poussant vers la gauche et hors du crochet.
-
Ouvrez davantage le couvercle.
-
-
-
Utilisez un tournevis torx T9 pour retirer un total de dix (10) vis de 12 mm du couvercle principal en tournant le tournevis dans le sens antihoraire.
If you have iFixit repair kit, for the two deep screws above the screen assembly you can reach them with:
- the T9 torx bit
- on the 4.0 hexagonal bit
- on the screwdriver
-
-
-
-
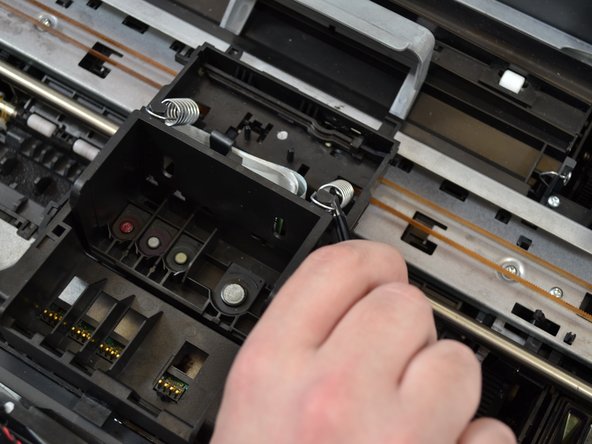
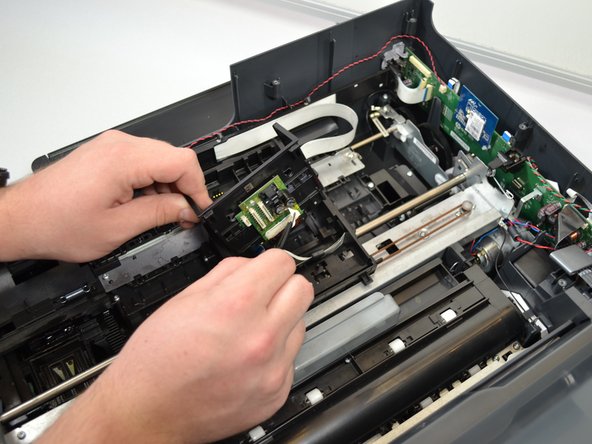
À l'aide d'une pince à épiler, pincez le haut du ressort situé sur le côté droit de la tête d'impression.
-
Tirez le ressort vers le haut et autour du crochet du chariot pour retirer le ressort de la tête d'impression.
-
Utilisez la même procédure pour retirer le ressort gauche.
-


Pour remonter votre appareil, suivez ces instructions dans l'ordre inverse.
Pour remonter votre appareil, suivez ces instructions dans l'ordre inverse.
Annulation : je n'ai pas terminé ce tutoriel.
18 autres ont terminé cette réparation.
Merci à ces traducteurs :
100%
[deleted] nous aide à réparer le monde ! Vous voulez contribuer ?
Commencez à traduire ›
Équipe

Cal Poly, Team S2-G4, Livingston Winter 2018 Membre de l'équipe Cal Poly, Team S2-G4, Livingston Winter 2018
CPSU-LIVINGSTON-W18S2G4
4 membres
16 tutoriels rédigés
5 commentaires
The printhead replacement went smooth however, the printer will not now print and the print carriage slams into home position like it is trying to break through the side of the printer. What could be the problem?
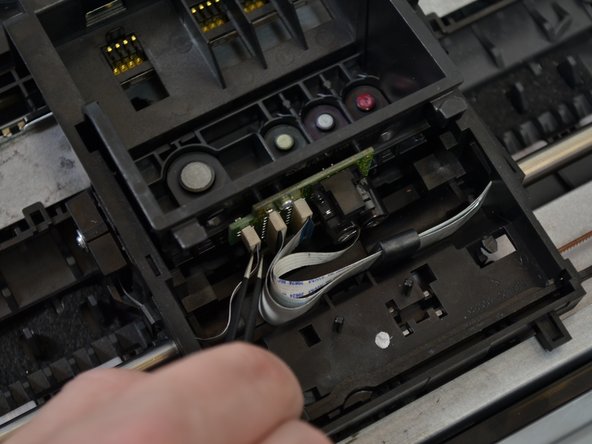
The location tape is upside down
Thank you very much for this guide.
I bought a replacement print head from Amazon.
There were some remanufactured on eBay, but the Amazon had some reviews (I know, I know, they’re probably fake).
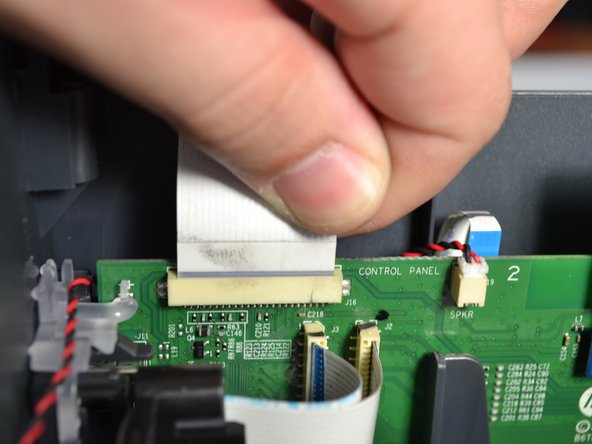
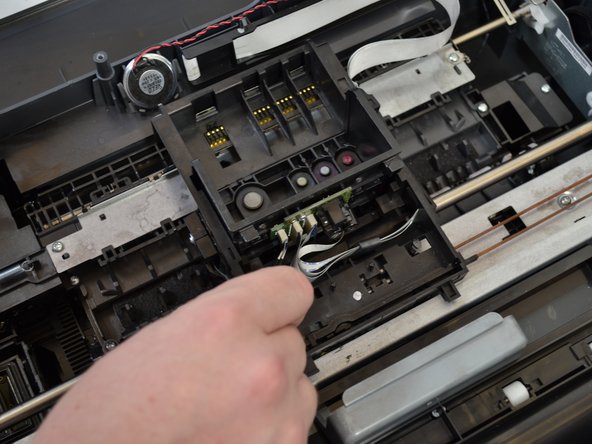
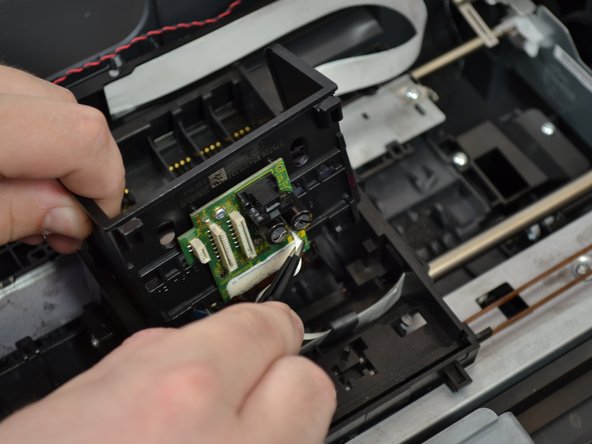
As a suggestion, on the printhead cables, make sure you pull out the RIBBON and don’t pull the connector. It’s soldered to the board.
It’s easier to just remove the plastic ribbon that guides the print head. Push on the metal frame to ease it out, and then the printhead can be pulled out.
In that way, access to the ribbon connectors is much easier.
My printer had not been working for over 4 years. So, it was not wanting to pull paper. Gave it a thorough cleaning and voilà.
It took a few tries. Got my ink from Amazon, from a company called DoubleD. It works just fine.
Printhead: https://www.amazon.com/dp/B08BF8YGG6?psc...
Ink: https://www.amazon.com/dp/B086MSDWFH?psc...
Thanks again for the guide. Life saver, and the printer was rescued from going to the recycler.
which of the 4 ribbons is the location tape
Better use the pliers (Spitzzange like this). One tip into the hole the other onto the plastic hook, then turn the pliers anticlockwise - and open it is, without any damage :-)
The trick is shown here: https://youtu.be/-PwJhT1_uAw?t=180
Michael Gasperl - Réponse