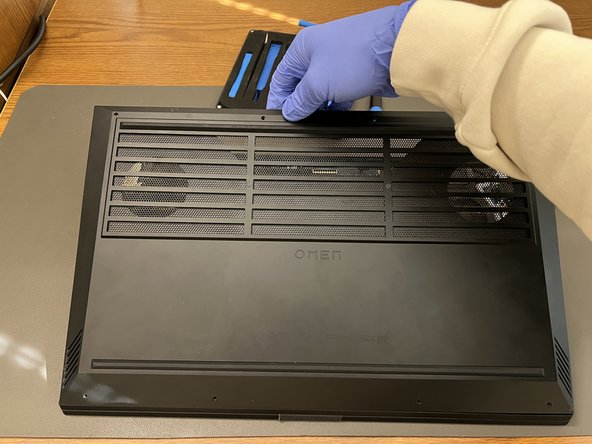
Aller au contenu principal

HP Omen 16 Battery Replacement

Ce dont vous avez besoin

  1. HP Omen 16 Battery Replacement, Battery: étape 1, image 1 de 1
    • Remove eight screws from the back panel using a Phillips #00 screwdriver.

  2. HP Omen 16 Battery Replacement: étape 2, image 1 de 1
    • Gently wedge a Jimmy between the lid of the chassis and the fan exhaust.

    • If you cannot find this gap, use a suction cup to pull the bottom of the chassis upwards.

  3. HP Omen 16 Battery Replacement: étape 3, image 1 de 2 HP Omen 16 Battery Replacement: étape 3, image 2 de 2
    • Use your fingers to pull the bottom of the chassis away.

    • If you hear a loud snapping while pulling the bottom chassis off, this is normal.

  4. HP Omen 16 Battery Replacement: étape 4, image 1 de 2 HP Omen 16 Battery Replacement: étape 4, image 2 de 2
    • Use the screwdriver to remove the six screws holding the battery to the case.

    • Separate these screws from the chassis screws in your workstation.

    • Warning: Be extremely delicate with the placement of your screwdriver as not to accidentally poke and damage components of your motherboard.

  5. HP Omen 16 Battery Replacement: étape 5, image 1 de 3 HP Omen 16 Battery Replacement: étape 5, image 2 de 3 HP Omen 16 Battery Replacement: étape 5, image 3 de 3
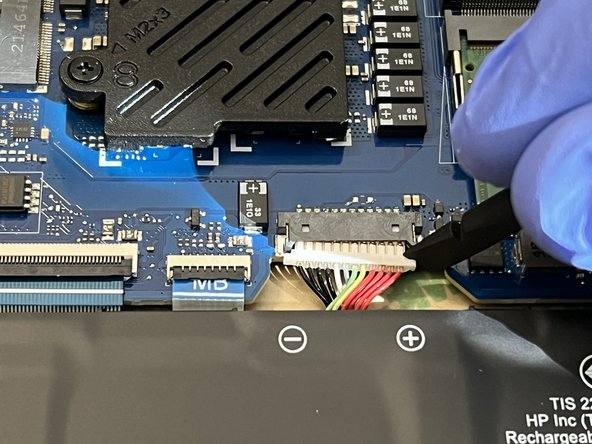
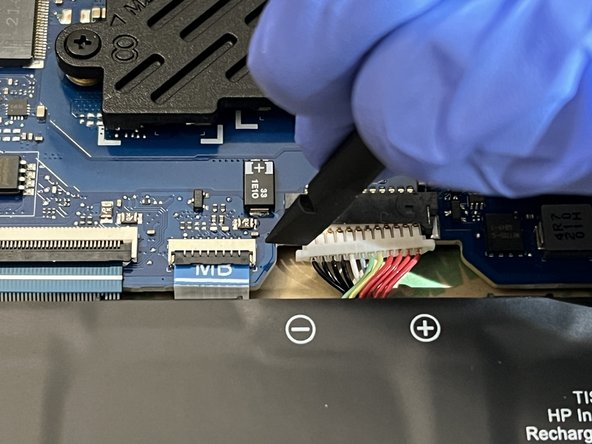
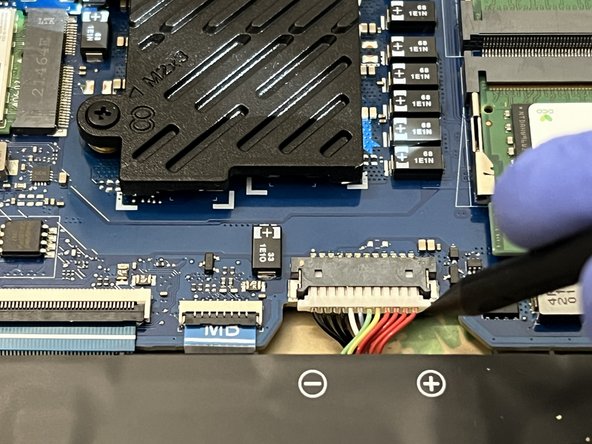
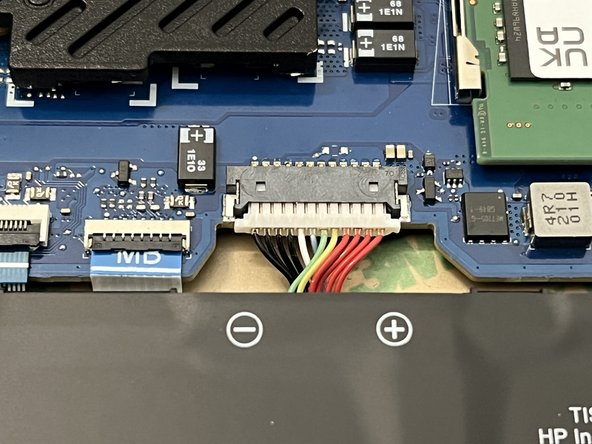
    • Use the flat end of a spudger to pull the right edge of the 12 pin connector towards you. Repeat this same action to the other side of the connector and do so until it is completely free.

    • Warning: Do not try to pull one side completely free without also pulling the other side. This could break the delicate wire connectors and render the battery unusable.

  6. HP Omen 16 Battery Replacement: étape 6, image 1 de 1
    • Remove the battery from the laptop.

    • Grab your replacement battery and align it in the same way the previous battery was.

  7. HP Omen 16 Battery Replacement: étape 7, image 1 de 3 HP Omen 16 Battery Replacement: étape 7, image 2 de 3 HP Omen 16 Battery Replacement: étape 7, image 3 de 3
    • Use a spudger to insert the 12-pin power connector from the battery into the motherboard.

    • Push one side of the connector in slightly, then push in the other side. Ensure the 12 pin connector is fully inserted.

  8. HP Omen 16 Battery Replacement: étape 8, image 1 de 2 HP Omen 16 Battery Replacement: étape 8, image 2 de 2
    • Screw the new battery into the case.

  9. HP Omen 16 Battery Replacement: étape 9, image 1 de 2 HP Omen 16 Battery Replacement: étape 9, image 2 de 2
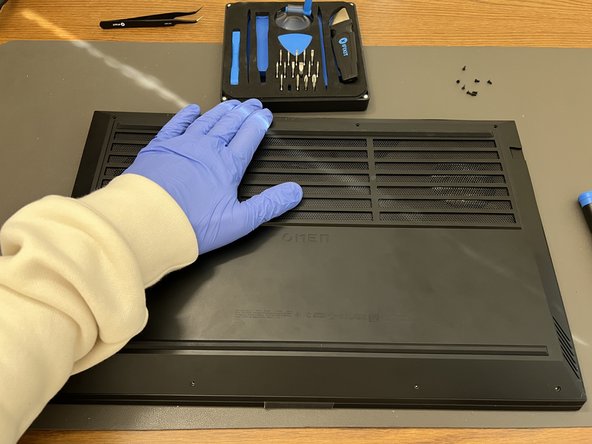
    • Place the bottom of the chassis back onto the laptop and push down on each corner of the laptop until you hear a snap or it is clear that the case has been resealed.

  10. HP Omen 16 Battery Replacement: étape 10, image 1 de 2 HP Omen 16 Battery Replacement: étape 10, image 2 de 2
    • Use your thumb and drag it along the outside edge of the bottom of the chassis to ensure all gaps have been closed.

  11. HP Omen 16 Battery Replacement: étape 11, image 1 de 1
    • Screw in the 8 screws at the bottom of the chassis until they are snug.

  12. HP Omen 16 Battery Replacement: étape 12, image 1 de 1
    • Plug in the laptop to check for a charging light to ensure that the system recognizes the battery and that the battery charges.

Ligne d'arrivée

alexscherber

Membre depuis le 02/27/24

205 Réputation

1 tutoriel rédigé

0 commentaires

Ajouter un commentaire

Nombre de vues :

Dernières 24 heures : 1

7 derniers jours : 17

30 derniers jours : 61

Total : 104