Aller au contenu principal

HP Pavilion 15-ca2073cl Touchpad Replacement

Ce dont vous avez besoin

  1. HP Pavilion 15-ca2073cl Touchpad Replacement, Back Cover: étape 1, image 1 de 1
    • Before beginning, make sure the laptop is completely turned off by pressing the off button and waiting for the screen to turn black.

    • Flip the laptop over.

    • Remove all the 6.5mm screws (black) and the 4.8mm long screws (silver) using the Phillips #00 screwdriver.

  2. HP Pavilion 15-ca2073cl Touchpad Replacement: étape 2, image 1 de 2 HP Pavilion 15-ca2073cl Touchpad Replacement: étape 2, image 2 de 2
    • Use an iFixit opening tool to wedge in between the case and the body of the laptop.

    • Start from the front and work down both sides, disconnecting clips.

    • Remove the bottom case from the body.

  3. HP Pavilion 15-ca2073cl Touchpad Replacement, Battery: étape 3, image 1 de 2 HP Pavilion 15-ca2073cl Touchpad Replacement, Battery: étape 3, image 2 de 2
    • Remove six 4.8mm screws (silver) using the Phillips #00 screwdriver.

  4. HP Pavilion 15-ca2073cl Touchpad Replacement, Touchpad: étape 4, image 1 de 2 HP Pavilion 15-ca2073cl Touchpad Replacement, Touchpad: étape 4, image 2 de 2
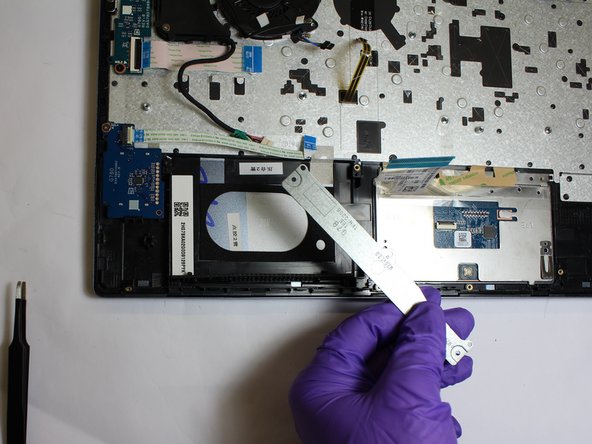
    • Once the battery is removed, use the tweezers to disconnect the smaller ribbon cable that is attached to the touchpad and motherboard.

    • Proceed to disconnect the larger ribbon cable that is attached to the touchpad and motherboard.

  5. HP Pavilion 15-ca2073cl Touchpad Replacement: étape 5, image 1 de 2 HP Pavilion 15-ca2073cl Touchpad Replacement: étape 5, image 2 de 2
    • Using a screwdriver with a Phillips #00 screwdriver, remove the three screws on the metal touchpad bracket. Remove the bracket.

  6. HP Pavilion 15-ca2073cl Touchpad Replacement: étape 6, image 1 de 1
    • Using the tweezers, pull back the adhesive tape at the top of the touchpad.

    • Using the screwdriver with a Phillips #00 screwdriver, remove the two screws at the top of the touchpad.

  7. HP Pavilion 15-ca2073cl Touchpad Replacement: étape 7, image 1 de 1
    • Gently remove the touchpad from the laptop.

Conclusion

To reassemble your device, follow these instructions in reverse order.

0 commentaires

Ajouter un commentaire

Nombre de vues :

Dernières 24 heures : 0

7 derniers jours : 2

30 derniers jours : 8

Total : 660