Introduction
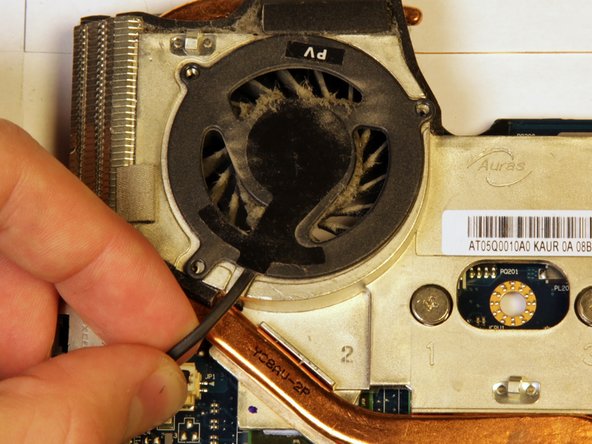
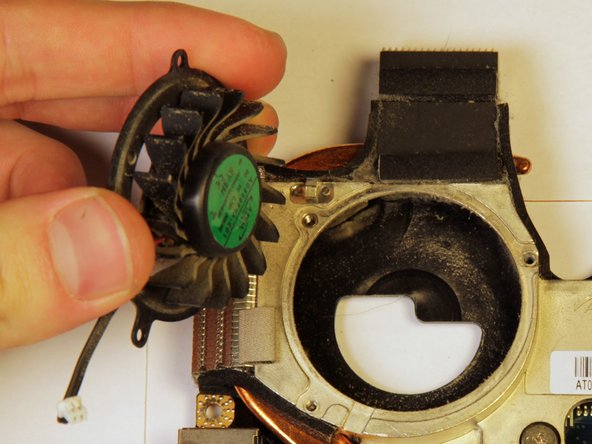
You will remove the heatsink and fan unit. This guide requires removing in excess of 35 screws and completely talking the laptop apart. Before you begin, have some way to organize and keep track of screws and small parts.
Ce dont vous avez besoin
-
-
Step 1 – Battery: Locate the battery release slider on the bottom of the laptop and move it in the direction of the arrow to the unlock position.
-
The yellow highlighted edge of the battery should pop up slightly when the switch is moved
-
-
-
Remove the 3.5 mm diameter, 7 mm long screw with your Phillips PH1 screwdriver.
-
-
-
With the laptop upside down, locate the three screws on the wireless card cover and unscrew the screws.
-
All three screws will have a 3.5 mm diameter head.
-
Two of the screws will be silver, 7mm in length, and will stay attached to the cover.
-
One screw will be black, 13mm in length, and will separate from the cover. Set this screw aside.
-
-
-
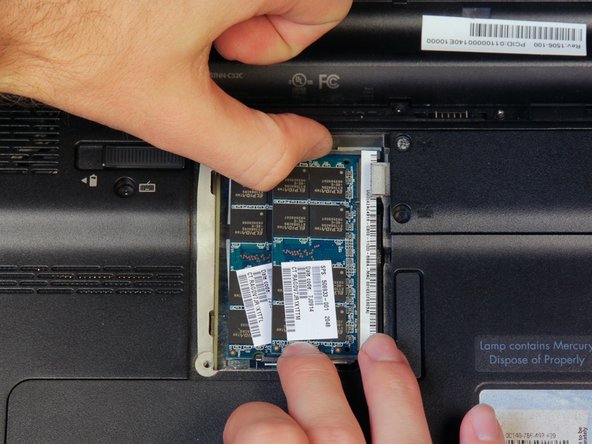
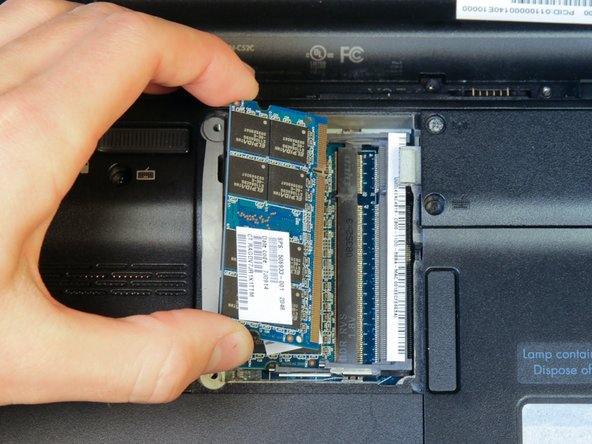
Remove the two 3.5 mm diameter head and 7 mm long screws using the Philips PH1 screwdriver.
-
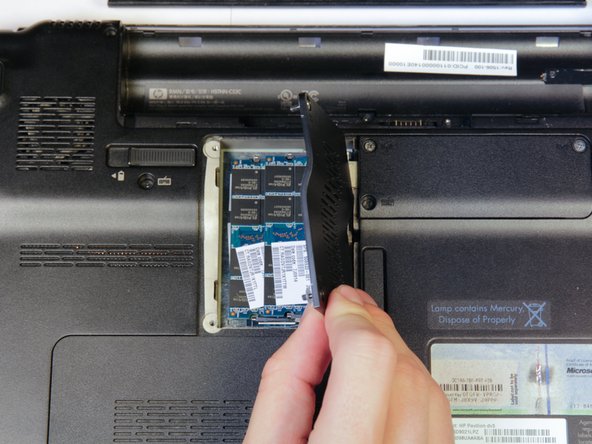
Set the cover with attached screws to the side.
-
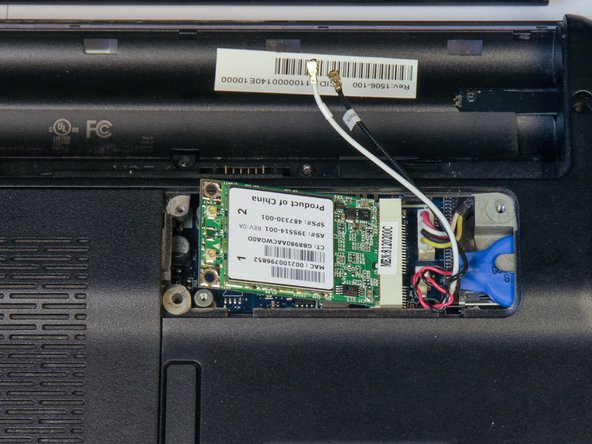
The RAM will now be exposed
-
-
-
-
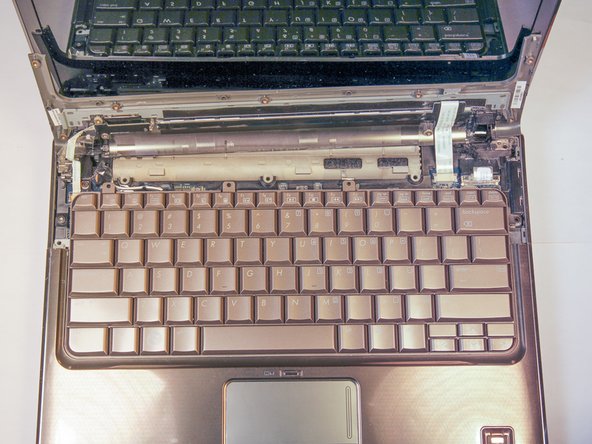
Locate and remove all 12 black screws on the back cover. They have a 3.5 mm diameter head and are 13 mm in length.
-
-
-
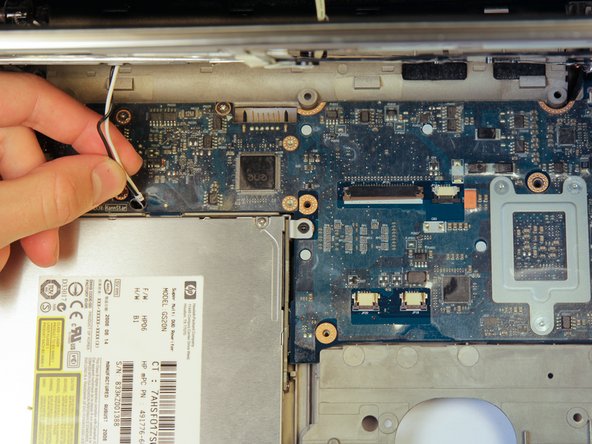
Locate the connector holding the black screen cable and pull the clear tab up to detach the cable.
-
Pull the black cable out of the two clips holding it to the frame.
-
Once the cable is detached, lift the screen straight up out of the laptop to remove it. Set the screen down right above the laptop body, facing up.
-
-
-
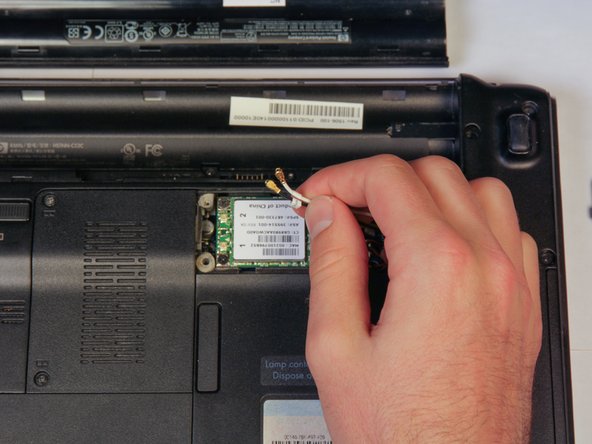
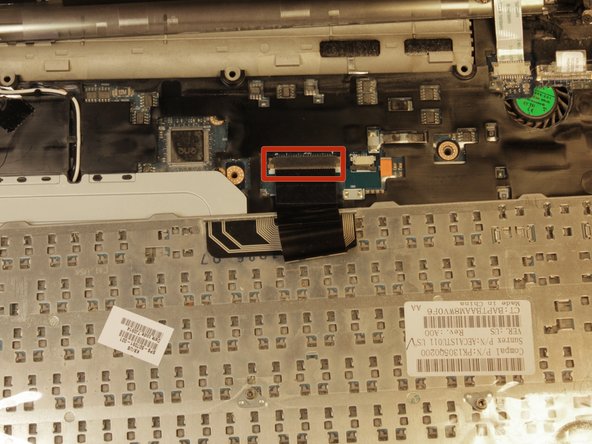
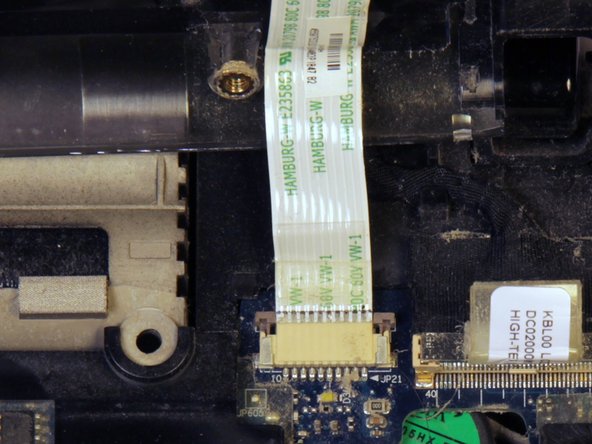
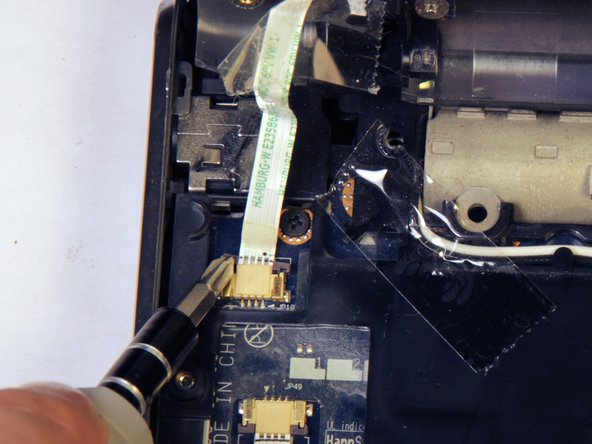
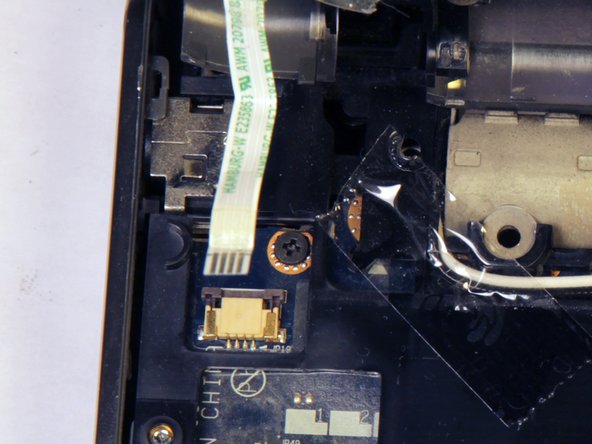
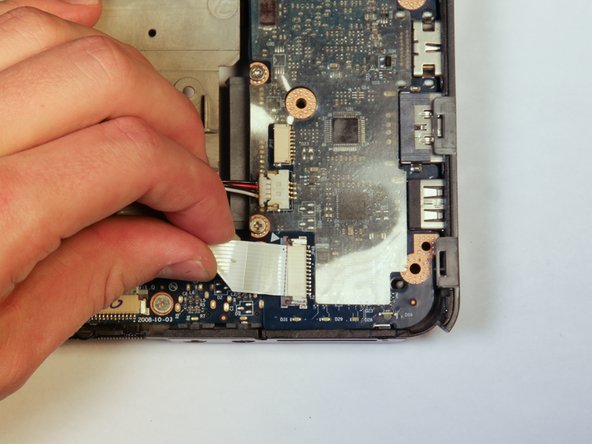
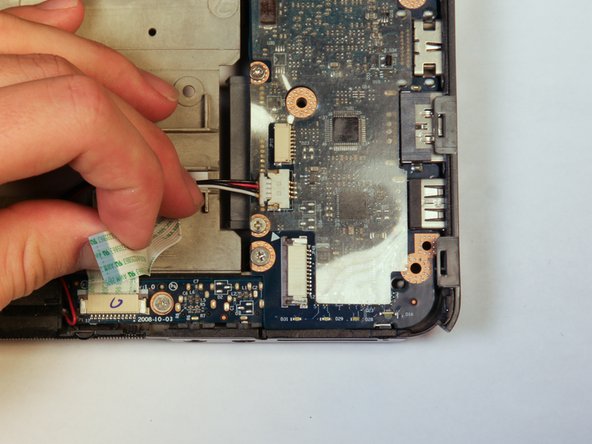
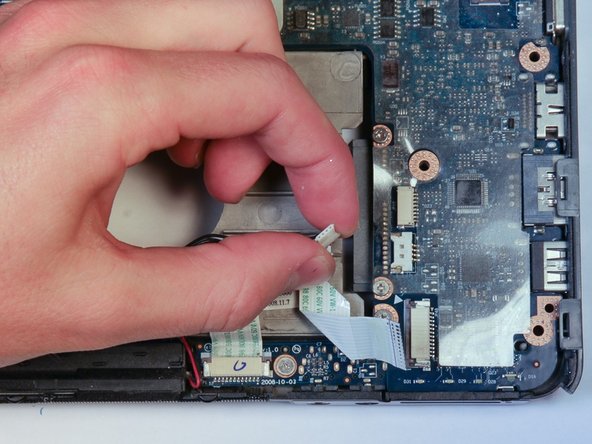
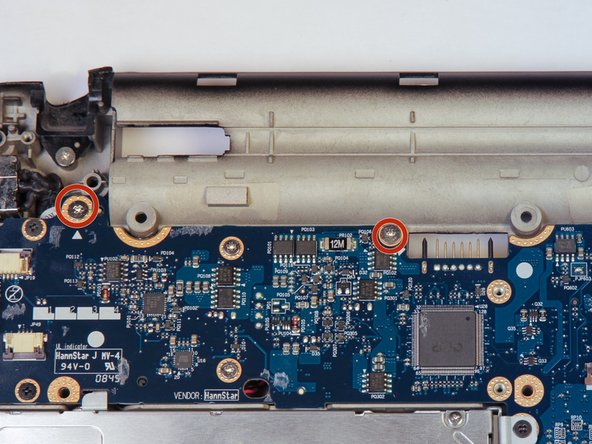
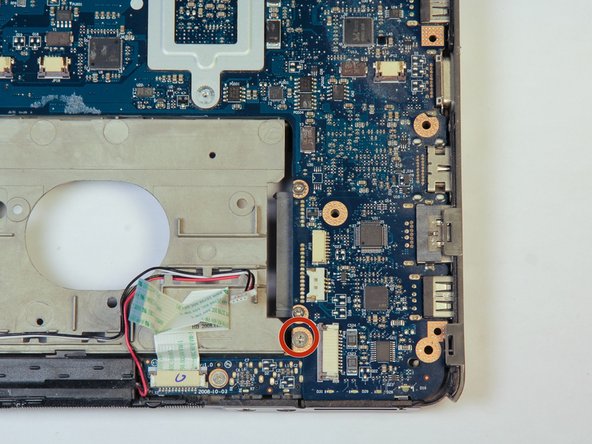
Locate the small white connector holding red, white, and black cables and pull it to the left to remove it from the clip.
-
Pull the clip to the left to remove it from the connector.
-
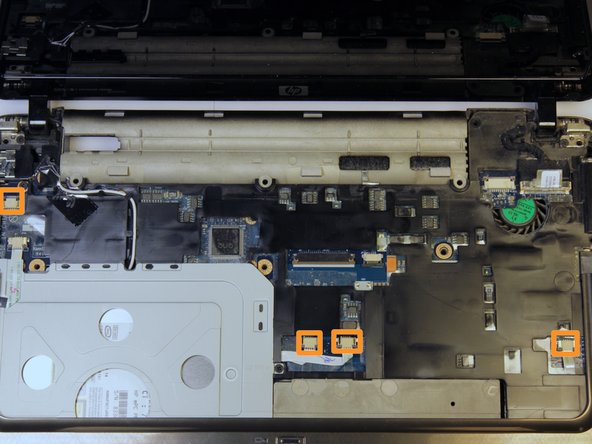
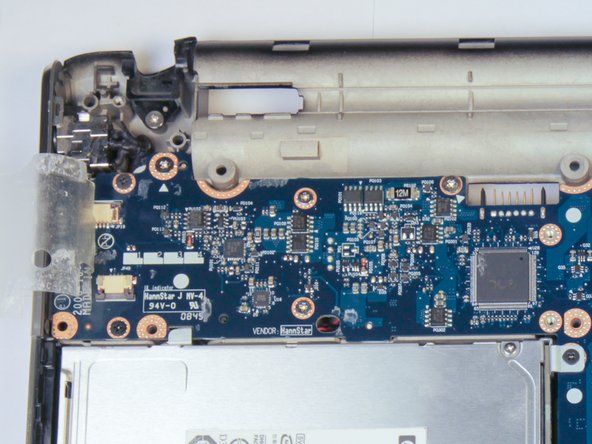
There may be a plastic film covering the motherboard. Start at the front right corner (as pictured) and peel the film off, leaving about one cm of the top, left edge attached.
-
-
-
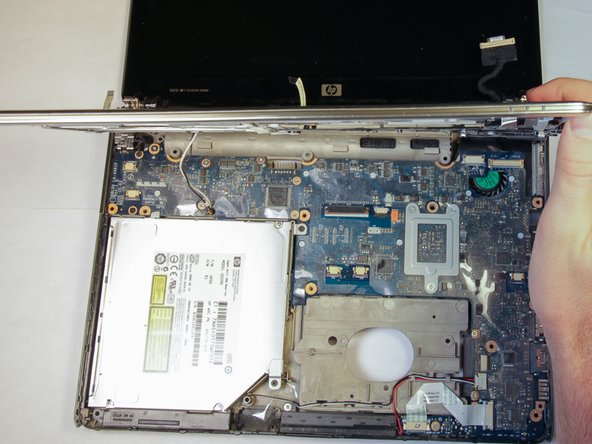
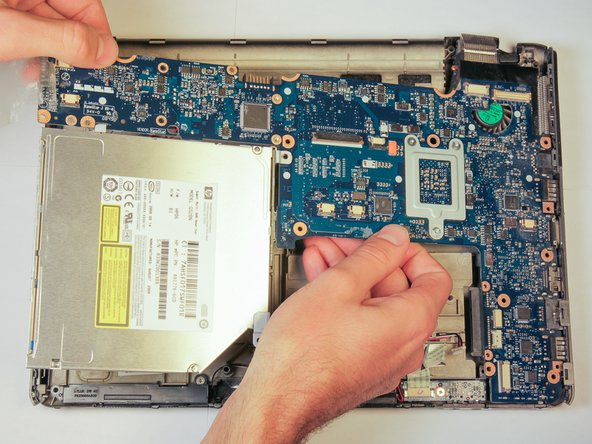
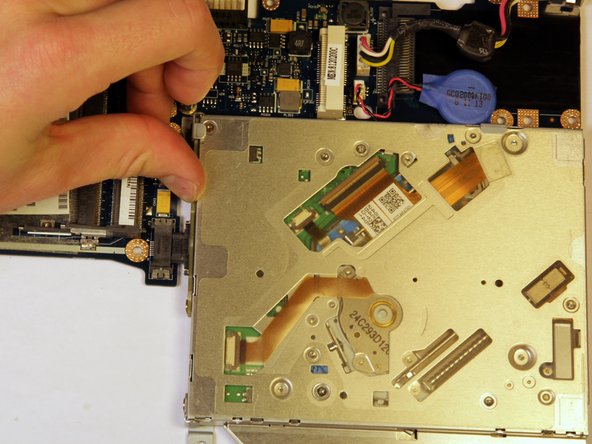
Lift from the top left side of the motherboard and the bottom right lip of the CD drive.
-
Lift the whole assembly up and slide it to the left to remove it from the laptop.
-
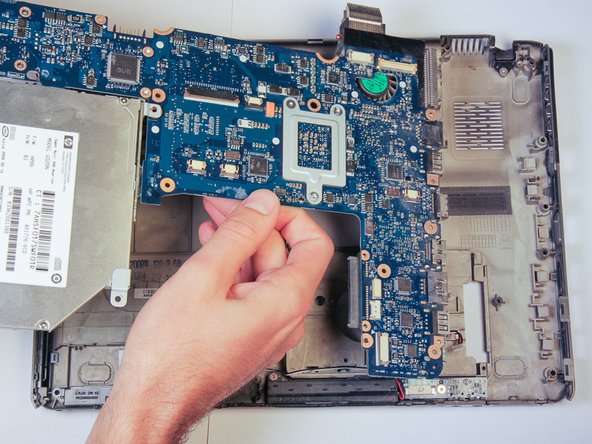
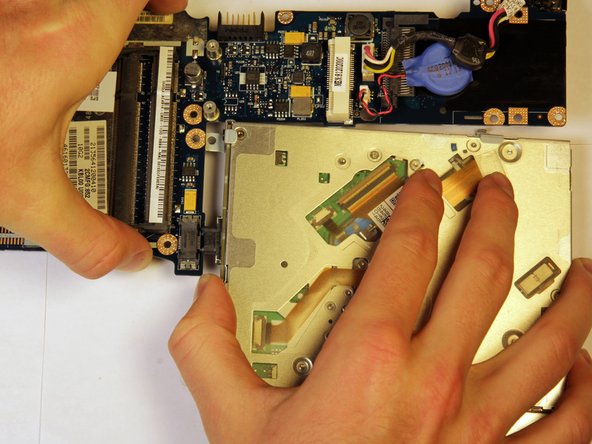
Move the bottom case out of the way and then turn the motherboard assembly over and set it down in front of you.
-


To reassemble your device, follow these instructions in reverse order.
To reassemble your device, follow these instructions in reverse order.
Annulation : je n'ai pas terminé ce tutoriel.
12 autres ont terminé cette réparation.
Équipe

Cal Poly, Team 14-10, Forte Fall 2013 Membre de l'équipe Cal Poly, Team 14-10, Forte Fall 2013
CPSU-FORTE-F13S14G10
4 membres
5 tutoriels rédigés