Introduction
If your HP Pavilion x360 Convertible 14-dw1025nr is having a hard time loading or storing data, the laptop's SSD may be damaged. Use this guide to replace it.
The SSD of a laptop is used to store data permanently within the computer and can help to improve your wait time when loading applications. An old SSD can become slow and undesirable for transferring files and running an operating system. Replacing the SSD and installing an operating system as new can greatly improve the speed of the laptop software.
Another reason to replace the SSD could simply be to increase the amount of storage within the laptop. The default SSD may be fast enough to provide a smooth experience, but if more storage is needed, the SSD can be replaced with another that has much more space.
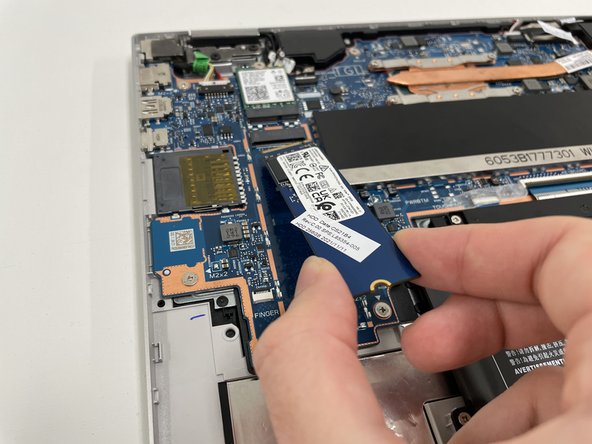
Replacing the SSD is an easy task that only requires removing some screws and unplugging one part (the SSD itself). Inserting a new SSD is easy because it can only be placed in one orientation.
Ce dont vous avez besoin
-
-
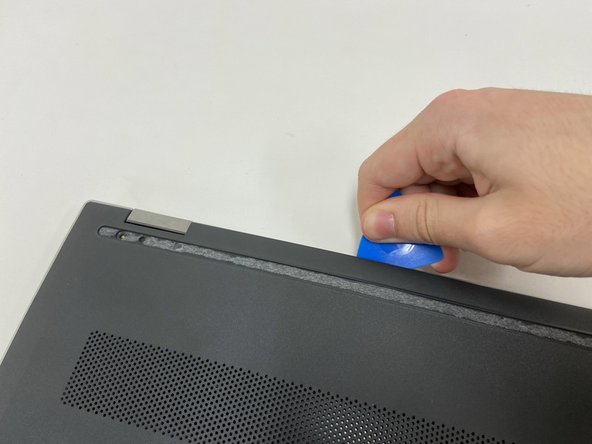
Turn off the device and set it upside down. Orient the hinges away from you.
-
Wedge the opening pick under the grip. Lift the end of the grip.
-
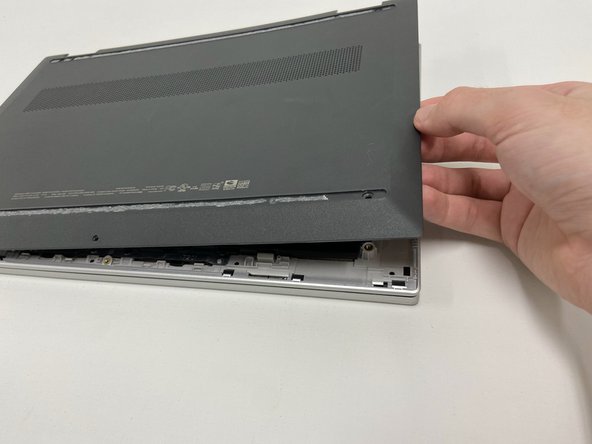
Pull the grip off all the way. Repeat for the second grip.
-
-


To reassemble your device, follow these instructions in reverse order.
To reassemble your device, follow these instructions in reverse order.

Équipe

Western Carolina University, Team 1-3, Virtue Fall 2022 Membre de l'équipe Western Carolina University, Team 1-3, Virtue Fall 2022
WCU-VIRTUE-F22S1G3
4 membres
5 tutoriels rédigés