Introduction
Aside from having the best games to enjoy during your free time, you need to have premium audio to fully enjoy the coolest apps. In this guide, you will be able to bring the rich sounds back to life by replacing the Beats Audio speaker unit. In this guide, you will be removing the following:
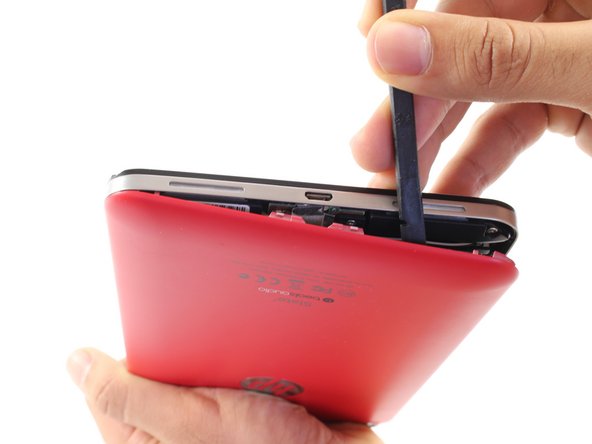
- Back Cover
- Battery
- Charging Port
- Speaker Unit
Prepare your required tools, a new speaker unit for your tablet, and set aside about 15 to 25 minutes to delve into the inner workings of your HP Slate.
Ce dont vous avez besoin
-
-
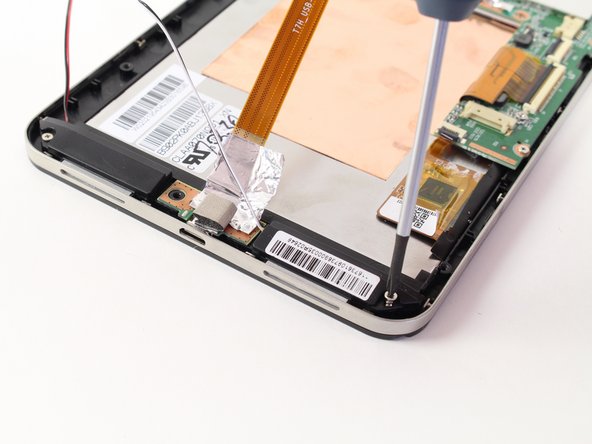
Begin your replacement by using a T3 or T4 Torx screwdriver.
-
Remove the two 1.4mm x 3mm Torx Head screws at the top of the device.
-
-
-
-
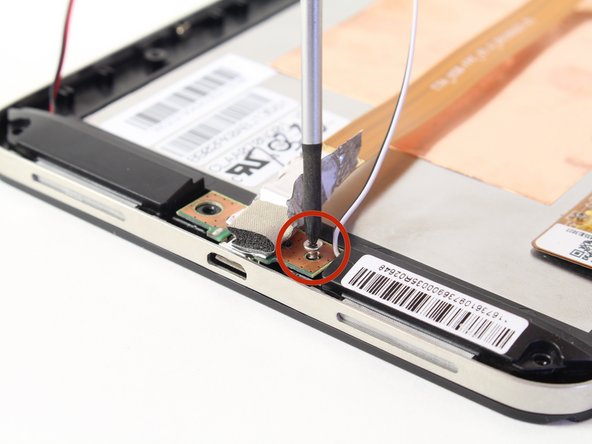
To free the speaker assembly, you will need a #00 Phillips Head screwdriver.
-
Remove the two 1.75mm x 3mm Phillips Head screws from the speaker assembly.
-


To reassemble your device, follow these instructions in reverse order.
To reassemble your device, follow these instructions in reverse order.
Annulation : je n'ai pas terminé ce tutoriel.
Une autre personne a terminé cette réparation.

Équipe

Cal Poly, Team 13-30, Maness Spring 2014 Membre de l'équipe Cal Poly, Team 13-30, Maness Spring 2014
CPSU-MANESS-S14S13G30
3 membres
8 tutoriels rédigés