Cette version peut contenir des modifications incorrectes. Passez au dernier aperçu vérifié.
Ce dont vous avez besoin
-
-
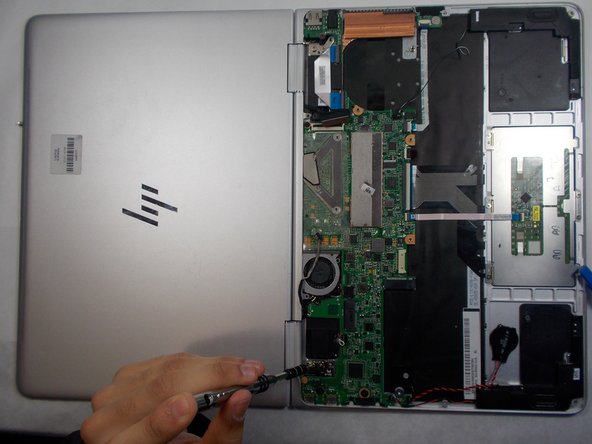
retournez l'ordinateur de manière a ce que l’étiquette de modèle soit orientée vers le haut
-
-
-
Cette étape n’est pas traduite. Aidez à la traduire
-
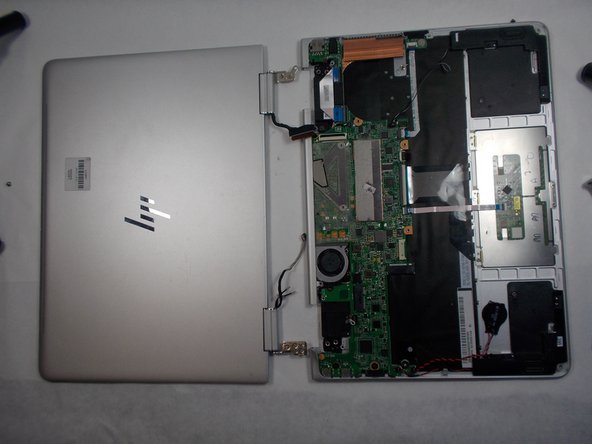
Lay the laptop flat on the table with the keyboard side facing the table and the motherboard facing up.
-
-
Cette étape n’est pas traduite. Aidez à la traduire
-
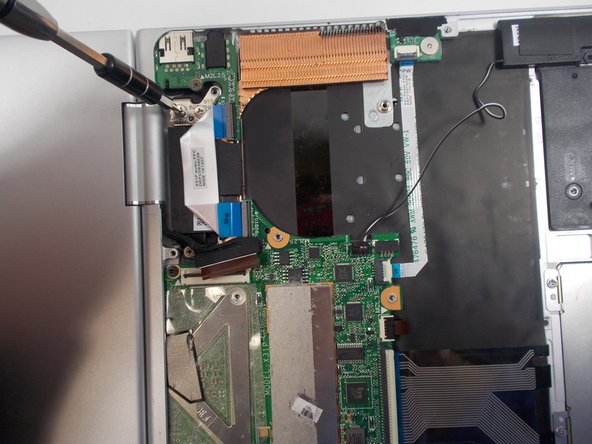
Using the Phillips #000 screwdriver, remove the four 1.0 mm screws that attach the display to the main body of the computer.
-
-
Cette étape n’est pas traduite. Aidez à la traduire
-
Move the metal components that were just unscrewed out of the way to make a clear view of the two display connectors.
-
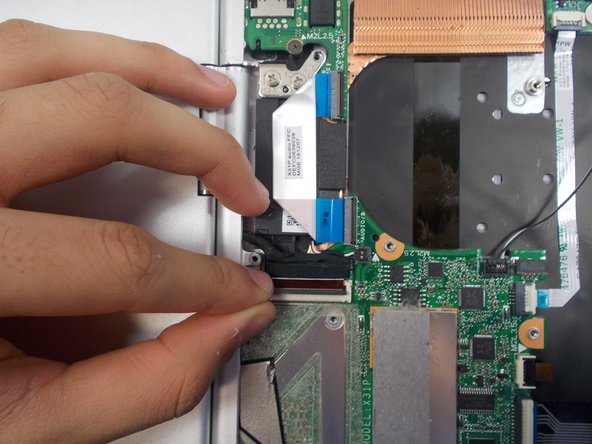
Flip up both latches that are found at the center of the computer's body where the wires connect to the motherboard. Then release the wires that attach to the display. This will separate the two main parts of the computer.
-
-
Cette étape n’est pas traduite. Aidez à la traduire
-
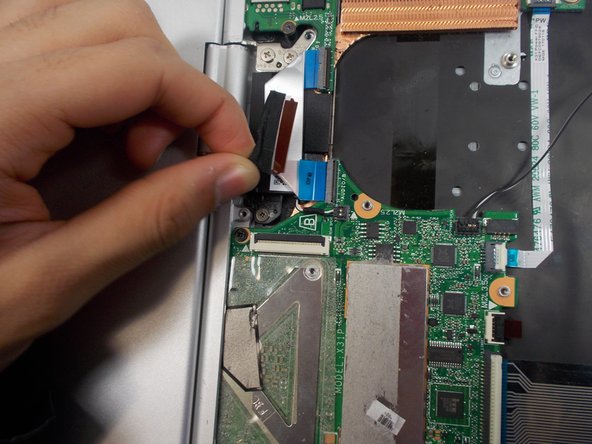
Separate the display from the bottom half of the computer(motherboard).
-


Annulation : je n'ai pas terminé ce tutoriel.
2 autres ont terminé cette réparation.
Équipe

UMass Dartmouth, Team S1-G6, Botvin Fall 2019 Membre de l'équipe UMass Dartmouth, Team S1-G6, Botvin Fall 2019
UMASSD-BOTVIN-F19S1G6
3 membres
6 tutoriels rédigés
Un commentaire
I couldn’t remove the display without removing the one speaker. In the pictures, you can easily see that he just bent the metal case at the hinge and pried it out.