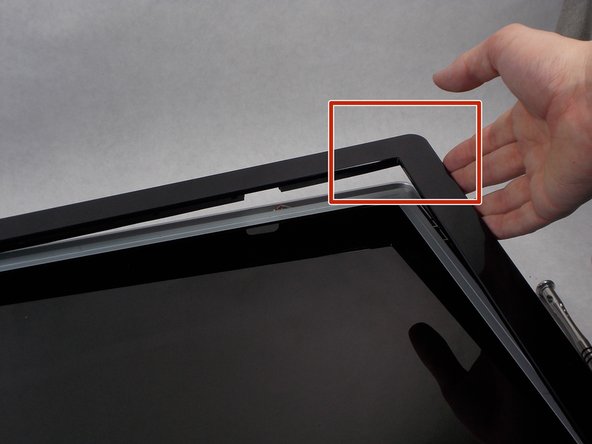
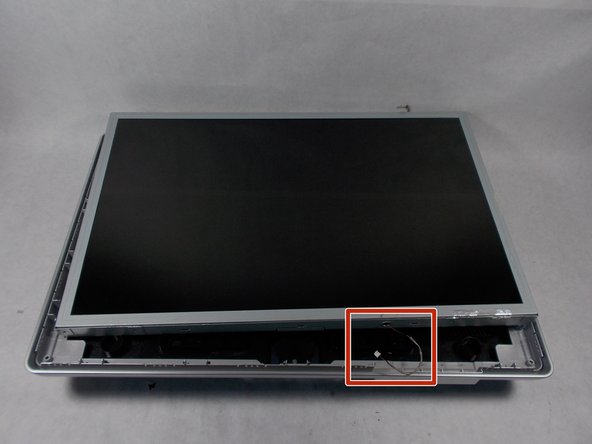
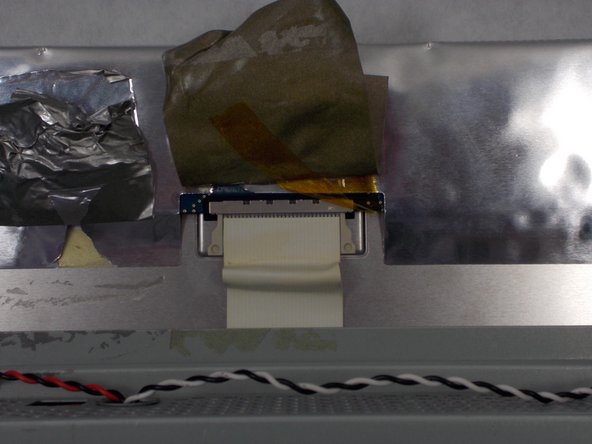
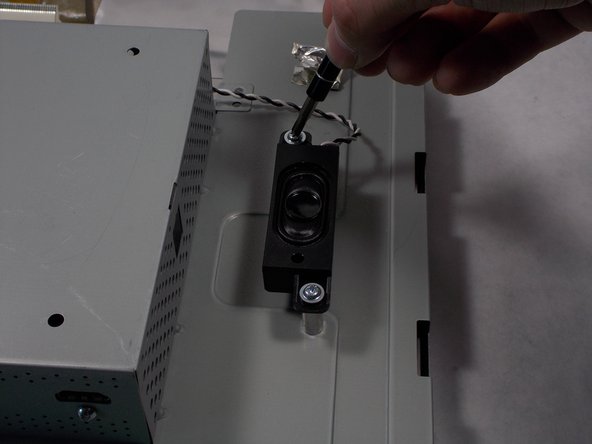
Aller au contenu principal

HP w2216h Speaker Replacement

Ce dont vous avez besoin

  1. HP w2216h Speaker Replacement, Screen: étape 1, image 1 de 1
    • 'Make sure you are grounded, the power supply is not connected and you are wearing safety goggles.

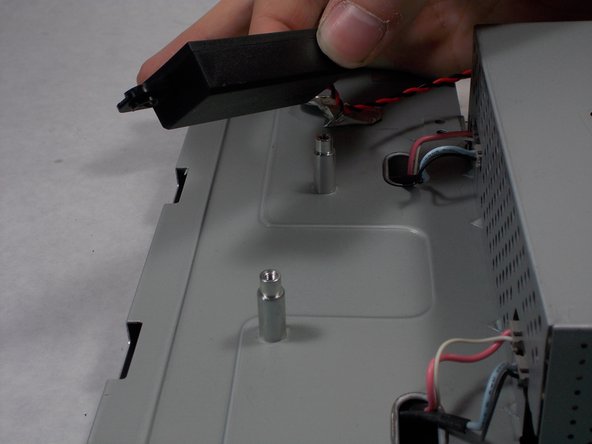
    • Use the Philips #000 screwdriver to remove the 4 round12mm screws on the back panel.

  2. HP w2216h Speaker Replacement: étape 2, image 1 de 2 HP w2216h Speaker Replacement: étape 2, image 2 de 2
    • Using a Philips #000 head remove 2 flat 12 mm screws above stand mounting bracket.

    • Using a PH1 Philips head with the 150 mm flexible extension remove 1 Philips head screw under the stand mounting bracket.

    • Stand will easily pull off.

  3. HP w2216h Speaker Replacement: étape 3, image 1 de 3 HP w2216h Speaker Replacement: étape 3, image 2 de 3 HP w2216h Speaker Replacement: étape 3, image 3 de 3
    • Do not put the metal spudger between the metal and the glass. It needs to go under the bezel and above the metal.

    • Turn monitor so that the screen is facing you.

    • Pry the black bezel from above the metal by placing your metal spudger between the bezel and the metal and twisting the tool slightly.

    • The best places to pry are in the lower left and lower right corners of the black bezel.

  4. HP w2216h Speaker Replacement: étape 4, image 1 de 3 HP w2216h Speaker Replacement: étape 4, image 2 de 3 HP w2216h Speaker Replacement: étape 4, image 3 de 3
    • Be careful of the wires attaching the power button and the control buttons. Show extreme caution to ensure the button is not damaged.

    • Lift the screen assembly from the plastic housing from the corners.

  5. HP w2216h Speaker Replacement: étape 5, image 1 de 2 HP w2216h Speaker Replacement: étape 5, image 2 de 2
    • Remove the 4 connectors from the left side of the monitor on the back.

  6. HP w2216h Speaker Replacement: étape 6, image 1 de 3 HP w2216h Speaker Replacement: étape 6, image 2 de 3 HP w2216h Speaker Replacement: étape 6, image 3 de 3
    • Lift the gray tape of the top of the monitor to expose the ribbon cable.

    • Remove the ribbon cable by sliding the connector towards the center of the screen assembly.

    • Lift the reflective tape next to the gray tape.

  7. HP w2216h Speaker Replacement: étape 7, image 1 de 3 HP w2216h Speaker Replacement: étape 7, image 2 de 3 HP w2216h Speaker Replacement: étape 7, image 3 de 3
    • Remove the 4 PH1 8mm Philips round screws on the outer edge of the screen's assembly.

    • Lift the screen from the screen assembly.

  8. HP w2216h Speaker Replacement, Speakers: étape 8, image 1 de 1
    • Remove the tape holding each speakers wire to the screen assembly.

  9. HP w2216h Speaker Replacement: étape 9, image 1 de 2 HP w2216h Speaker Replacement: étape 9, image 2 de 2
    • Remove the two 8mm Philips #000 head screws on each speaker.

  10. HP w2216h Speaker Replacement: étape 10, image 1 de 2 HP w2216h Speaker Replacement: étape 10, image 2 de 2
    • Remove the speakers by lifting them vertically from the screen assembly.

  11. HP w2216h Speaker Replacement: étape 11, image 1 de 1
    • Remove the cables that connects the speakers to the signal output board.

Conclusion

To reassemble your device, follow these instructions in reverse order.

Patrick Aucoin

Membre depuis le 03/25/16

221 Réputation

2 tutoriels rédigés

Équipe

UMass Dartmouth, Team 1-1, Miles Spring 2016 Membre de l'équipe UMass Dartmouth, Team 1-1, Miles Spring 2016

UMASSD-MILES-S16S1G1

4 membres

12 tutoriels rédigés

0 commentaires

Ajouter un commentaire

Nombre de vues :

Dernières 24 heures : 0

7 derniers jours : 2

30 derniers jours : 2

Total : 298