Aller au contenu principal

HTC Hero Camera Replacement

Ce dont vous avez besoin

  1. HTC Hero Camera Replacement, Back Case: étape 1, image 1 de 1
    • Remove the back of the phone by pushing firmly with your thumbs up towards the camera.

    • Remove both the battery and the SD card (Press SD card in to release)

    • Locate and remove the four Torx screws highlighted in the photo, with the phone laying face down on your work space.

  2. HTC Hero Camera Replacement: étape 2, image 1 de 1
    • Carefully pry the inside back cover from the device using an appropriate size plastic opening tool or small flathead screwdriver.

    • Insert the flat end between the back and front enclosure, working your way around the rim.

  3. HTC Hero Camera Replacement: étape 3, image 1 de 1
    • Gently depress and release the small plastic tabs around the rim in the front enclosure, highlighted here.

    • It is best to start with the tab found on the top center of the phone, as it is easiest to locate.

  4. HTC Hero Camera Replacement: étape 4, image 1 de 2 HTC Hero Camera Replacement: étape 4, image 2 de 2
    • Carefully separate the front and back enclosures once all of the clips have been disengaged.

    • Be sure to not separate too quickly or you risk breaking an attached tab.

  5. HTC Hero Camera Replacement, Camera: étape 5, image 1 de 3 HTC Hero Camera Replacement, Camera: étape 5, image 2 de 3 HTC Hero Camera Replacement, Camera: étape 5, image 3 de 3
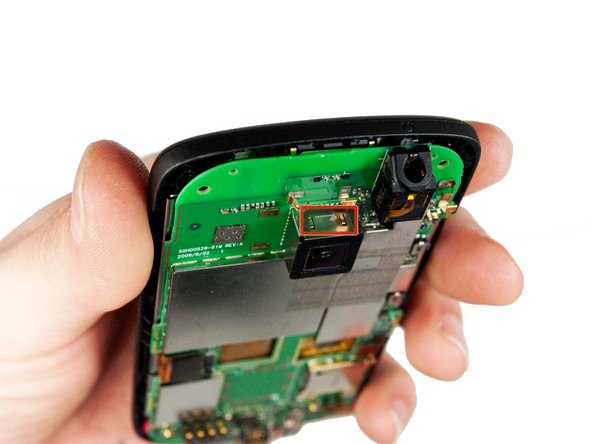
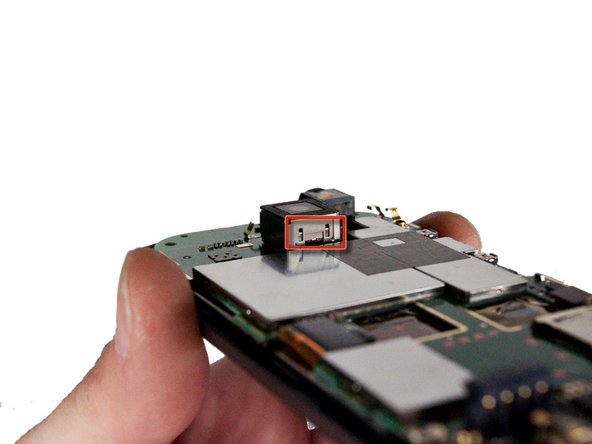
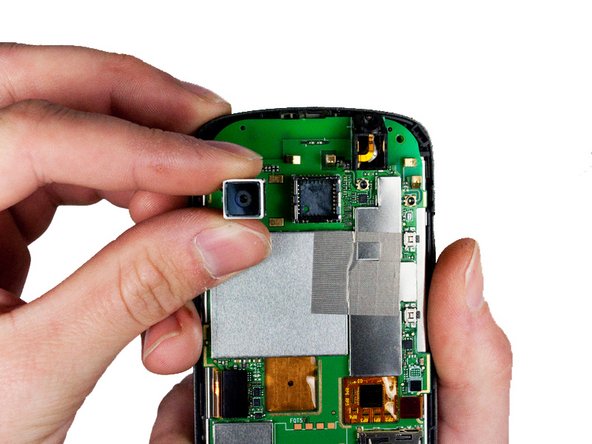
    • Locate the four metal tabs on the top and bottom of the camera holding the camera enclosure to the motherboard.

  6. HTC Hero Camera Replacement: étape 6, image 1 de 2 HTC Hero Camera Replacement: étape 6, image 2 de 2
    • Using a pair of metal tweezers, simultaneously depress both tabs on one side of the camera enclosure and gently pull up until tabs come free. Repeat for the opposite side.

  7. HTC Hero Camera Replacement: étape 7, image 1 de 2 HTC Hero Camera Replacement: étape 7, image 2 de 2
    • Pull the released camera enclosure away from the motherboard until it is completely free.

  8. HTC Hero Camera Replacement: étape 8, image 1 de 2 HTC Hero Camera Replacement: étape 8, image 2 de 2
    • Now with camera unit exposed, gently wiggle the camera as you pull away from the phone to remove it.

Conclusion

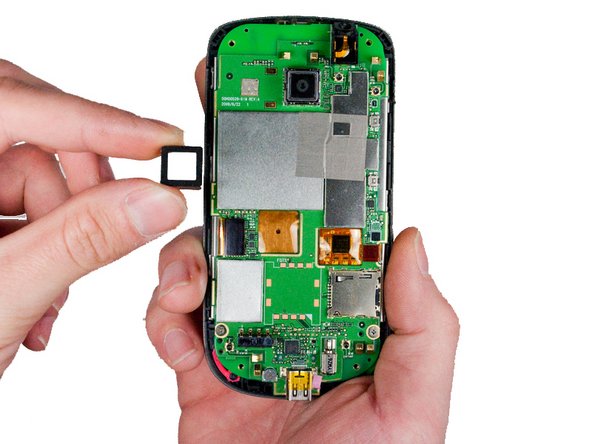
To reassemble your device, follow these instructions in reverse order.

Une autre personne a terminé cette réparation.

Max Brown

Membre depuis le 01/23/12

139 Réputation

4 tutoriels rédigés

Équipe

Cal Poly, Team 3-26, Amido Winter 2012 Membre de l'équipe Cal Poly, Team 3-26, Amido Winter 2012

CPSU-AMIDO-W12S3G26

5 membres

12 tutoriels rédigés

0 commentaires

Ajouter un commentaire

Nombre de vues :

Dernières 24 heures : 0

7 derniers jours : 0

30 derniers jours : 1

Total : 1,351