Aller au contenu principal

HTC Maple 100 Back Panel Replacement

Ce dont vous avez besoin

  1. HTC Maple 100 Back Panel Replacement, Battery: étape 1, image 1 de 1
    • First remove the back cover of your phone to expose the battery.

  2. HTC Maple 100 Back Panel Replacement: étape 2, image 1 de 1
    • Turn the phone over.

    • Push forward on the battery with your thumb.

  3. HTC Maple 100 Back Panel Replacement: étape 3, image 1 de 2 HTC Maple 100 Back Panel Replacement: étape 3, image 2 de 2
    • Take the battery out by lifting it upwards.

    • When reassembling, make sure that the battery contacts match up.

  4. HTC Maple 100 Back Panel Replacement, Back Panel: étape 4, image 1 de 2 HTC Maple 100 Back Panel Replacement, Back Panel: étape 4, image 2 de 2
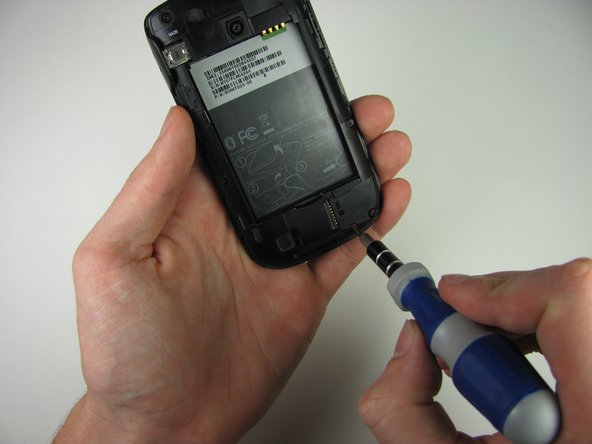
    • Remove the four 4.9mm T6 Torx screws that secure the back panel to the rest of the phone.

  5. HTC Maple 100 Back Panel Replacement: étape 5, image 1 de 1
    • Remove the two 4.3mm #00 Phillips screws that secure the back panel to the rest of the phone.

  6. HTC Maple 100 Back Panel Replacement: étape 6, image 1 de 3 HTC Maple 100 Back Panel Replacement: étape 6, image 2 de 3 HTC Maple 100 Back Panel Replacement: étape 6, image 3 de 3
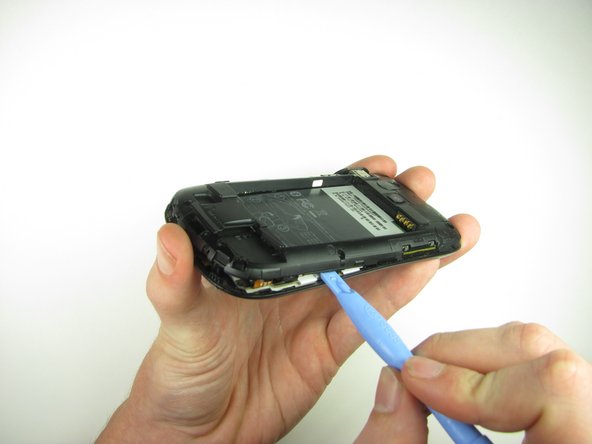
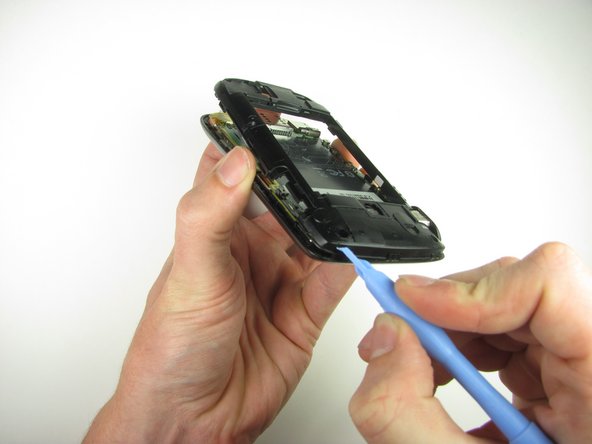
    • Insert the plastic opening tool along the seams at different points to it pry the clips off.

    • This may require a bit of force. The USB port cover may fall off in this step.

Conclusion

To reassemble your device, follow these instructions in reverse order.

Andrew Van Meter

Membre depuis le 10/06/11

24 Réputation

3 tutoriels rédigés

Équipe

Cal Poly, Team 20-29, Maness Fall 2011 Membre de l'équipe Cal Poly, Team 20-29, Maness Fall 2011

CPSU-MANESS-F11S20G29

4 membres

18 tutoriels rédigés

0 commentaires

Ajouter un commentaire

Nombre de vues :

Dernières 24 heures : 0

7 derniers jours : 1

30 derniers jours : 1

Total : 774