Aller au contenu principal

HTC Ozone Frame Replacement

Ce dont vous avez besoin

  1. HTC Ozone Frame Replacement, Rear Battery Cover: étape 1, image 1 de 1
    • Flip the phone over to have the rear cover facing up.

    • The camera lens should be towards the top of the phone.

  2. HTC Ozone Frame Replacement: étape 2, image 1 de 2 HTC Ozone Frame Replacement: étape 2, image 2 de 2
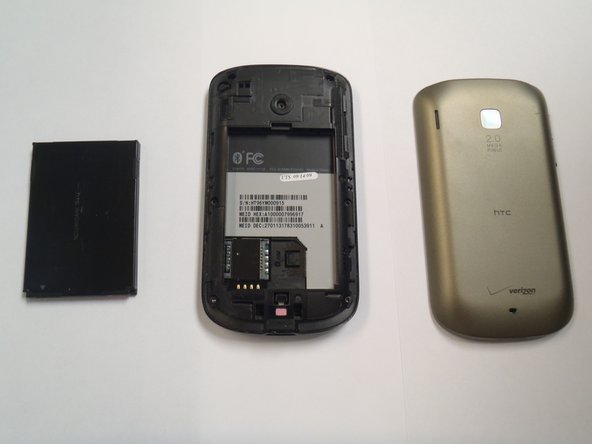
    • Slide the cover up, towards the top of phone, to unlock the battery cover.

    • Lift the cover off phone and remove it.

  3. HTC Ozone Frame Replacement, Battery: étape 3, image 1 de 3 HTC Ozone Frame Replacement, Battery: étape 3, image 2 de 3 HTC Ozone Frame Replacement, Battery: étape 3, image 3 de 3
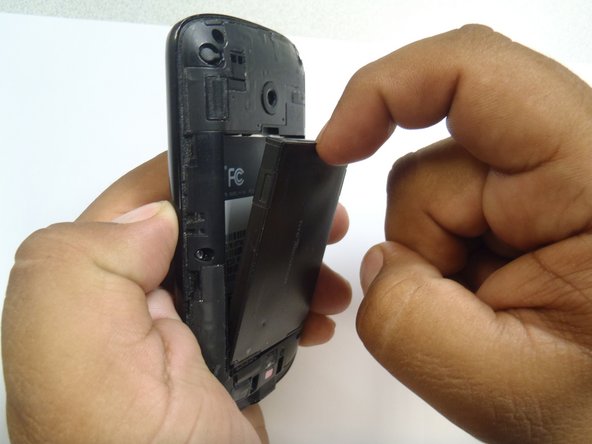
    • Use your finger to push the top of the battery downwards and lift the battery out of the phone.

  4. HTC Ozone Frame Replacement, Frame: étape 4, image 1 de 3 HTC Ozone Frame Replacement, Frame: étape 4, image 2 de 3 HTC Ozone Frame Replacement, Frame: étape 4, image 3 de 3
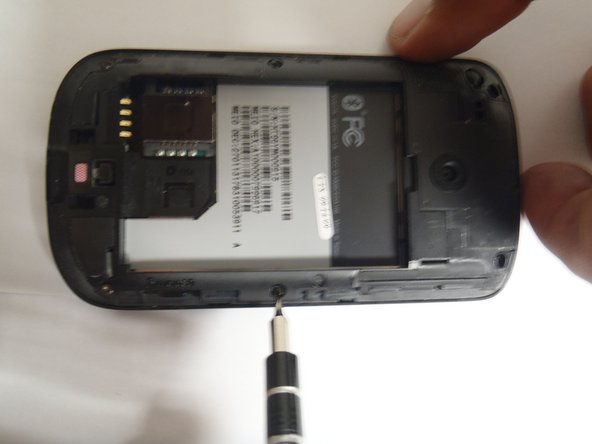
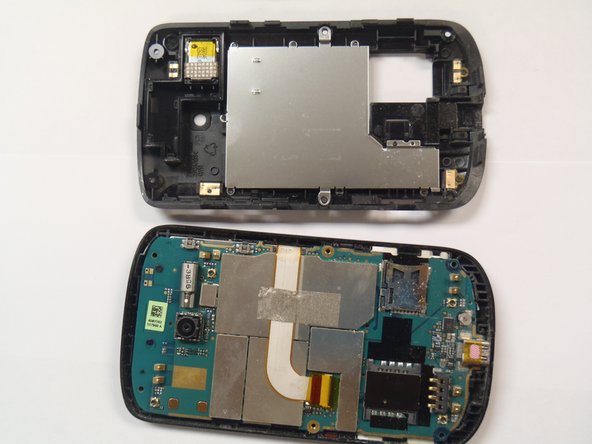
    • Remove the six Torx #5 screws that are securing the rear frame.

  5. HTC Ozone Frame Replacement: étape 5, image 1 de 3 HTC Ozone Frame Replacement: étape 5, image 2 de 3 HTC Ozone Frame Replacement: étape 5, image 3 de 3
    Outil utilisé dans cette étape :
    Plastic Cards
    $2.99
    J'achète
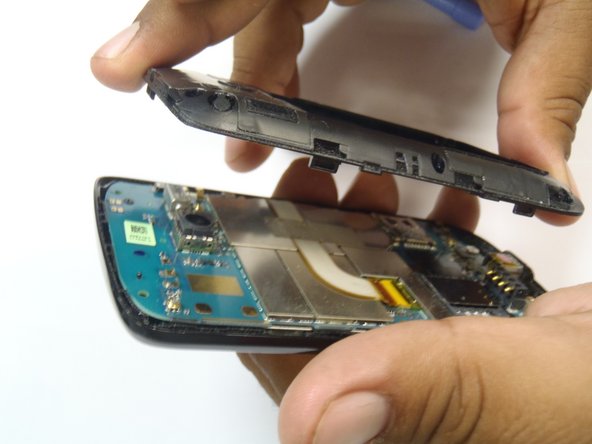
    • Pry the frame open, releasing the eight plastic tabs around the edge of the frame, using the plastic opening tool.

    • A plastic card can be used instead of the plastic opening tool.

Conclusion

To reassemble your device, follow these instructions in reverse order.

Une autre personne a terminé cette réparation.

Marco Jokada

Membre depuis le 04/28/11

247 Réputation

6 tutoriels rédigés

Équipe

CSU Los Angeles, Team 1-2, Nelson Spring 2011 Membre de l'équipe CSU Los Angeles, Team 1-2, Nelson Spring 2011

CSULA-NELSON-S11S1G2

5 membres

12 tutoriels rédigés

0 commentaires

Ajouter un commentaire

Nombre de vues :

Dernières 24 heures : 0

7 derniers jours : 2

30 derniers jours : 2

Total : 1,371