Introduction
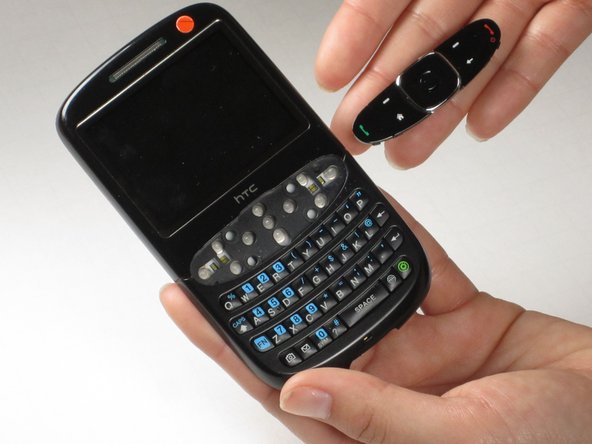
The navigation keys are the hard, directional keys on the front of the phone.
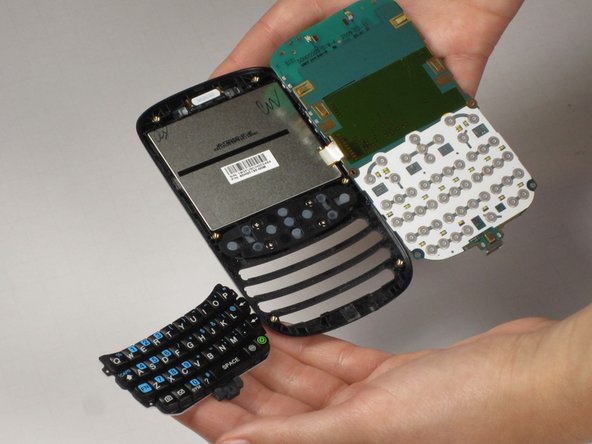
The qwerty keyboard are the soft keys on the front of the phone.
Ce dont vous avez besoin
-
-
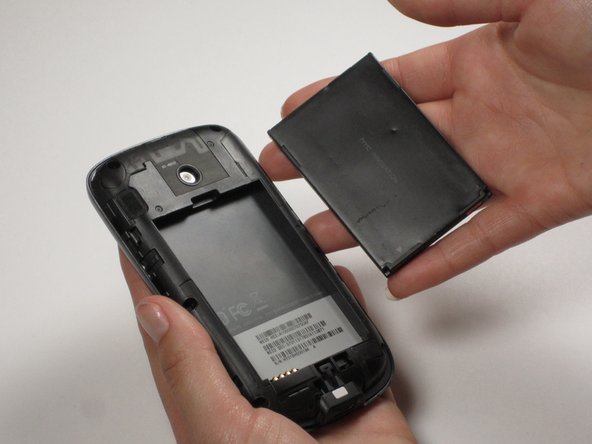
Insert your finger or a pry tool into the slot above the battery. Remove it and set aside.
-
-
-
-
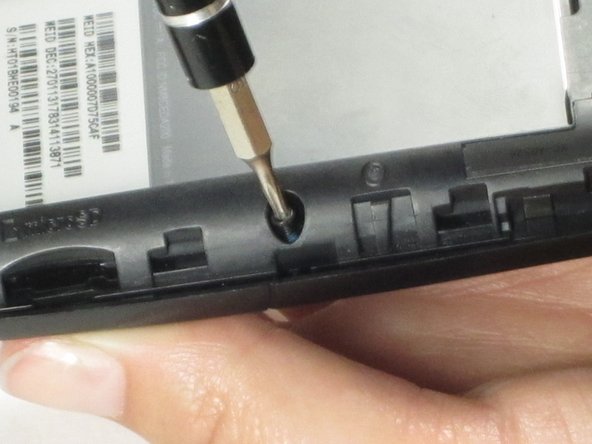
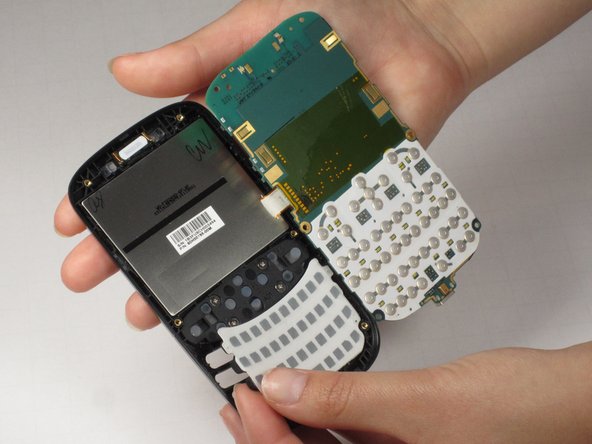
To remove the back casing inside the phone, unscrew the 6 screws that are around the perimeter of the phone.
-
-
-
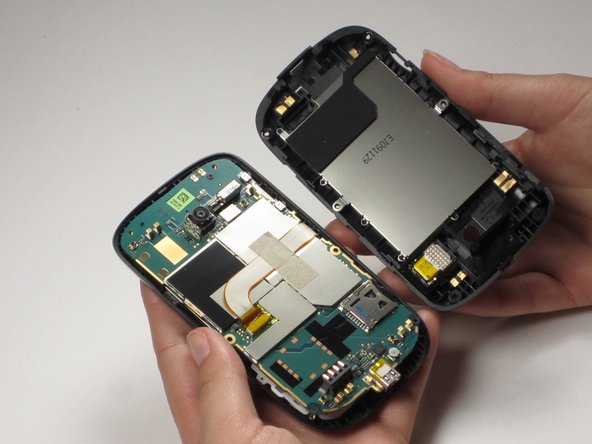
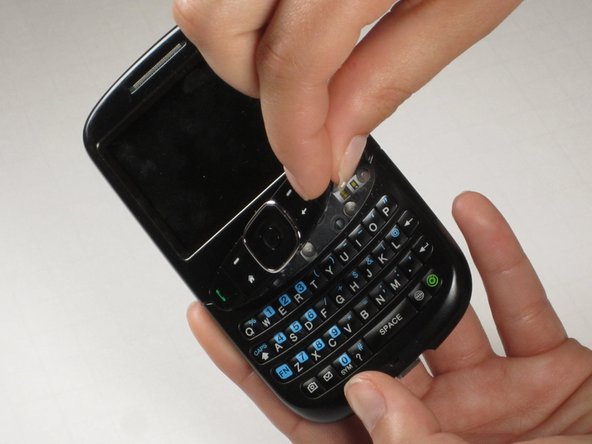
To remove the navigation keys on the front of the phone, unscrew the four screws circled using a Philips screwdriver.
-
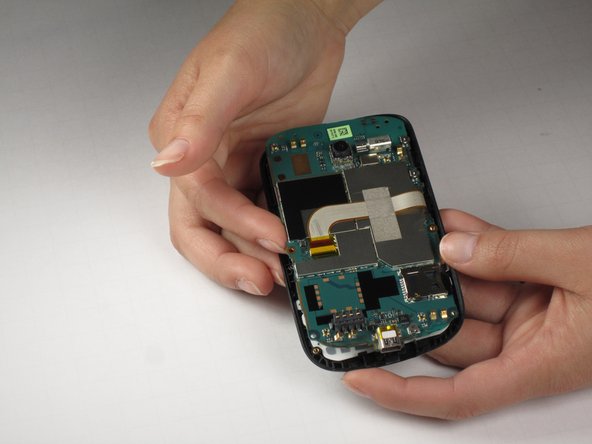
Remove the navigation keys from the front of the phone. They should pop out as a unit.
-


To reassemble your device, follow these instructions in reverse order.
To reassemble your device, follow these instructions in reverse order.
Équipe

Cal Poly, Team 25-29, Garner Spring 2011 Membre de l'équipe Cal Poly, Team 25-29, Garner Spring 2011
CPSU-GARNER-S11S25G29
3 membres
10 tutoriels rédigés