Aller au contenu principal

HTC Touch LCD Screen Replacement

Ce dont vous avez besoin

  1. HTC Touch LCD Screen Replacement, LCD Screen: étape 1, image 1 de 1
    • Remove the back panel by sliding it up.

  2. HTC Touch LCD Screen Replacement: étape 2, image 1 de 1
    • Remove the battery.

  3. HTC Touch LCD Screen Replacement: étape 3, image 1 de 1
    • Remove the 4 torx-head screws in the corners of the phone using the T5 Torx Screwdriver.

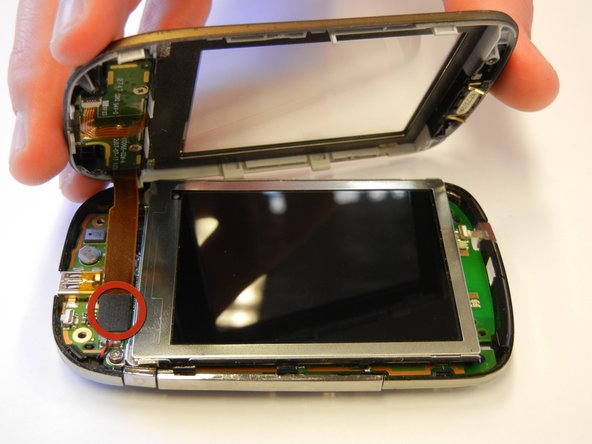
  4. HTC Touch LCD Screen Replacement: étape 4, image 1 de 2 HTC Touch LCD Screen Replacement: étape 4, image 2 de 2
    • Use the plastic opening tool to remove the front panel from the phone.

    • Be sure to unplug the front button cable from the inside of the phone.

  5. HTC Touch LCD Screen Replacement: étape 5, image 1 de 1
    • Unscrew the 2 torx-head screws at the base of the LCD screen using the T5 Torx Screwdriver.

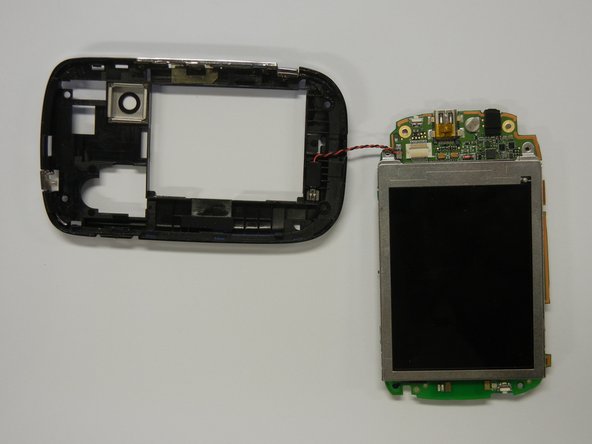
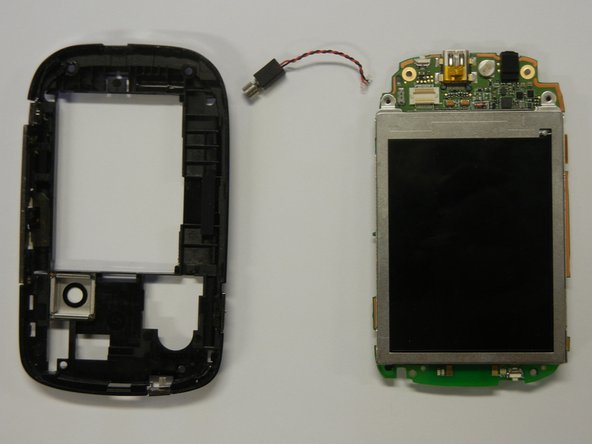
  6. HTC Touch LCD Screen Replacement: étape 6, image 1 de 2 HTC Touch LCD Screen Replacement: étape 6, image 2 de 2
    • Separate the motherboard from the black plastic casing.

    • Unplug the black and red wire from the motherboard.

    • Unplug the black and red wire from the black plastic casing.

  7. HTC Touch LCD Screen Replacement: étape 7, image 1 de 1
    • Lift the black lever next to the orange ribbon cable to remove the LCD screen.

Conclusion

To reassemble your device, follow these instructions in reverse order.

Une autre personne a terminé cette réparation.

callum rowland

Membre depuis le 04/18/11

247 Réputation

2 tutoriels rédigés

Équipe

Cal Poly, Team 15-12, Regan Spring 2011 Membre de l'équipe Cal Poly, Team 15-12, Regan Spring 2011

CPSU-REGAN-S11S15G12

4 membres

10 tutoriels rédigés

0 commentaires

Ajouter un commentaire

Nombre de vues :

Dernières 24 heures : 0

7 derniers jours : 0

30 derniers jours : 2

Total : 10,857