Aller au contenu principal

Handspring Visor Deluxe PDA Motherboard and Memory card I/O Replacement

Ce dont vous avez besoin

  1. Handspring Visor Deluxe PDA Motherboard and Memory card I/O Replacement, Outside cover and stylus: étape 1, image 1 de 2 Handspring Visor Deluxe PDA Motherboard and Memory card I/O Replacement, Outside cover and stylus: étape 1, image 2 de 2
    • Remove the outer screen cover by releasing the top clip from the main body of the device.

  2. Handspring Visor Deluxe PDA Motherboard and Memory card I/O Replacement: étape 2, image 1 de 3 Handspring Visor Deluxe PDA Motherboard and Memory card I/O Replacement: étape 2, image 2 de 3 Handspring Visor Deluxe PDA Motherboard and Memory card I/O Replacement: étape 2, image 3 de 3
    • Pull out the stylus from the top right corner of the device.

  3. Handspring Visor Deluxe PDA Motherboard and Memory card I/O Replacement: étape 3, image 1 de 3 Handspring Visor Deluxe PDA Motherboard and Memory card I/O Replacement: étape 3, image 2 de 3 Handspring Visor Deluxe PDA Motherboard and Memory card I/O Replacement: étape 3, image 3 de 3
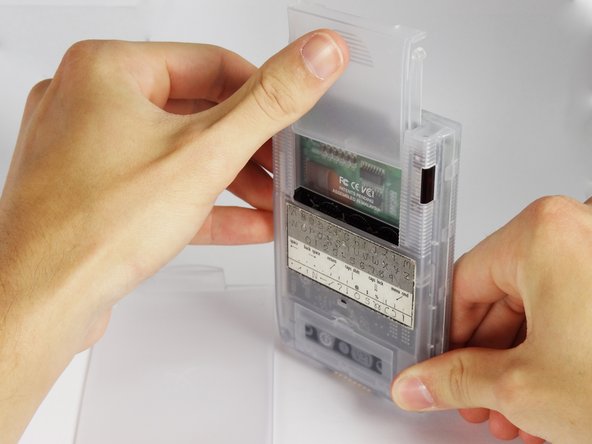
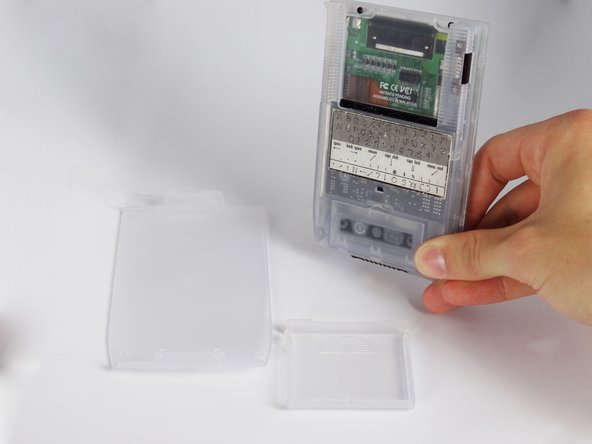
    • Slide the memory cartridge cover up and off the device.

  4. Handspring Visor Deluxe PDA Motherboard and Memory card I/O Replacement, Batteries: étape 4, image 1 de 2 Handspring Visor Deluxe PDA Motherboard and Memory card I/O Replacement, Batteries: étape 4, image 2 de 2
    • Remove the battery cover by releasing the clip from the main body of the device.

  5. Handspring Visor Deluxe PDA Motherboard and Memory card I/O Replacement: étape 5, image 1 de 1
    • Remove the batteries from the device.

  6. Handspring Visor Deluxe PDA Motherboard and Memory card I/O Replacement, Back Cover: étape 6, image 1 de 1
    • Unscrew the four 2.94mm screws with a #00 Phillips screwdriver.

    • One end of the OEM stylus can unscrew and contains a mini #00 Phillips screwdriver.

  7. Handspring Visor Deluxe PDA Motherboard and Memory card I/O Replacement: étape 7, image 1 de 3 Handspring Visor Deluxe PDA Motherboard and Memory card I/O Replacement: étape 7, image 2 de 3 Handspring Visor Deluxe PDA Motherboard and Memory card I/O Replacement: étape 7, image 3 de 3
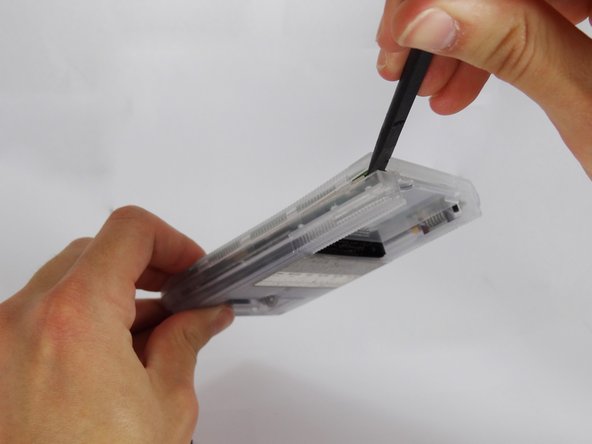
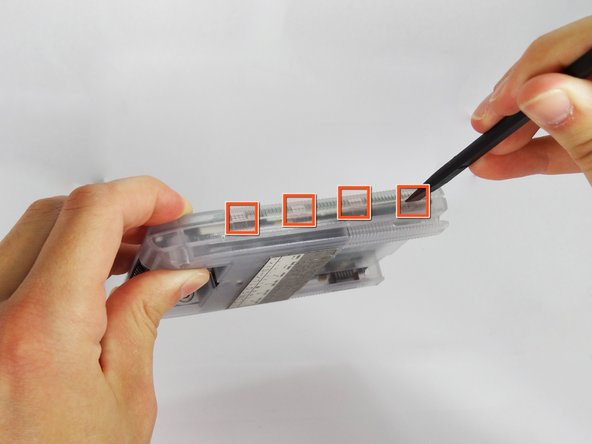
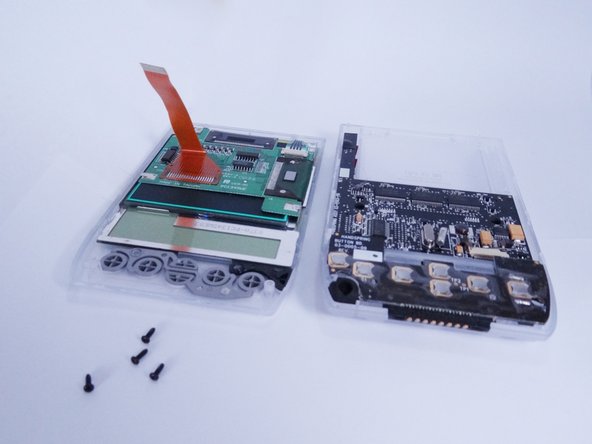
    • Use the spudger to pry open the casing by applying pressure at 4 clips on both sides of the device.

    • Be careful while opening the casing as there is a flex strip connecting the two halves.

  8. Handspring Visor Deluxe PDA Motherboard and Memory card I/O Replacement: étape 8, image 1 de 3 Handspring Visor Deluxe PDA Motherboard and Memory card I/O Replacement: étape 8, image 2 de 3 Handspring Visor Deluxe PDA Motherboard and Memory card I/O Replacement: étape 8, image 3 de 3
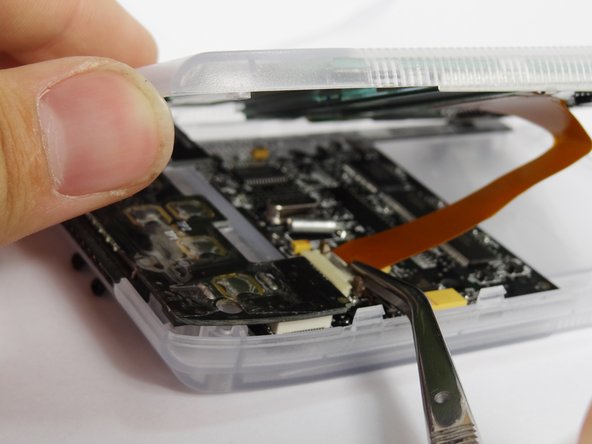
    • Disconnect the flex strip from the motherboard with tweezers.

  9. Handspring Visor Deluxe PDA Motherboard and Memory card I/O Replacement, Button Pad and Battery Terminal: étape 9, image 1 de 1
    • Use tweezers to remove the power button from the back case.

  10. Handspring Visor Deluxe PDA Motherboard and Memory card I/O Replacement: étape 10, image 1 de 3 Handspring Visor Deluxe PDA Motherboard and Memory card I/O Replacement: étape 10, image 2 de 3 Handspring Visor Deluxe PDA Motherboard and Memory card I/O Replacement: étape 10, image 3 de 3
    • Disconnect the button pad by using the spudger to pry it off the motherboard.

    • Remove the button pad.

  11. Handspring Visor Deluxe PDA Motherboard and Memory card I/O Replacement, Motherboard and Memory card I/O: étape 11, image 1 de 2 Handspring Visor Deluxe PDA Motherboard and Memory card I/O Replacement, Motherboard and Memory card I/O: étape 11, image 2 de 2
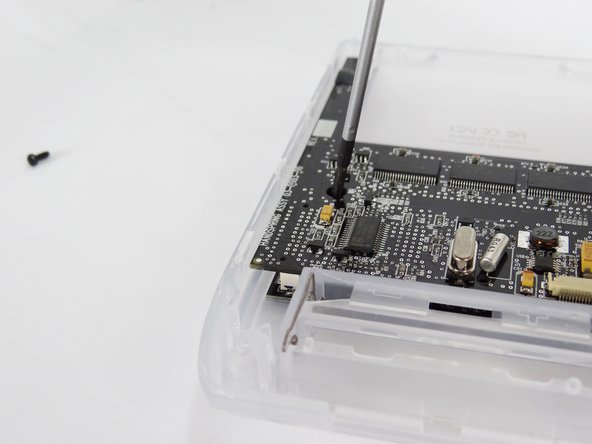
    • Unscrew the two 2.94mm Phillips #00 screws that hold the motherboard in place.

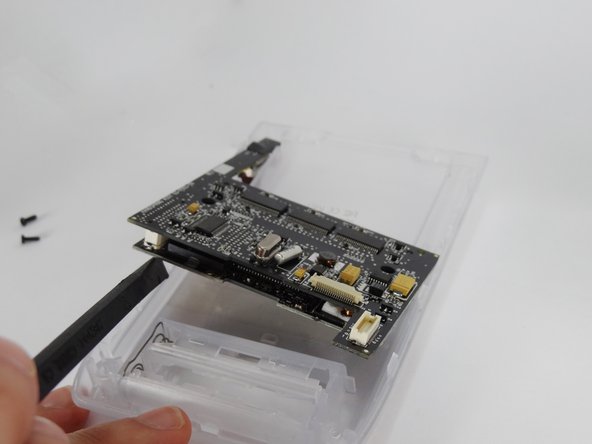
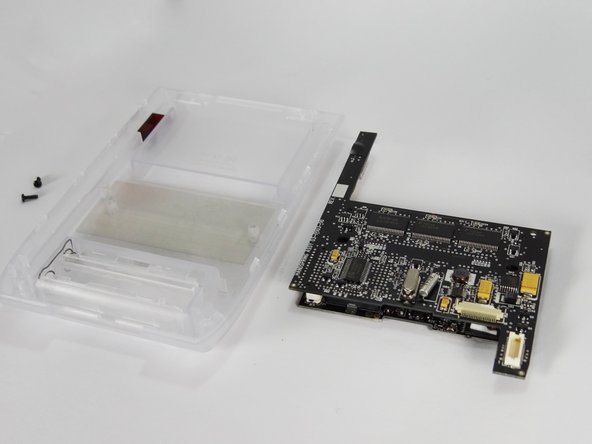
  12. Handspring Visor Deluxe PDA Motherboard and Memory card I/O Replacement: étape 12, image 1 de 3 Handspring Visor Deluxe PDA Motherboard and Memory card I/O Replacement: étape 12, image 2 de 3 Handspring Visor Deluxe PDA Motherboard and Memory card I/O Replacement: étape 12, image 3 de 3
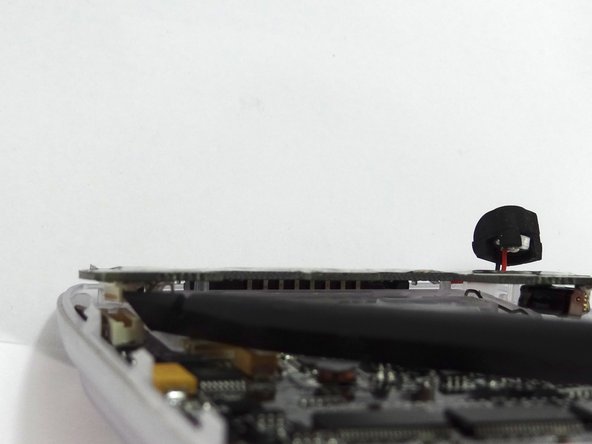
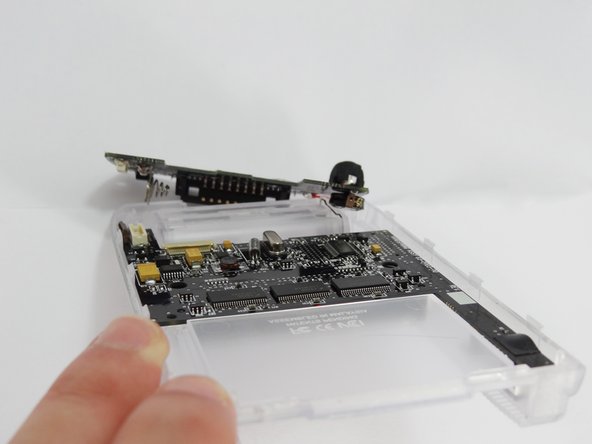
    • Use the spudger to lift the motherboard from the case.

Conclusion

To reassemble your device, follow these instructions in reverse order.

Une autre personne a terminé cette réparation.

David Faltemier

Membre depuis le 06/20/12

19 Réputation

5 tutoriels rédigés

Équipe

Cal Poly, Team 1-2, Regan SU 2012 Membre de l'équipe Cal Poly, Team 1-2, Regan SU 2012

CPSU-REGAN-SU12S1G2

4 membres

6 tutoriels rédigés

0 commentaires

Ajouter un commentaire

Nombre de vues :

Dernières 24 heures : 1

7 derniers jours : 1

30 derniers jours : 4

Total : 1,051