Ce tutoriel a des changements plus récents. Passer à la dernière version non vérifiée.
Introduction
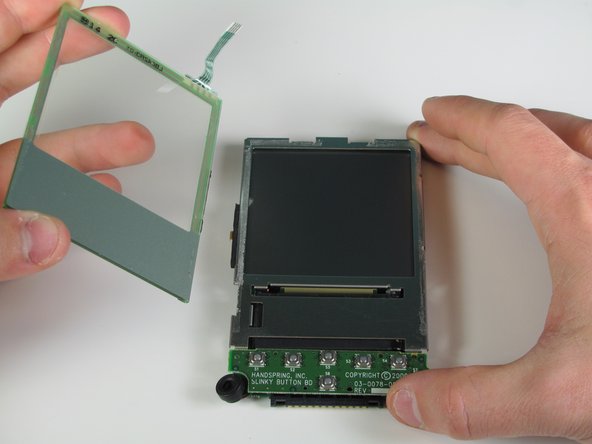
We will gain access to the screen, enabling us to replace it with a new screen.
Ce dont vous avez besoin
-
-
Open the Visor Edge and place it on a table facing down.
-
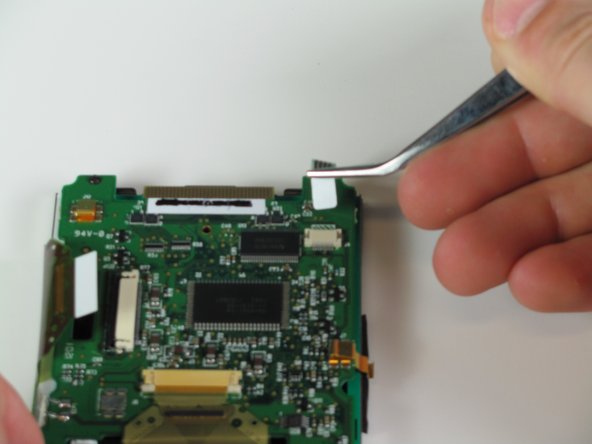
Gently push the tab that connects the flip cover (top half) to the PDA (bottom half) upward, lift the pieces apart to detach them.
-
-
-
Remove the six 4.1 mm Phillips screws from the back plate using the #00 Phillips Scewdriver.
-
-


To reassemble your device, follow these instructions in reverse order.
To reassemble your device, follow these instructions in reverse order.
Équipe

Cal Poly, Team 11-28, Maness Winter 2011 Membre de l'équipe Cal Poly, Team 11-28, Maness Winter 2011
CPSU-MANESS-W11S11G28
4 membres
7 tutoriels rédigés