Aller au contenu principal

Hisense Sero 8 Charging Port Replacement

Ce dont vous avez besoin

  1. Hisense Sero 8 Charging Port Replacement, Charging Port: étape 1, image 1 de 3 Hisense Sero 8 Charging Port Replacement, Charging Port: étape 1, image 2 de 3 Hisense Sero 8 Charging Port Replacement, Charging Port: étape 1, image 3 de 3
    • Remove the back cover of the device using a combination of both plastic opening tools.

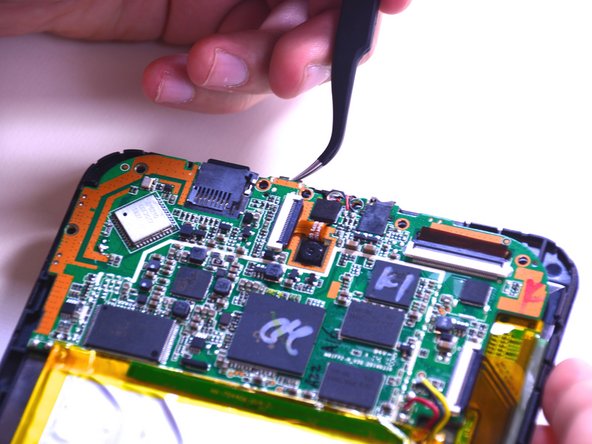
    • Use your plastic opening tool pry open a corner of the device, then continue down the side of the device with the tool to completely open the device.

  2. Hisense Sero 8 Charging Port Replacement: étape 2, image 1 de 1
    • Remove seven of the 4.43mm screws using the Philips #00 screwdriver.

    • It is not necessary to remove the bottom two 4.43mm screws that keep the speakers in place.

  3. Hisense Sero 8 Charging Port Replacement: étape 3, image 1 de 2 Hisense Sero 8 Charging Port Replacement: étape 3, image 2 de 2
    Outil utilisé dans cette étape :
    Tweezers
    $4.99
    J'achète
    • Gently lift the motherboard up to extract the charging port out with the tweezers.

    • Be cautious not to disconnect any wires or ribbon cables.

Conclusion

To reassemble your device, follow these instructions in reverse order.

2 autres ont terminé cette réparation.

Keanu

Membre depuis le 02/23/15

367 Réputation

2 tutoriels rédigés

Équipe

USF Tampa, Team 1-2, Leahy Winter 2015 Membre de l'équipe USF Tampa, Team 1-2, Leahy Winter 2015

USFT-LEAHY-W15S1G2

3 membres

10 tutoriels rédigés

0 commentaires

Ajouter un commentaire

Nombre de vues :

Dernières 24 heures : 1

7 derniers jours : 2

30 derniers jours : 15

Total : 3,811