Introduction
Repairing an exhaust system on a dirt bike is a relatively easy process that most people can accomplish at home with little mechanical skills and knowledge. The new exhaust system that I will be installing is the Two Brothers S1R slip-on exhaust system for Honda CRF250L/Rally 2017. Two Brothers’ slip-on option allows for customers to have an easy solution to fixing their exhaust. I purchased this exhaust on Revzilla’s website. When purchasing the Two Brothers slip-on exhaust make sure that you select the correct model and year of your dirt bike. When an exhaust system is damaged the airflow that the dirt bike receives can be poor, leading to long-term damage to the machine. This procedure will increase airflow for the Honda CRF250L.
Ce dont vous avez besoin
-
-
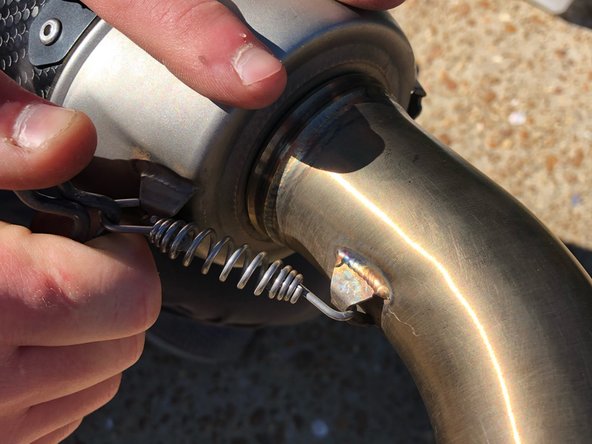
Take off the existing exhaust.
-
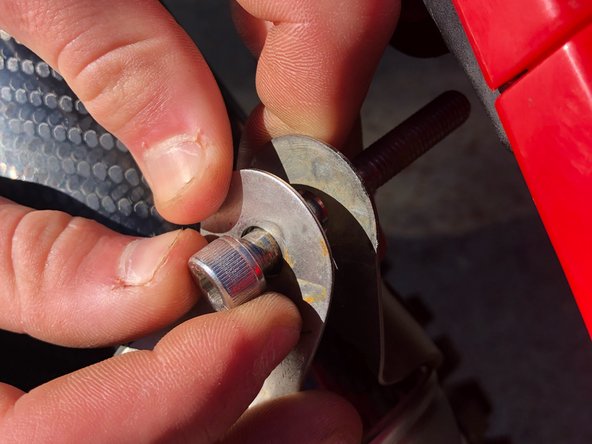
Remove the external hex bolt by the header with the 1/2" socket.
-
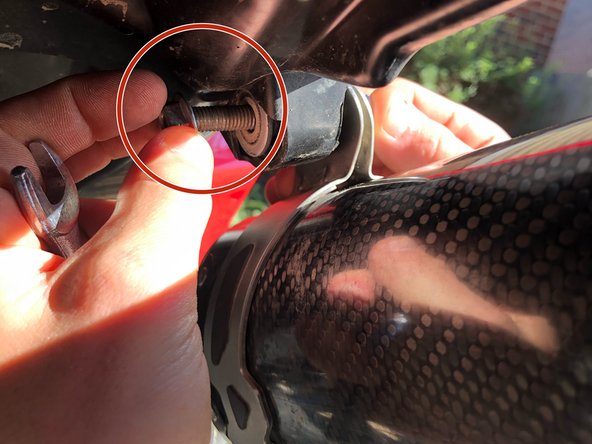
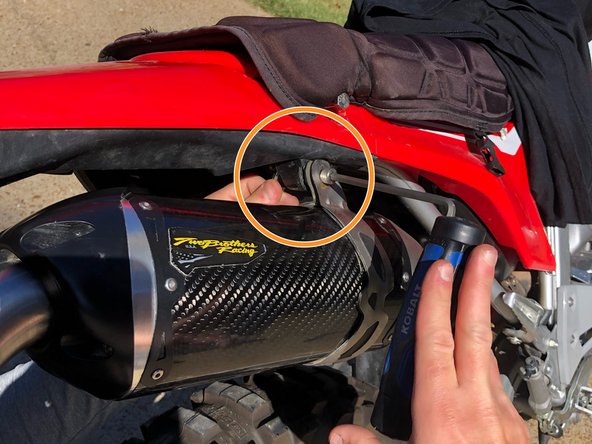
Then, remove the internal hex socket bolt by the exhaust with the 6mm Allen wrench.
-
-


To reassemble your stock exhaust, follow these instructions in reverse order.
To reassemble your stock exhaust, follow these instructions in reverse order.
Annulation : je n'ai pas terminé ce tutoriel.
Une autre personne a terminé cette réparation.
Équipe

University of Memphis, Team S2-G8, Willis Fall 2020 Membre de l'équipe University of Memphis, Team S2-G8, Willis Fall 2020
UM-WILLIS-F20S2G8
1 membre
1 tutoriel rédigé