Introduction
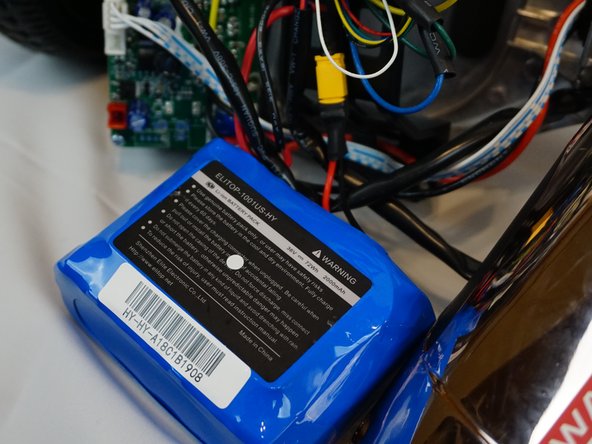
Hoverboards were a thing of science-fiction, but since introduced in 2013 they became a sensation. The battery is a major component in providing electricity to the hoverboard. When the battery gets damaged it is not that difficult to replace it in order to keep the board running.
Ce dont vous avez besoin
-
-
Remove the twenty screws from the top outer cover using a Phillips #1 screwdriver.
-
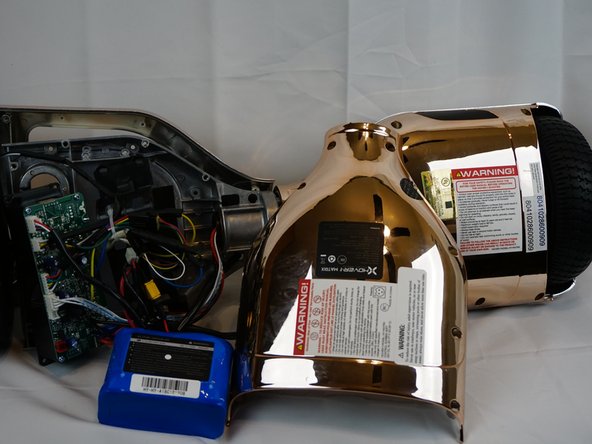
Lift the left and right sides of the outer cover away from the rest of the hoverboard.
-
-


To reassemble the device, follow these instructions in reverse order.
To reassemble the device, follow these instructions in reverse order.
Annulation : je n'ai pas terminé ce tutoriel.
Une autre personne a terminé cette réparation.

Équipe

UC Davis, Team S7-G2, Lore Fall 2018 Membre de l'équipe UC Davis, Team S7-G2, Lore Fall 2018
UCD-LORE-F18S7G2
3 membres
4 tutoriels rédigés