Aller au contenu principal

Hover-1 Maverick Foot Mats Replacement

Ce dont vous avez besoin

  1. Hover-1 Maverick Foot Mats Replacement, Motherboard: étape 1, image 1 de 3 Hover-1 Maverick Foot Mats Replacement, Motherboard: étape 1, image 2 de 3 Hover-1 Maverick Foot Mats Replacement, Motherboard: étape 1, image 3 de 3
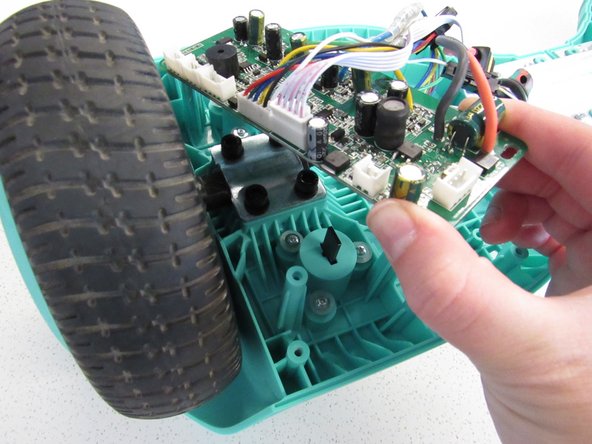
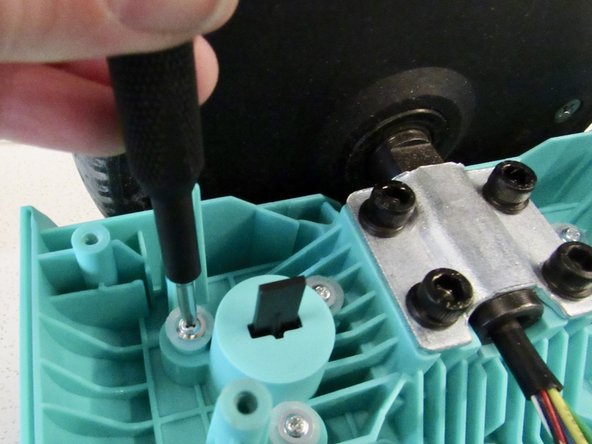
    • Remove the twenty 15mm Phillips #1 screws from the shell of the hoverboard.

    • Open the shell.

    • There is one motherboard on each side of the device located near the wheels.

  2. Hover-1 Maverick Foot Mats Replacement: étape 2, image 1 de 2 Hover-1 Maverick Foot Mats Replacement: étape 2, image 2 de 2
    • Disconnect the battery to prevent any electrical currents from coming through the wires.

  3. Hover-1 Maverick Foot Mats Replacement: étape 3, image 1 de 2 Hover-1 Maverick Foot Mats Replacement: étape 3, image 2 de 2
    • Squeeze and pull on the wires to detach them from the motherboard.

  4. Hover-1 Maverick Foot Mats Replacement: étape 4, image 1 de 2 Hover-1 Maverick Foot Mats Replacement: étape 4, image 2 de 2
    • Remove the four 8mm Phillips #1 screws.

    • Remove the motherboard from the device.

    • Repeat for the other motherboard.

  5. Hover-1 Maverick Foot Mats Replacement, Foot Mats: étape 5, image 1 de 2 Hover-1 Maverick Foot Mats Replacement, Foot Mats: étape 5, image 2 de 2
    • Remove six 1mm Phillips #1 screws.

  6. Hover-1 Maverick Foot Mats Replacement: étape 6, image 1 de 1
    • Remove the foot mats from the top of the board, which is facing down right now.

Conclusion

To reassemble your device, follow these instructions in reverse order.

Piper Feldman

Membre depuis le 01/23/20

409 Réputation

4 tutoriels rédigés

Équipe

Cal Poly, Team S2-G2, White Winter 2020 Membre de l'équipe Cal Poly, Team S2-G2, White Winter 2020

CPSU-WHITE-W20S2G2

2 membres

4 tutoriels rédigés

0 commentaires

Ajouter un commentaire

Nombre de vues :

Dernières 24 heures : 0

7 derniers jours : 2

30 derniers jours : 8

Total : 373