
How To Rebuild Coaster Brakes

Jacob Reiter et 3 autres contributeurs
Dernière mise à jour le 19 févr. 2016
Vues: 23 k
Afficher les statistiques :
- Dernières 24 heures :
- 13
- Sept derniers jours :
- 82
- Trente derniers jours :
- 322
- Total :
- 22 974
Commentaires: 8
5 commentaires d'étapes, 3 commentaires de tutoriel.
Aller aux commentaires de tutorielTerminé: 7 8
7 personnes ont marqué ce tutoriel comme « terminé ». Serez-vous la prochaine ?
8 personnes ont marqué ce tutoriel comme « terminé ». Dont vous — super travail !
Favoris: 17 18
17 personnes ont mis ce tutoriel en favori (et s'y sont abonnées). Serez-vous la prochaine ?
18 personnes ont mis ce tutoriel en favori (et s'y sont abonnées) – dont vous !
Introduction
Passez à l'étape 1 ↓This guide will walk you through removing, cleaning, lubricating, and reassembling an older model coaster brake.
Ce dont vous avez besoin
Pièces
-
Tube of Marine Bearing Grease
Type isn't critical, but this is cheap and easy to find. I actually used White Lithium Grease.
-
-


Outils
-
×2Adjustable Wrench$28.954.8
Fixed Wrenches can also be used, but several sizes will be needed, and they will be metric
-
×2
-
-
×2Rags
Dry and Clean
-
-
-
Plastic Tub
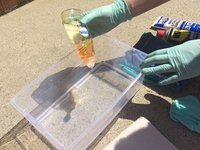
This is to wash the parts. Put about two inches of water in it.


-
-
-
Loosen the nuts holding the axle in place using the two wrenches.
-
Unscrew the brake arm from the frame of the bicycle using the screwdriver.
 Demander à FixBot
-
-
-
Loosen the nuts holding the axle in the wheel using the wrenches. Unscrew the axle, and remove the bearings and brake assembly. Set them off to the side on a rag.
-
-
-
Clean the inside of the wheel hub using a paper towel and some WD-40.
-
-
-
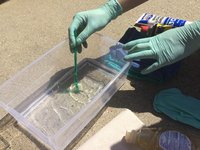
Clean all of the internal parts in the tub using the toothbrush.
-
Be sure to get all of the areas where the bearings will sit (see red circles)
-
Also scrub the threads on the sprocket (see orange line)
-
-
-
Dry the parts using a paper towel.
-
When dry, set them off to the side on a rag.
-
-
-
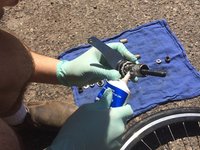
Reassemble the parts of the bearing and axle assembly which go on the opposite side of the hub from the sprocket. This includes the brake pads and the cone
-
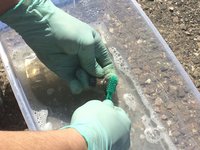
Using your fingers, make sure the bearings are well coated with grease.
-
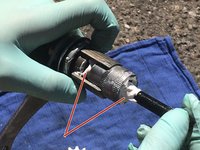
Make sure to add some grease at key points shown (red lines).
-
-
-
-
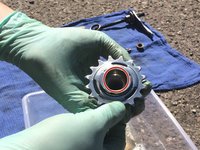
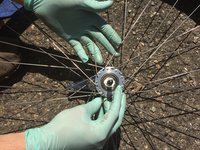
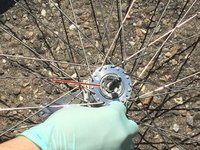
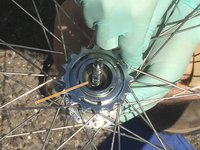
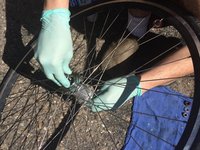
Gently screw the sprocket into the hub.
-
Screw the bearing race on. Make sure not to tighten too much. The sprocket and wheel should still spin easily.
-
-
-
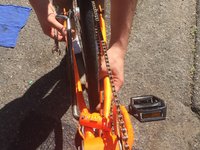
Replace the wheel onto the bicycle.
-
Tighten the nuts to hold the wheel in place.
-
Before continuing, spin the wheel and crank the pedals to make sure everything spins smoothly. If not, check to make sure the axle nuts aren't too tight.
-
-


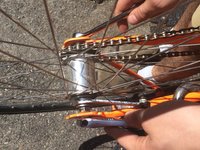


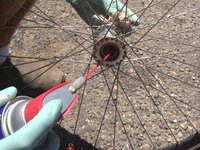
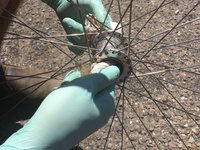
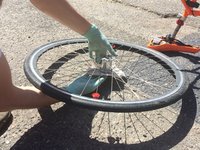




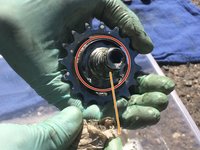


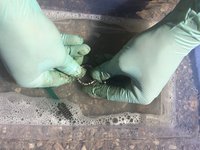
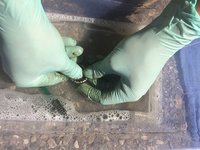
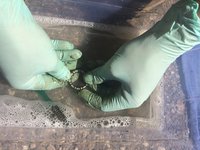


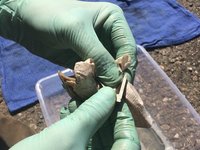
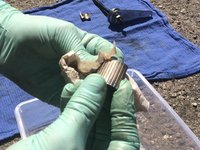
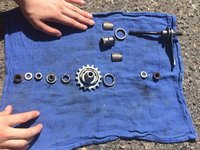


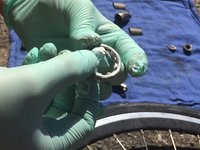


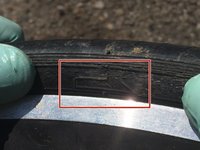




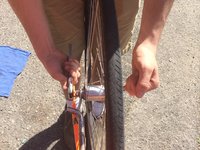
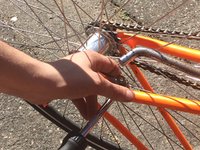
Congratulations! You've finished cleaning your coaster brake. Test-ride the bicycle. Listen to make sure that there are no grinding noises. Be sure to test the brake several times. When you're done, make sure all the nuts are still tight.
Annulation : je n'ai pas terminé ce tutoriel.
7 autres ont terminé cette réparation.

Équipe

Cal Poly, Team 28-6, Green Spring 2015 Membre de l'équipe Cal Poly, Team 28-6, Green Spring 2015
CPSU-GREEN-S15S28G6
4 membres
48 tutoriels rédigés
3 commentaires de tutoriel
I have Huffy coaster bike 26”, i’m trying to change the rear tire bearing but I don’t know the size of it. the outside ones are 3/16 X9, but I need to know the size of the small inner one at the gear it was 7 balls.
Can you explicitly say which order the parts go back in?
It should be easy, but I can't quite get it straight.
Okay let’s say I’m an idiot and I got parts everywhere trying to do this and deal with twin toddlers and a 9 year old daughter going on 25 is there a set of instructions that says the name of the part is connected to the name of the part connected to the name of the part etc…
