Introduction
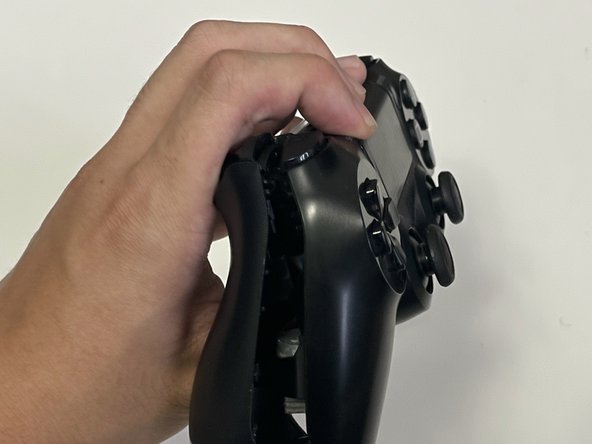
When playing games on the PS4 the controller is one of the most important devices that need to be working properly for a smooth experience. Having broken or gummed up buttons can be very frustrating when trying to play games on the PS4.
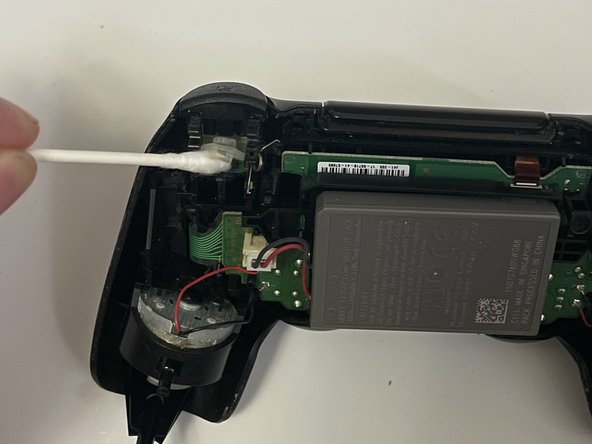
This is a guide on how to clean the R2 and L2 buttons on the DualShock 4 PS4 controller. If you are having issues with the L2 and R2 buttons not working properly, for example, the button trigger is not fully pressing down or it is not registering properly, this guide will solve that problem.
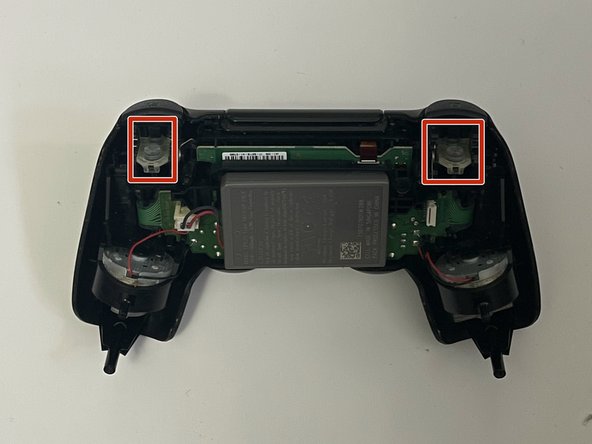
This guide will show the process of dissembling the controller and the removal of the L2 and R2 buttons and showing how to clean them.
Ce dont vous avez besoin
-
-
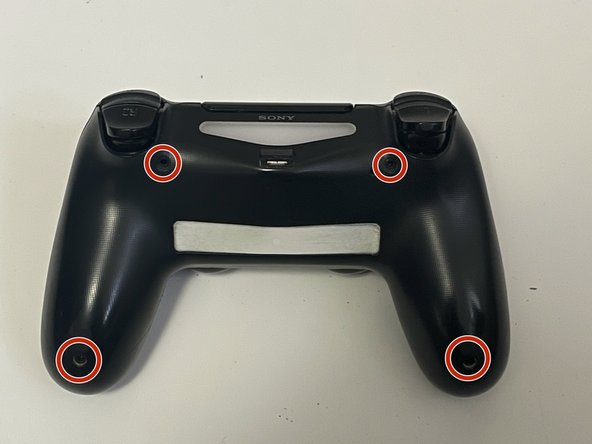
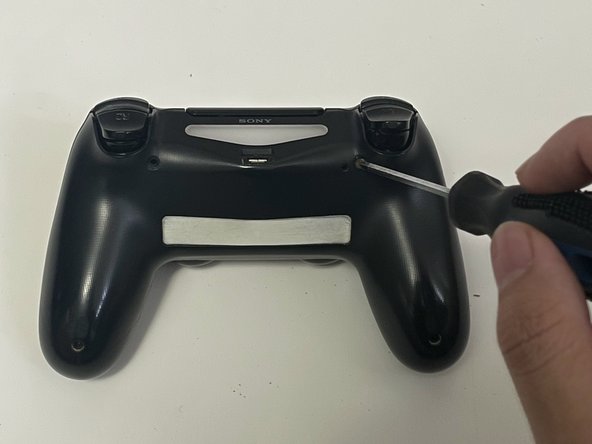
Use a Phillips #00 screwdriver to remove the four 6.0 mm screws located on the back of the controller.
-
-


Annulation : je n'ai pas terminé ce tutoriel.
Une autre personne a terminé cette réparation.

Équipe

York University, Team 2-5, O'Regan Fall 2023 Membre de l'équipe York University, Team 2-5, O'Regan Fall 2023
YORK-O'REGAN-F23S2G5
1 membre
2 tutoriels rédigés