How to Clean Wooting Keyboard Lekker Linear45 Switches
Introduction
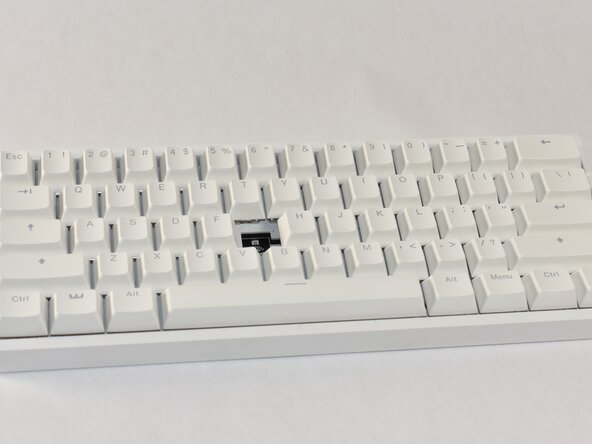
Use this guide as a reference on how to maintain and repair a Lekker Switch - Linear45 (L45) switch on a Wooting Keyboard.
In the case that users face inconsistency or other issues with key presses, there is a possibility that dust and debris may be interfering with the keyboard sensor and the magnet inside the switch. Cleaning out the switch interior can fix this unless there is a software issue.
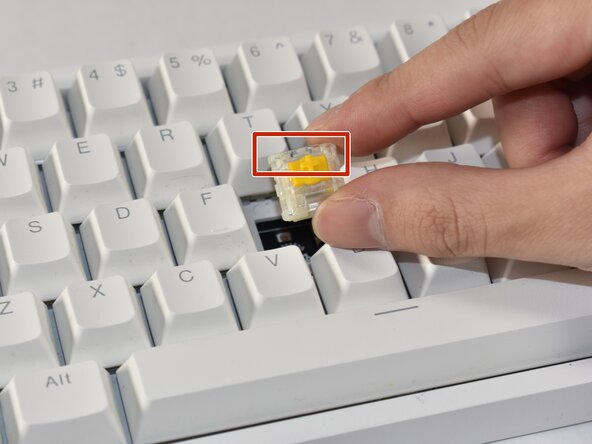
If problematic key presses are caused by a cracked switch housing or the spring is worn out, a switch and/or spring replacement will be required. Refer to the guide instructions as they point out which steps relate to each target fix.
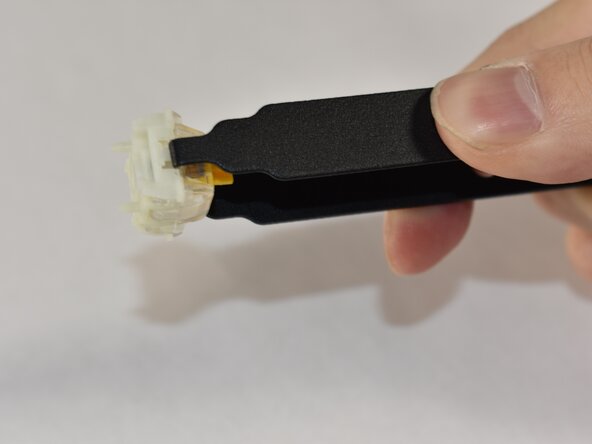
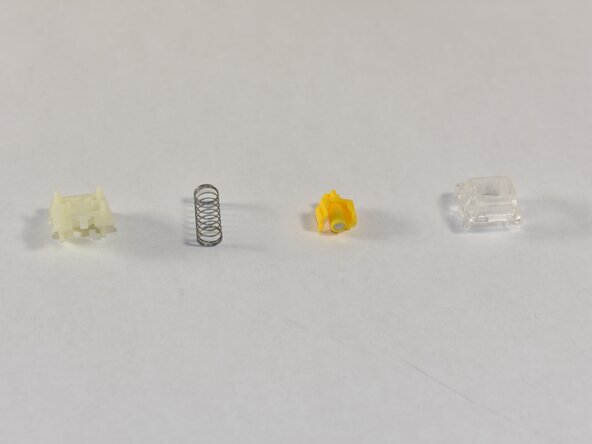
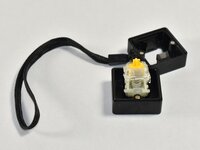
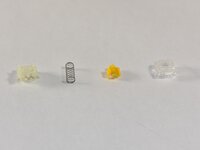
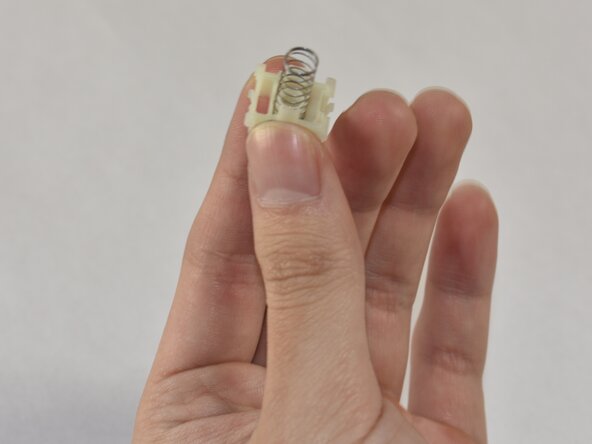
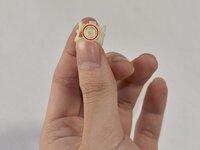
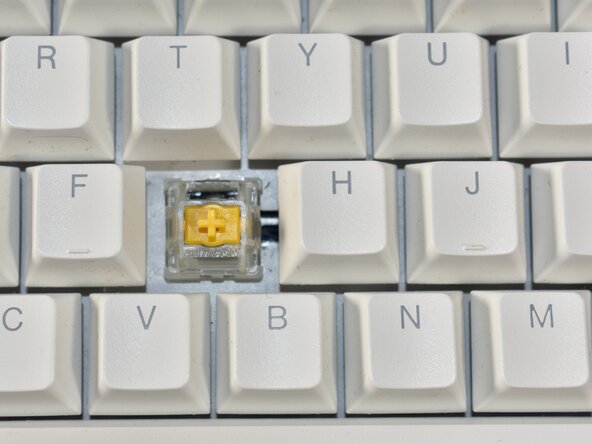
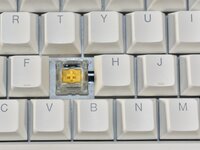
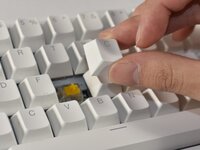
Identify the various switch components and the order of construction (from left to right or bottom to top): bottom housing, spring, stem, top housing. Separate them from the switch.