Aller au contenu principal

How to Dry Wet Canon PowerShot SD850 IS Camera Components

Tutoriel Archivé
Ce tutoriel est conservé uniquement à des fins de suivis historiques. Utilisez la version actuelle du tutoriel pour effectuer votre réparation.

Ce dont vous avez besoin

  1. How to Dry Wet Canon PowerShot SD850 IS Camera Components, Battery: étape 1, image 1 de 1
    • Identify the battery port on the underside of the camera.

  2. How to Dry Wet Canon PowerShot SD850 IS Camera Components: étape 2, image 1 de 2 How to Dry Wet Canon PowerShot SD850 IS Camera Components: étape 2, image 2 de 2
    • Using your thumb, slide the port to the right and release.

  3. How to Dry Wet Canon PowerShot SD850 IS Camera Components: étape 3, image 1 de 1
    • Remove the battery.

  4. How to Dry Wet Canon PowerShot SD850 IS Camera Components, Housing: étape 4, image 1 de 3 How to Dry Wet Canon PowerShot SD850 IS Camera Components, Housing: étape 4, image 2 de 3 How to Dry Wet Canon PowerShot SD850 IS Camera Components, Housing: étape 4, image 3 de 3
    • To avoid severe electric shock do not remove or tamper with internal camera flash components. An electrical capacitor is attached to the flash that can discharge if contact is made.

    • Remove the two side screws, indicated by the red circles, using a Phillips #00 screwdriver.

    • Remove the screw in the battery port, indicated by the blue circle, again using a Phillips #00 screwdriver.

    • Remove the front face by gently peeling the housing away from the camera.

  5. How to Dry Wet Canon PowerShot SD850 IS Camera Components: étape 5, image 1 de 3 How to Dry Wet Canon PowerShot SD850 IS Camera Components: étape 5, image 2 de 3 How to Dry Wet Canon PowerShot SD850 IS Camera Components: étape 5, image 3 de 3
    • Remove the back face by using a spudger to lift the tab highlighted in yellow

    • Pivot the back face clockwise as seen in the second photo.

  6. How to Dry Wet Canon PowerShot SD850 IS Camera Components: étape 6, image 1 de 2 How to Dry Wet Canon PowerShot SD850 IS Camera Components: étape 6, image 2 de 2
    • Remove the A/V port cover [no tools are necessary]

  7. How to Dry Wet Canon PowerShot SD850 IS Camera Components, How to Dry Wet Canon PowerShot SD850 IS Camera Components: étape 7, image 1 de 2 How to Dry Wet Canon PowerShot SD850 IS Camera Components, How to Dry Wet Canon PowerShot SD850 IS Camera Components: étape 7, image 2 de 2
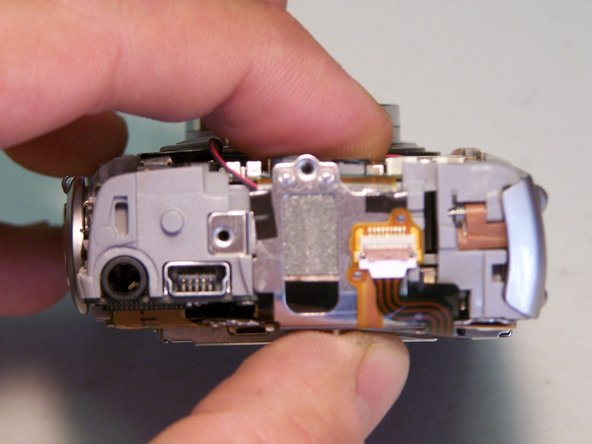
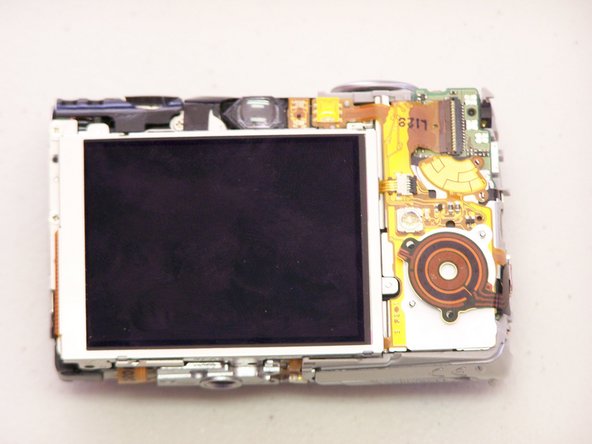
    • Use compressed air to dry off camera's internal components.

    • Use caution when performing this step. Compressed air could possibly damage components if sprayed directly at connections or other sensitive areas.

Conclusion

To reassemble your device, follow these instructions in reverse order.

iDeleted

Membre depuis le 07/07/10

2 101 Réputation

39 tutoriels rédigés

0 commentaires

Ajouter un commentaire

Nombre de vues :

Dernières 24 heures : 0

7 derniers jours : 0

30 derniers jours : 0

Total : 2,467