Introduction
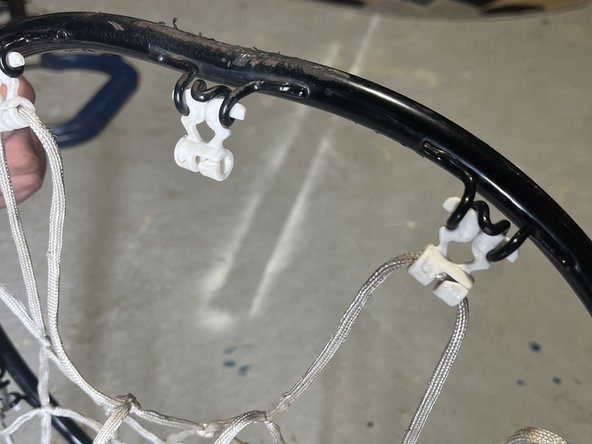
This guide will explain how to fix and restore a bent basketball rim back to working condition. Basketball rims often bend due to aggressive dunking, hanging on the rim, or other misuse. By following these steps, you'll save money on replacement costs and extend the life of your basketball hoop. The process typically takes around 5-10 minutes, if you have the rim already separated from the backboard, and is suitable for those with basic DIY skills. Throughout the repair, prioritize safety by wearing protective gear such as gloves and safety glasses. Keep in mind that while many bent rims can be improved, some severe damage may not be fully reversible. Consider seeking help for severely damaged rims or if you lack the necessary tools and experience.
Ce dont vous avez besoin
-
-
Carefully examine the rim to determine the extent and location of the bend.
-
-
With patience and the right tools, fixing a bent basketball rim is a manageable and easy DIY project. After straightening the rim, conduct a final inspection from all angles to ensure it's properly aligned. If you removed the net earlier, don't forget to reattach it to complete the repair. This method can restore your rim to its proper shape, saving you the cost of a replacement. Remember to work carefully and prioritize safety throughout the process. Once fixed, your rim should be ready for many more games and practice sessions. Regular inspections can help catch and address any future bends early, prolonging the life of your basketball hoop.
With patience and the right tools, fixing a bent basketball rim is a manageable and easy DIY project. After straightening the rim, conduct a final inspection from all angles to ensure it's properly aligned. If you removed the net earlier, don't forget to reattach it to complete the repair. This method can restore your rim to its proper shape, saving you the cost of a replacement. Remember to work carefully and prioritize safety throughout the process. Once fixed, your rim should be ready for many more games and practice sessions. Regular inspections can help catch and address any future bends early, prolonging the life of your basketball hoop.


