Aller au contenu principal
Pour réparer ensemble - Je crée un compte

How to Fix an iPhone 11 Pro That Won't Turn On

    1. How to Fix an iPhone 11 Pro That Won't Turn On, Won't Turn On: étape 1, image 1 de 3 How to Fix an iPhone 11 Pro That Won't Turn On, Won't Turn On: étape 1, image 2 de 3 How to Fix an iPhone 11 Pro That Won't Turn On, Won't Turn On: étape 1, image 3 de 3
      • Remove the two pentalobe screws at the bottom edge and lift the screen.

      • After the screen is lifted, take the shielding covers off, disconnect the battery, and remove the screen.

      Demander à FixBot

      Ajouter un commentaire

    2. How to Fix an iPhone 11 Pro That Won't Turn On: étape 2, image 1 de 3 How to Fix an iPhone 11 Pro That Won't Turn On: étape 2, image 2 de 3 How to Fix an iPhone 11 Pro That Won't Turn On: étape 2, image 3 de 3
      • Connect the motherboard with the Power Cable. The ammeter shows a large current of 3.1A.

      • Detach the motherboard and connect the motherboard with the Power Cable again. The ammeter still shows a large current of 3.1A.

      • It indicates that the large current has nothing to do with other flex cables. The fault is on the motherboard.

      • Run diode mode measurement of pin 1 on the J7010 of the battery connector. The diode value is 0 which indicates that the main power supply circuit is shorted to the ground.

      • Since the circuit simultaneously supplies power for the logic board and signal board, we need to separate the motherboard to locate the fault.

      Demander à FixBot

      Ajouter un commentaire

    3. How to Fix an iPhone 11 Pro That Won't Turn On: étape 3, image 1 de 3 How to Fix an iPhone 11 Pro That Won't Turn On: étape 3, image 2 de 3 How to Fix an iPhone 11 Pro That Won't Turn On: étape 3, image 3 de 3
      • Remove foam on the motherboard.

      • Then heat the back of the motherboard with Hot Air Gun at 240℃ to remove the shielding paper.

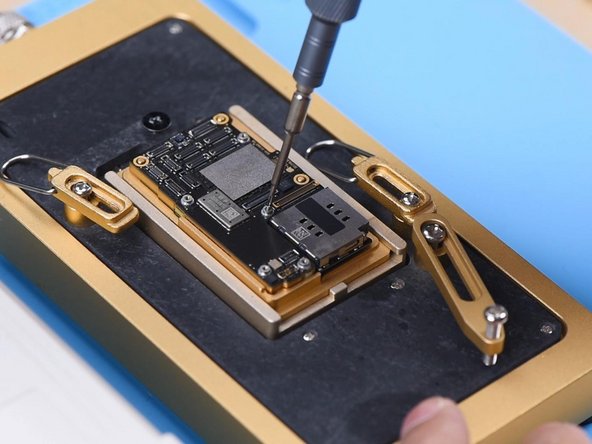
      • Put the motherboard on the Heating Platform. To make it easier to remove the logic board after separation, drive a screw on the logic board.

      Demander à FixBot

      Ajouter un commentaire

    4. How to Fix an iPhone 11 Pro That Won't Turn On: étape 4, image 1 de 3 How to Fix an iPhone 11 Pro That Won't Turn On: étape 4, image 2 de 3 How to Fix an iPhone 11 Pro That Won't Turn On: étape 4, image 3 de 3
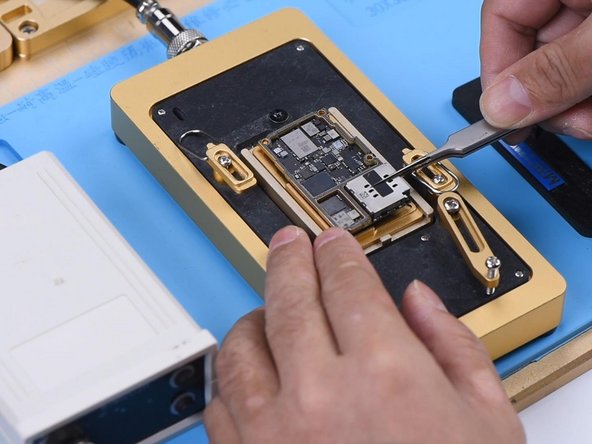
      • Set the temperature of the Heating Platform to 185℃.

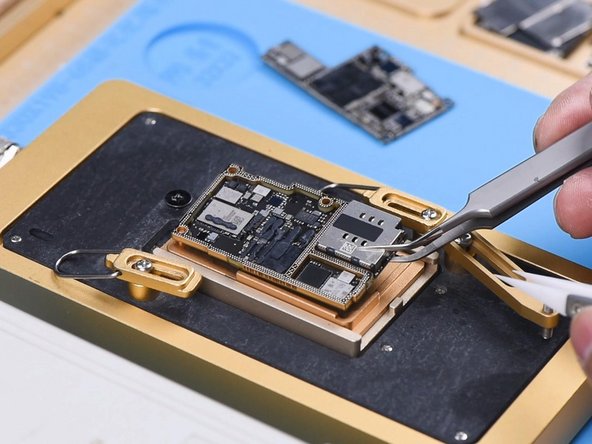
      • Clamp the screw to remove the logic board when the temperature has risen to 185℃. Lastly, remove the signal board.

      Demander à FixBot

      Ajouter un commentaire

    5. How to Fix an iPhone 11 Pro That Won't Turn On: étape 5, image 1 de 3 How to Fix an iPhone 11 Pro That Won't Turn On: étape 5, image 2 de 3 How to Fix an iPhone 11 Pro That Won't Turn On: étape 5, image 3 de 3
      • Run diode mode measurement of pin 286 on the signal board. The diode value is 0. It suggests that the main power supply of the signal board is shorted to the ground.

      • Measure pin 286 on the logic board. The diode value is 363 which means the logic board is normal.

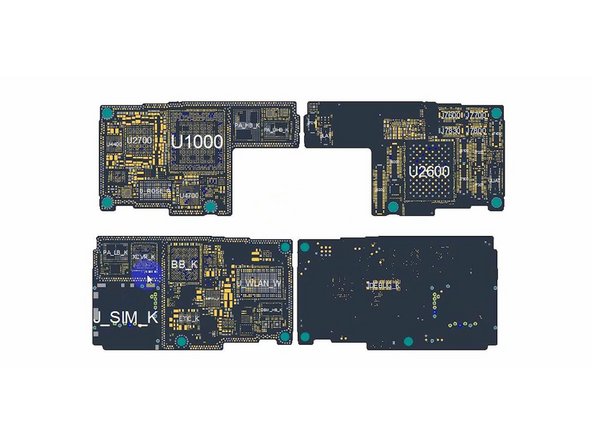
      • Open the bitmap. We can see there are many associated components on the main power supply circuit.

      Demander à FixBot

      Ajouter un commentaire

    6. How to Fix an iPhone 11 Pro That Won't Turn On: étape 6, image 1 de 2 How to Fix an iPhone 11 Pro That Won't Turn On: étape 6, image 2 de 2
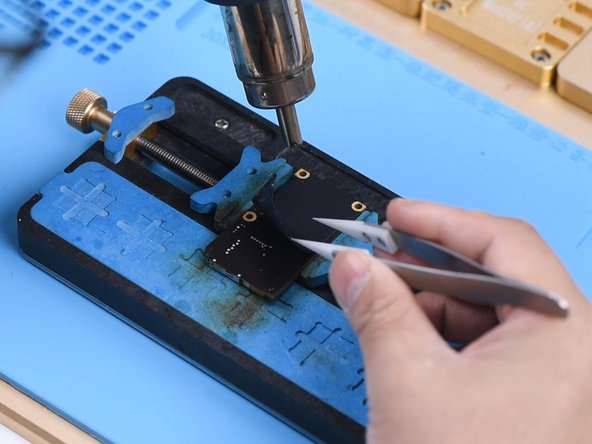
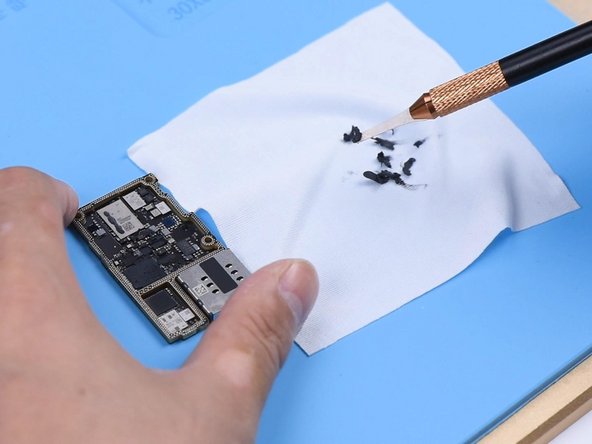
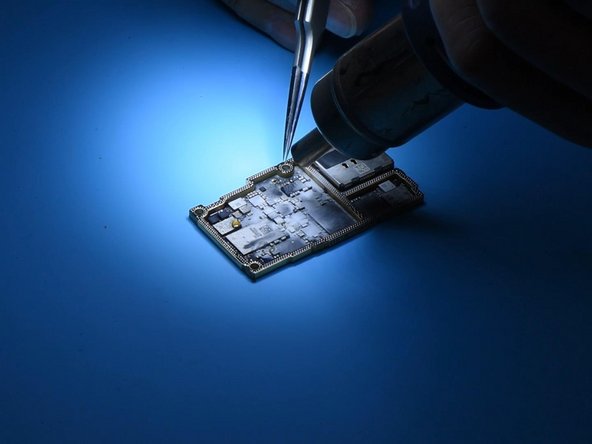
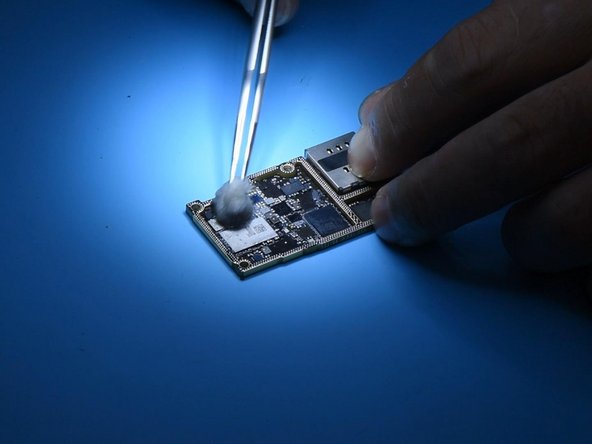
      • Next, we need to locate the faulty component with rosin detecting. Remove thermal grease with a Sculpture Knife.

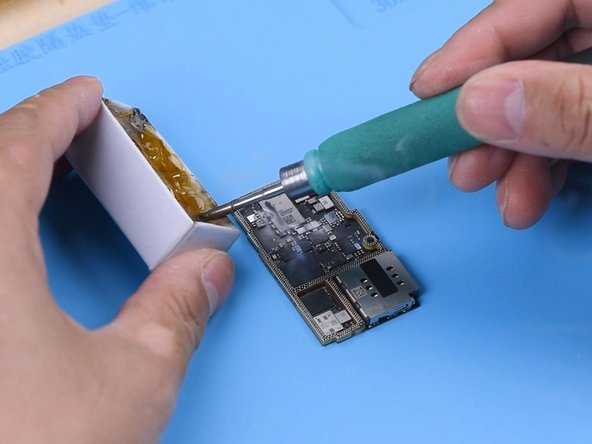
      • Then dip rosin with Soldering Iron at 365℃ and smoke rosin on the signal board.

      Demander à FixBot

      Ajouter un commentaire

    7. How to Fix an iPhone 11 Pro That Won't Turn On: étape 7, image 1 de 3 How to Fix an iPhone 11 Pro That Won't Turn On: étape 7, image 2 de 3 How to Fix an iPhone 11 Pro That Won't Turn On: étape 7, image 3 de 3
      Outil utilisé dans cette étape :
      Tweezers
      $4.99
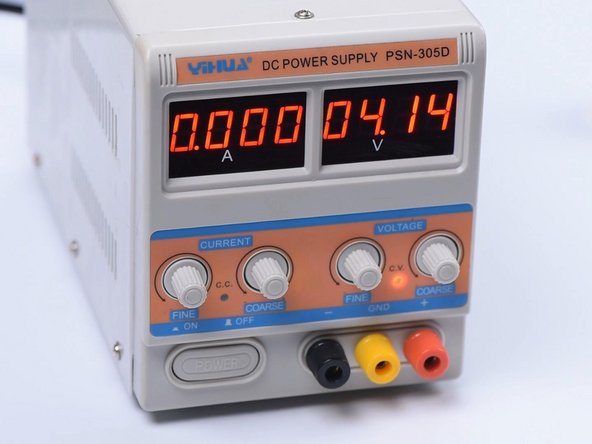
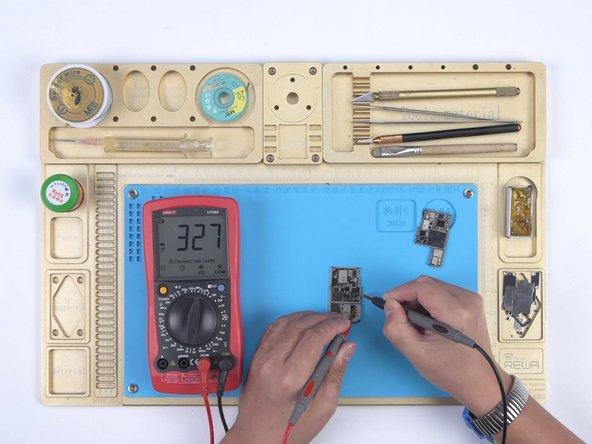
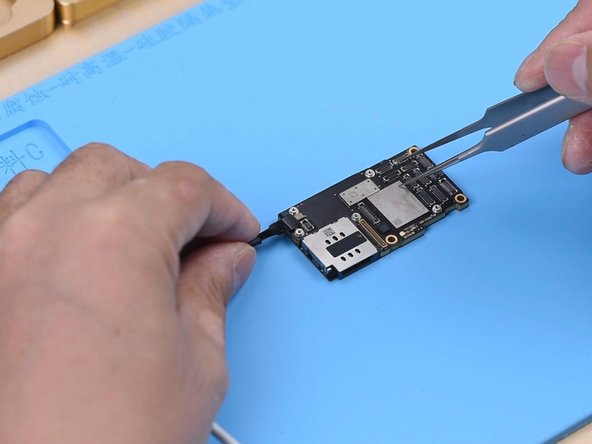
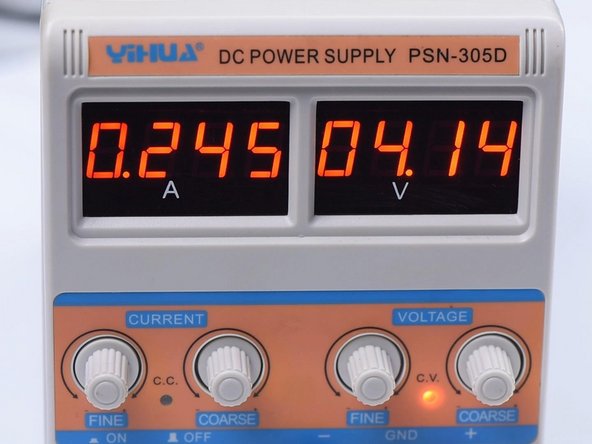
      • Set the direct current supply to 4.1V. Connect the positive and negative anode of the direct current supply with multimeter probes. Connect the black probe to the ground and connect the red probe to pin 286 on the signal board.

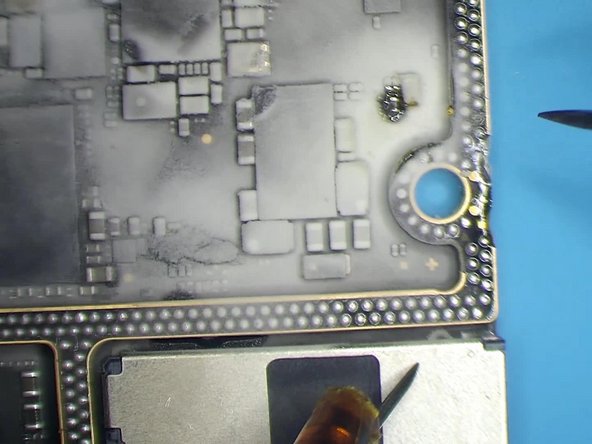
      • We can see rosin on C1200_K has melted. It indicates that the capacitor is damaged.

      • Then we heat the damaged capacitor with Hot Air Gun at 350℃ and remove it with tweezers.

      Demander à FixBot

      Ajouter un commentaire

    8. How to Fix an iPhone 11 Pro That Won't Turn On: étape 8, image 1 de 3 How to Fix an iPhone 11 Pro That Won't Turn On: étape 8, image 2 de 3 How to Fix an iPhone 11 Pro That Won't Turn On: étape 8, image 3 de 3
      • Clean rosin on the signal board with PCB Cleaner.

      • Run a second diode mode measurement. The diode value returns to a normal value of 327.

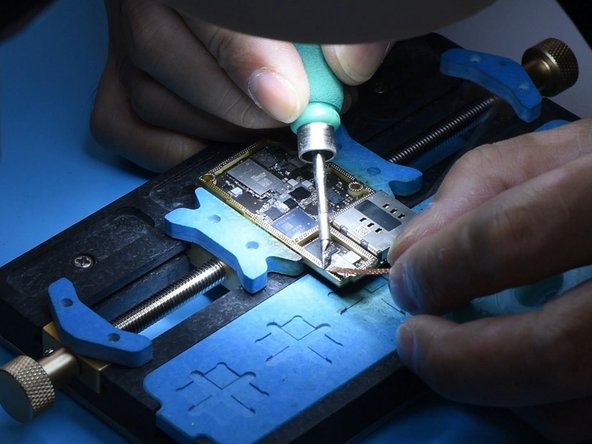
      • Smear rosin with Soldering Iron and solder wick at 365℃ to remove tin on the bonding pad.

      Demander à FixBot

      Ajouter un commentaire

    9. How to Fix an iPhone 11 Pro That Won't Turn On: étape 9, image 1 de 3 How to Fix an iPhone 11 Pro That Won't Turn On: étape 9, image 2 de 3 How to Fix an iPhone 11 Pro That Won't Turn On: étape 9, image 3 de 3
      • Clean the signal board with PCB Cleaner. Remove tin and clean the logic board with the same method.

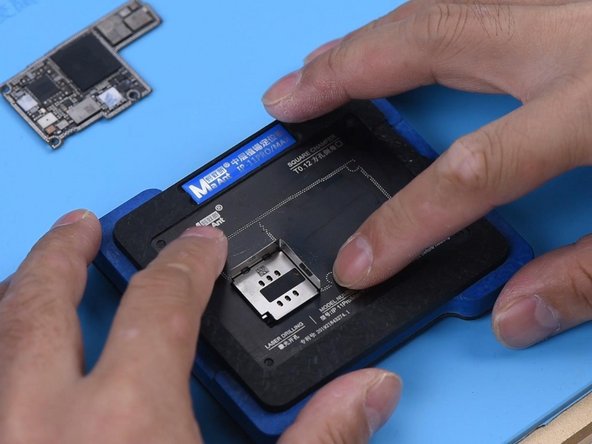
      • Attach the signal board to the Reballing Platform and put the Reballing Stencil in position. To prevent the solder paste from flowing into the motherboard crevices, insert a metal plate.

      • Apply a layer of low-temperature Solder Paste.

      Demander à FixBot

      Ajouter un commentaire

    10. How to Fix an iPhone 11 Pro That Won't Turn On: étape 10, image 1 de 2 How to Fix an iPhone 11 Pro That Won't Turn On: étape 10, image 2 de 2
      • Remove the Reballing Stencil and put the signal board on the Heating Platform at 185℃ to heat.

      • After the solder balls are formed, turn the power off and cool the motherboard for 5 minutes.

      Demander à FixBot

      Ajouter un commentaire

    11. How to Fix an iPhone 11 Pro That Won't Turn On: étape 11, image 1 de 2 How to Fix an iPhone 11 Pro That Won't Turn On: étape 11, image 2 de 2
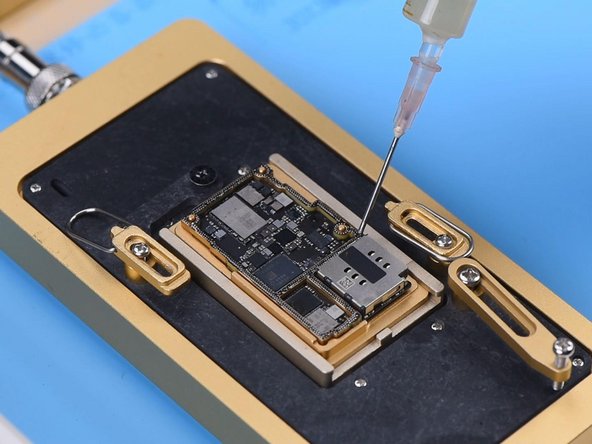
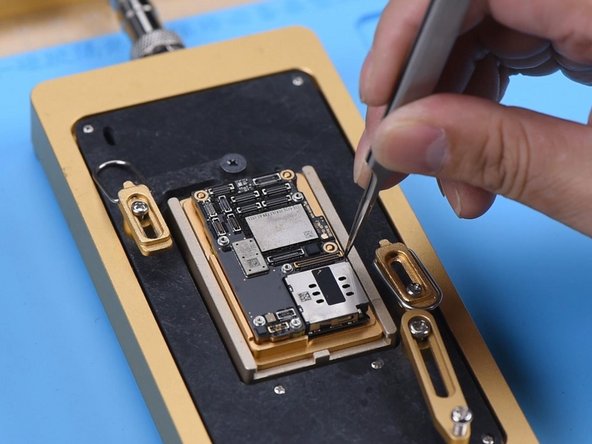
      • Apply some Paste Flux and align the logic board with the signal board. Keep heating on the Heating Platform at 185℃

      • When the temperature reaches 185℃, keep heating for 1 minute. This step is to ensure that the logic board and the signal board fit closely.

      Demander à FixBot

      Ajouter un commentaire

    12. How to Fix an iPhone 11 Pro That Won't Turn On: étape 12, image 1 de 3 How to Fix an iPhone 11 Pro That Won't Turn On: étape 12, image 2 de 3 How to Fix an iPhone 11 Pro That Won't Turn On: étape 12, image 3 de 3
      • Connect the motherboard with the Power Cable and short to the ground of the J7700 pin 12. The boot current becomes normal.

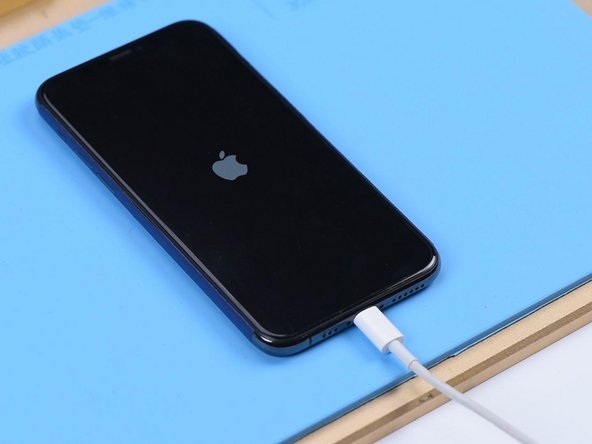
      • Put the motherboard on the phone. Connect the flex cables, screen, and battery. Because the battery is dead, plug the charging cable and the phone turns on normally.

      Demander à FixBot

      Ajouter un commentaire

Conclusion

iPhone 11 Pro won’t turn on with a large current. We found that the main power supply was shorted to the ground through measuring the battery connector. The fault was found to be on the signal board after separation. Rosin detecting showed us that C1200_K was damaged. After removing C1200_K, the fault was cleared.

Annulation : je n'ai pas terminé ce tutoriel.

4 autres ont terminé cette réparation.

REWA

Membre depuis le 11/24/20

19 384 Réputation

55 tutoriels rédigés

1 commentaire de tutoriel

Excellent travaille félicitations 🎈 🎈

ELLIOT'S HAKUNA - Réponse Partager

Ajouter un commentaire

Nombre de vues :

Dernières 24 heures : 4

7 derniers jours : 47

30 derniers jours : 191

Total : 6,479