Cette version peut contenir des modifications incorrectes. Passez au dernier aperçu vérifié.
Ce dont vous avez besoin
-
Cette étape n’est pas traduite. Aidez à la traduire
-
Obtain a roll of thread that matches the color of the clothing and a threading needle.
-
-
Cette étape n’est pas traduite. Aidez à la traduire
-
Measure out a piece of thread the length of your wingspan. Then, take about 10 more inches than that.
-
-
Cette étape n’est pas traduite. Aidez à la traduire
-
Thread the need so that the needle falls exactly in the middle of the thread.
-
-
-
Cette étape n’est pas traduite. Aidez à la traduire
-
Now, tie a knot at the end of the thread about 2 inches away from the end of the thread.
-
Tie the knot multiple times in the same place so that it is big enough to keep that end from slipping through the fabric.
-
-
Cette étape n’est pas traduite. Aidez à la traduire
-
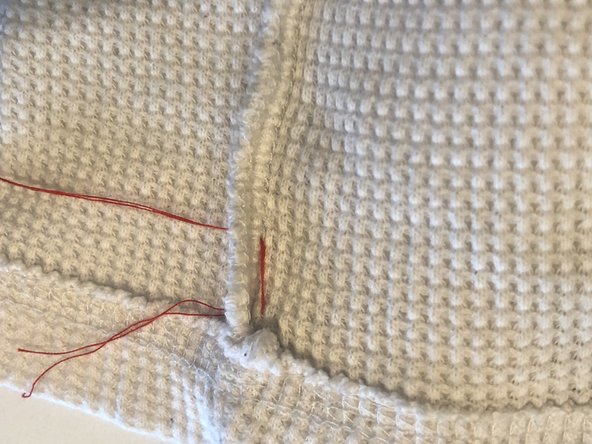
Turn the clothing inside out and insert the needle at the end of the rip.
-
-
Cette étape n’est pas traduite. Aidez à la traduire
-
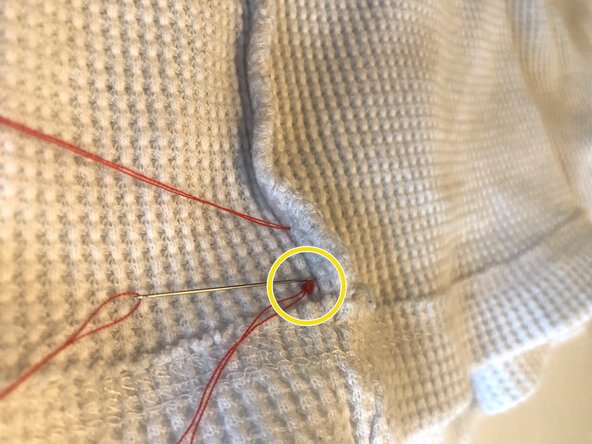
Now, push the needle back through the other side a space away from the initial piercing spot.
-
Then, go back through the initial piercing spot (the end of the first stitch) through the back this time.
-
-
Cette étape n’est pas traduite. Aidez à la traduire
-
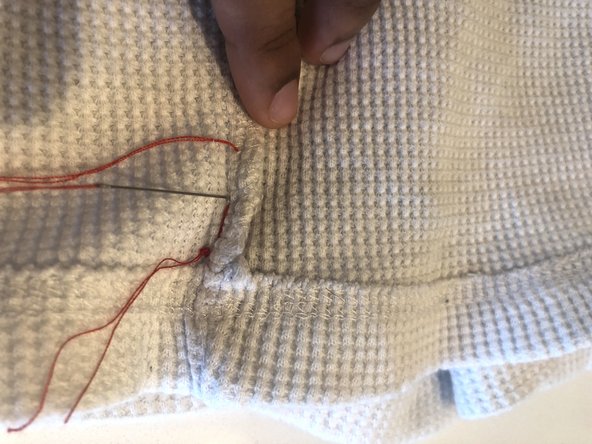
Poke the needle through the fabric another space away from the previous stitch and stitch back through again then, repeat.
-
-
Cette étape n’est pas traduite. Aidez à la traduire
-
Continue this pattern until the hole is completely closed.
-
-
Cette étape n’est pas traduite. Aidez à la traduire
-
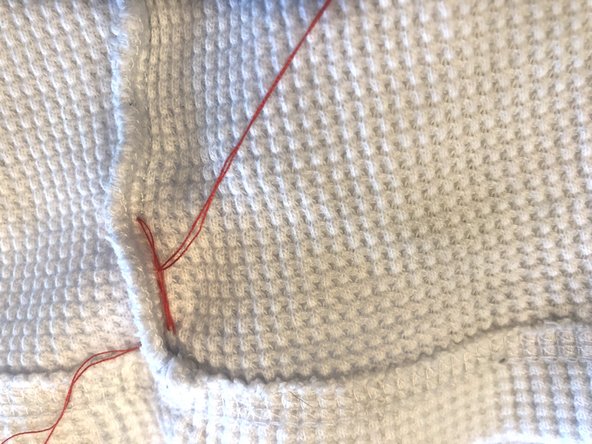
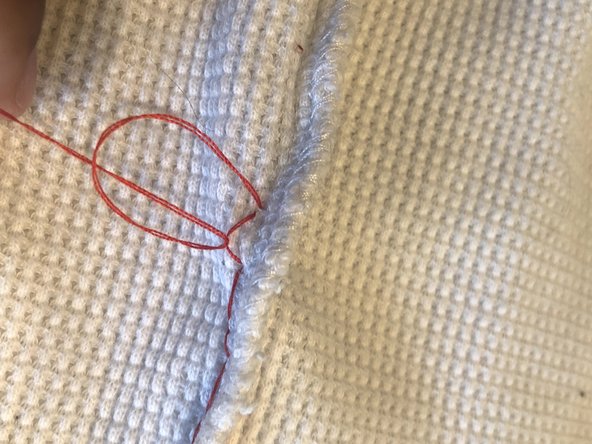
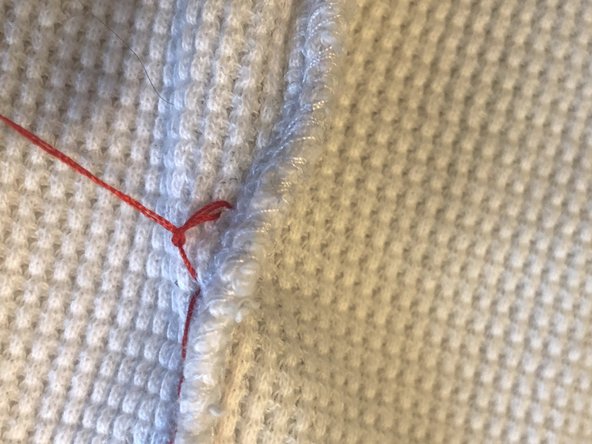
Begin to tie off the knot by looping the needle and thread over and under the bottom of the last stitch you made.
-
Then, loop the needle and thread over and under the bigger loop that your first loop created and pull to fasten the knot.
-


Équipe

UW Tacoma, Team S1-G24, Cardinal Spring 2020 Membre de l'équipe UW Tacoma, Team S1-G24, Cardinal Spring 2020
UWT-CARDINAL-S20S1G24
1 membre
1 tutoriel rédigé