Introduction
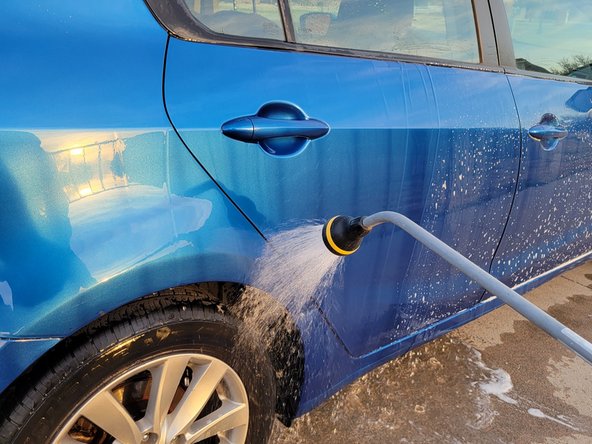
Has your car's paint job been chipped or scratched off? This guide will teach you how to repair these small issues yourself.
Paint chips are an unfortunate yet inevitable part of owning an automobile. Though these do not impede the function of your car, they can be a major eyesore and even depreciate the car’s resale value. Thankfully, there are a number of easy ways to fix these blemishes, such as using a paint pen or spray paint. This guide, however, will focus on using liquid paint and clear coat to repaint the affected area. This method produces better results at a slightly higher cost for materials.
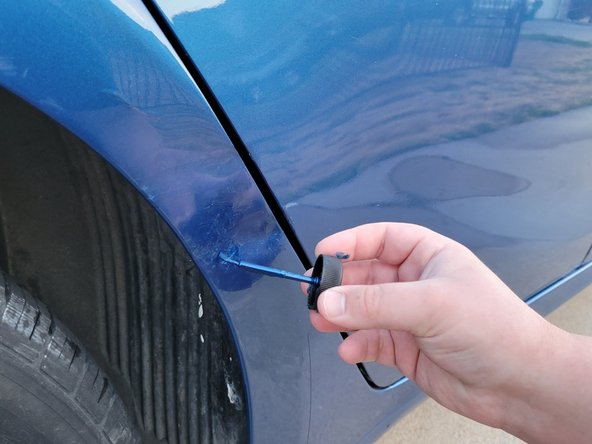
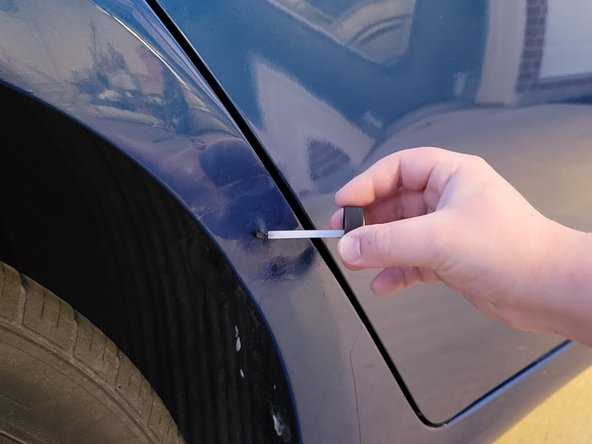
Using liquid paint generally looks better in the long run, but it is more difficult to apply than a paint pen. You may want to try painting a less visible blemish first to get a feel for how much paint to use and how to spread the coat evenly.
Ce dont vous avez besoin
-
-
Check the inside of the driver's side door to find the manufacturer's paint code.
-
-


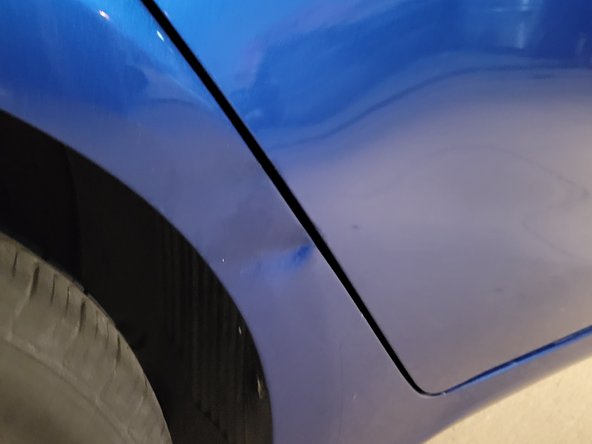

After the clear coat has dried, your car’s paint job should be looking like it did the day you drove it off the lot!
After the clear coat has dried, your car’s paint job should be looking like it did the day you drove it off the lot!
Annulation : je n'ai pas terminé ce tutoriel.
Une autre personne a terminé cette réparation.
Équipe

University of North Texas, Team 1-7, Smith Spring 2022 Membre de l'équipe University of North Texas, Team 1-7, Smith Spring 2022
UNT-SMITH-S22S1G7
2 membres
1 tutoriel rédigé