Aller au contenu principal

How to Repair Timex t121b Buttons

Ce dont vous avez besoin

  1. How to Repair Timex t121b Buttons, How to Repair Timex t121b Buttons: étape 1, image 1 de 3 How to Repair Timex t121b Buttons, How to Repair Timex t121b Buttons: étape 1, image 2 de 3 How to Repair Timex t121b Buttons, How to Repair Timex t121b Buttons: étape 1, image 3 de 3
    • Unplug the alarm clock from the power.

    • Flip the alarm clock upside down and open the lid.

    • Take out the batteries and leave them aside.

  2. How to Repair Timex t121b Buttons: étape 2, image 1 de 3 How to Repair Timex t121b Buttons: étape 2, image 2 de 3 How to Repair Timex t121b Buttons: étape 2, image 3 de 3
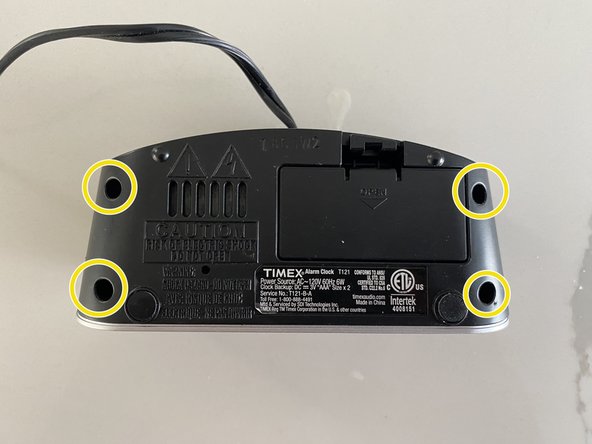
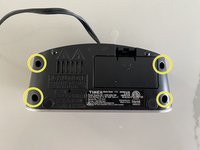
    • Use a Phillips screwdriver to remove all of the screws on the underside of the clock.

    • Carefully lift the cover and lay it down as shown in the third image.

  3. How to Repair Timex t121b Buttons: étape 3, image 1 de 3 How to Repair Timex t121b Buttons: étape 3, image 2 de 3 How to Repair Timex t121b Buttons: étape 3, image 3 de 3
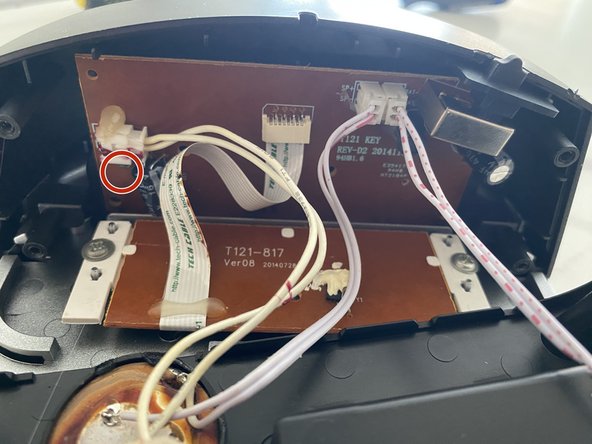
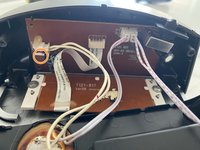
    • Flip the alarm clock until the top of the clock is facing down.

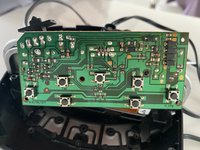
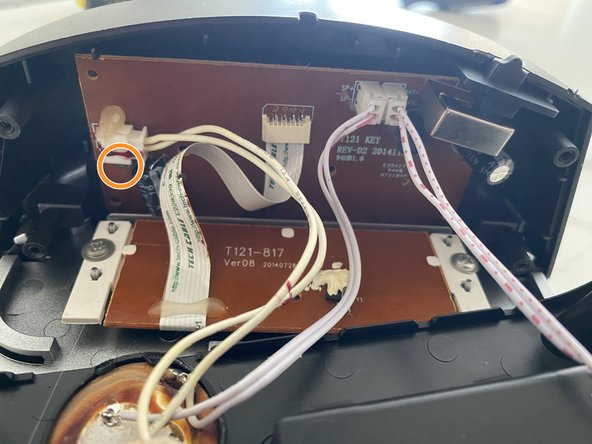
    • Take out the first screw (1.2 mm Phillips) as shown in the second image.

    • Take out the second screw (1.2 mm Phillips) as shown in the third image.

  4. How to Repair Timex t121b Buttons: étape 4, image 1 de 3 How to Repair Timex t121b Buttons: étape 4, image 2 de 3 How to Repair Timex t121b Buttons: étape 4, image 3 de 3
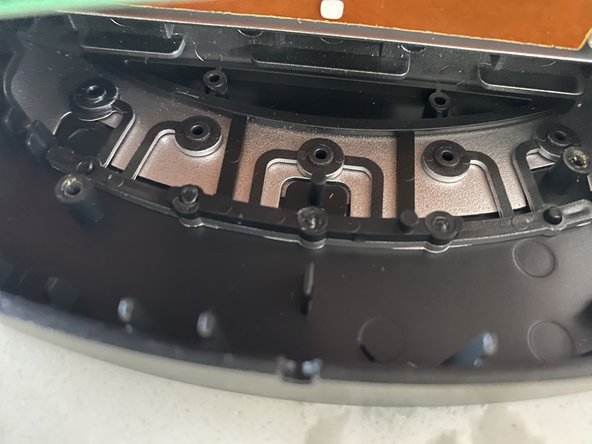
    • Carefully check the buttons and make sure you are able to press all the buttons.

    • Clean any dust that might be interfering with the buttons.

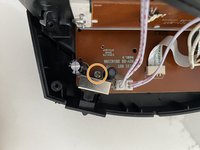
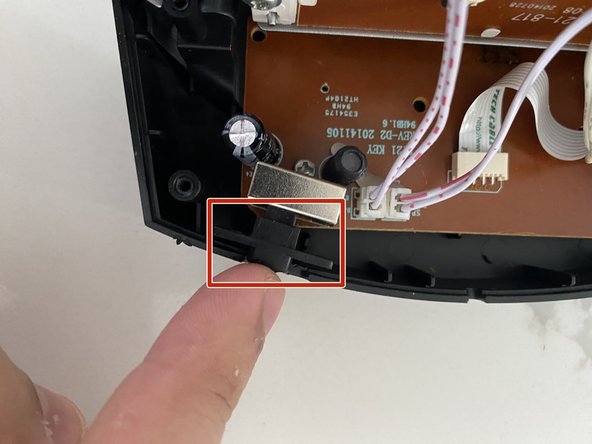
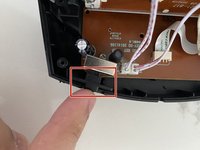
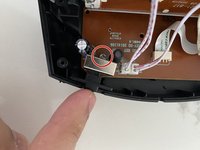
    • Adjust and push the alarm slide button to its proper position as shown in the third image.

  5. How to Repair Timex t121b Buttons: étape 5, image 1 de 3 How to Repair Timex t121b Buttons: étape 5, image 2 de 3 How to Repair Timex t121b Buttons: étape 5, image 3 de 3
    • Put the board back in place and place the first screw (1.2 mm Phillips) as shown in the first image.

    • Place the second screw (1.2 mm Phillips) as shown in the second image.

    • Carefully place the two halves of the clock back together and put all 4 screws (1.2 mm Phillips) as shown in the third image.

    • Open the back lid and place the batteries.

Conclusion

To reassemble your device, follow these instructions in reverse order.

Jad Abdalnor

Membre depuis le 01/18/22

121 Réputation

1 tutoriel rédigé

Équipe

York University, Team O-11, Woodhouse Winter 2023 Membre de l'équipe York University, Team O-11, Woodhouse Winter 2023

YORK-WOODHOUSE-W23SOG11

1 membre

1 tutoriel rédigé

0 commentaires

Ajouter un commentaire

Nombre de vues :

Dernières 24 heures : 1

7 derniers jours : 6

30 derniers jours : 22

Total : 247