Introduction
If you experienced water damage under your sink cabinet but it is still intact, this guide will show you how to restore the area under your sink so you don't have to call a repair person.
Before using this guide, inspect the area for additional leaks. You will want to make sure water is not leaking before beginning this guide or your work will be ruined potentially. Typically, if you have some water damage and can repair the leak then you can dry out your cabinet with a fan or even leave the cabinet open and dry it out for 24 hours before restoration.
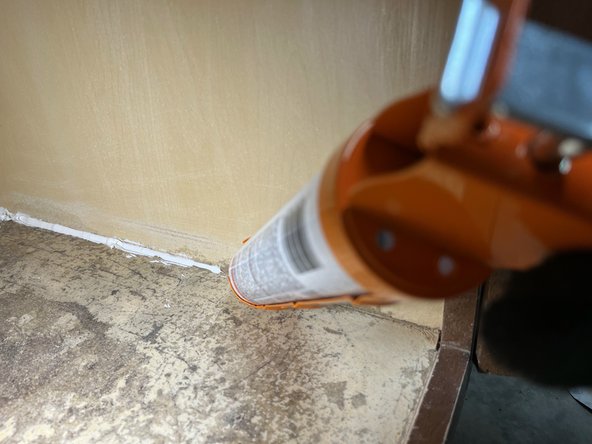
Step 2 requires you to sand. I would recommend you wear gloves if you are sanding by hand.
Before beginning, here is a link to a video demonstrating repair for more severe water damage where you would need to replace a rotten sink floor.
Ce dont vous avez besoin
-
-
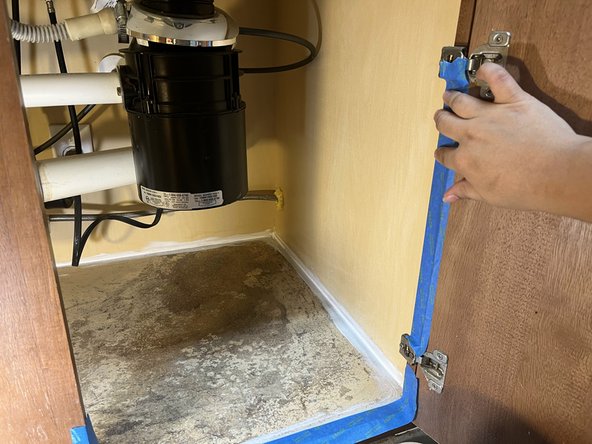
Remove all items from under your sink.
-
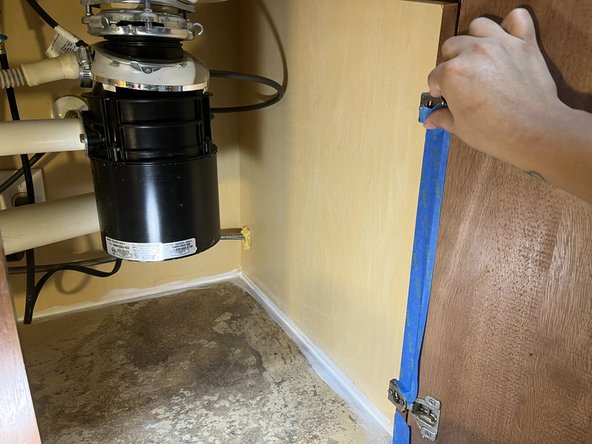
Test for water leaks by gently pressing the cabinet with your fingers and seeing if it's wet and by looking for drips from the sink.
-
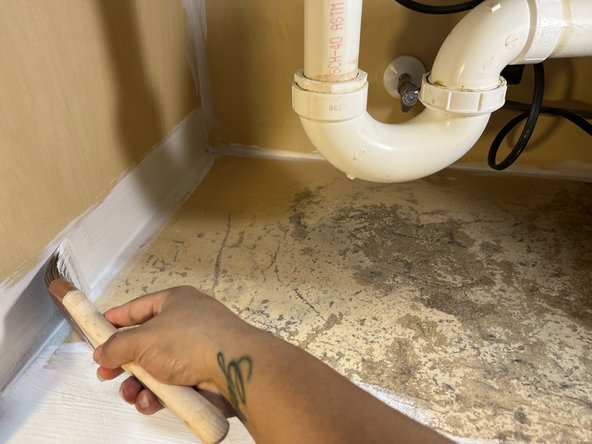
Clean the cabinet using a sponge or cloth with a cleaner or disinfectant of your choice.
-
-


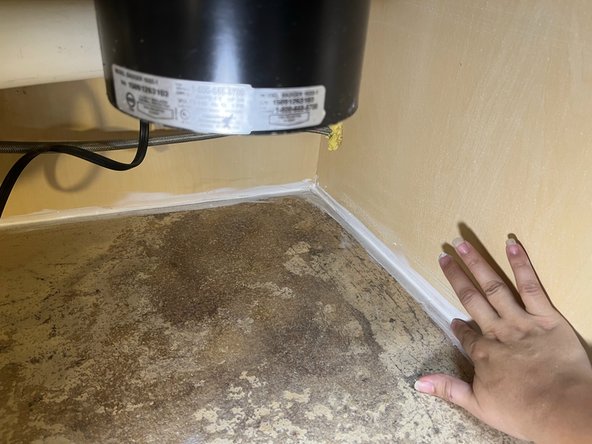

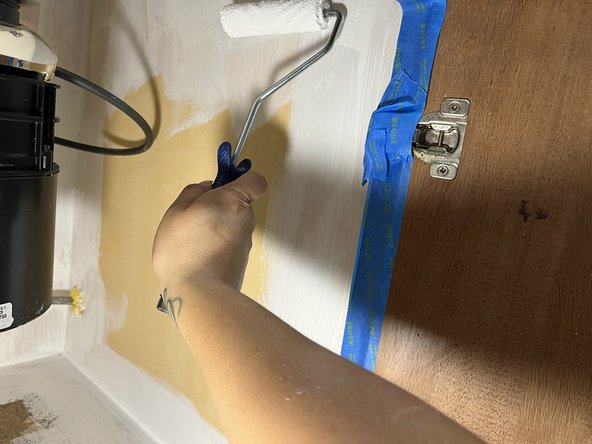


Now, you've got a good-as-new cabinet! You can reapply as needed if paint chips or dulls.
Now, you've got a good-as-new cabinet! You can reapply as needed if paint chips or dulls.

Équipe

Austin Community College, Team 1-12, Watkins Fall 2023 Membre de l'équipe Austin Community College, Team 1-12, Watkins Fall 2023
AUSTINCC-WATKINS-F23S1G12
1 membre
1 tutoriel rédigé