Aller au contenu principal

How to Repair a Fastmark by AMT Datasouth Arm Band Printer

Matériel médical
Ni iFixit ni ce tutoriel de réparation ne sont approuvés par ou affiliés au fabricant de ce dispositif médical.
  1. How to Repair a Fastmark by AMT Datasouth Arm Band Printer, How to Repair a Fastmark by AMT Datasouth Arm Band Printer: étape 1, image 1 de 3 How to Repair a Fastmark by AMT Datasouth Arm Band Printer, How to Repair a Fastmark by AMT Datasouth Arm Band Printer: étape 1, image 2 de 3 How to Repair a Fastmark by AMT Datasouth Arm Band Printer, How to Repair a Fastmark by AMT Datasouth Arm Band Printer: étape 1, image 3 de 3
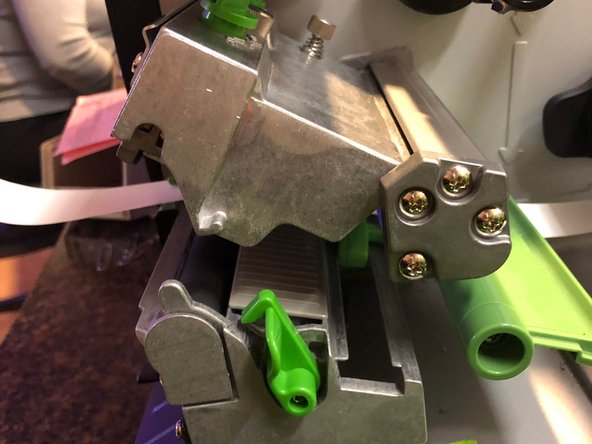
    • Open the machine by lifting the right side up.

  2. How to Repair a Fastmark by AMT Datasouth Arm Band Printer: étape 2, image 1 de 3 How to Repair a Fastmark by AMT Datasouth Arm Band Printer: étape 2, image 2 de 3 How to Repair a Fastmark by AMT Datasouth Arm Band Printer: étape 2, image 3 de 3
    • Assess where the problem is within the machine. Press the green button that says "push" to release the end of the armband that is clamped in the machine.

  3. How to Repair a Fastmark by AMT Datasouth Arm Band Printer: étape 3, image 1 de 3 How to Repair a Fastmark by AMT Datasouth Arm Band Printer: étape 3, image 2 de 3 How to Repair a Fastmark by AMT Datasouth Arm Band Printer: étape 3, image 3 de 3
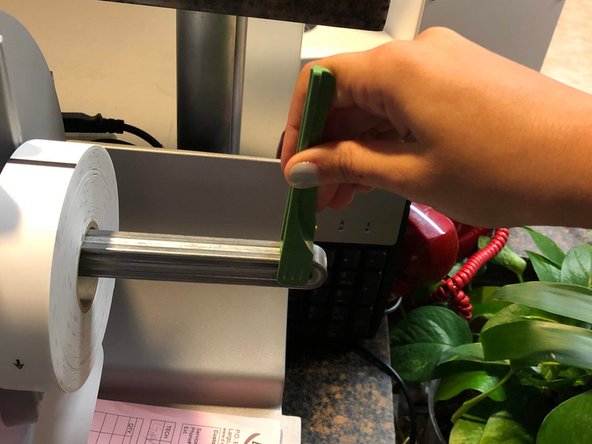
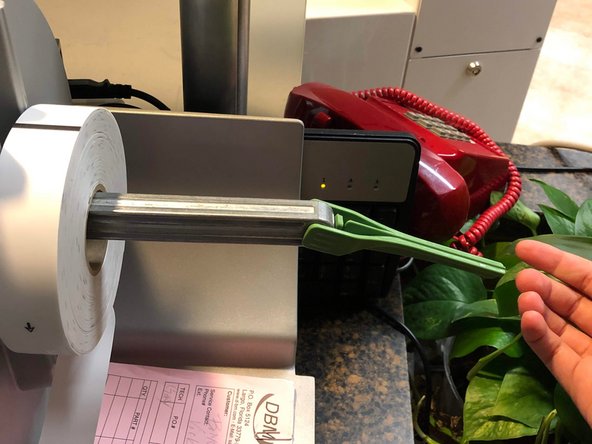
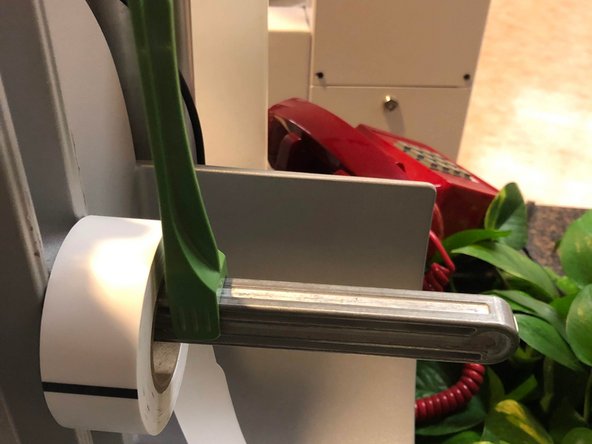
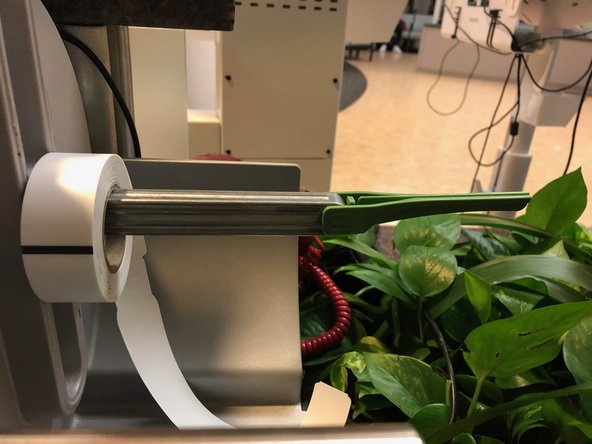
    • Slide the green bar to the right then pull it down to remove the roll of armbands.

  4. How to Repair a Fastmark by AMT Datasouth Arm Band Printer: étape 4, image 1 de 1
    • Remove the armband strip from under the press.

  5. How to Repair a Fastmark by AMT Datasouth Arm Band Printer: étape 5, image 1 de 3 How to Repair a Fastmark by AMT Datasouth Arm Band Printer: étape 5, image 2 de 3 How to Repair a Fastmark by AMT Datasouth Arm Band Printer: étape 5, image 3 de 3
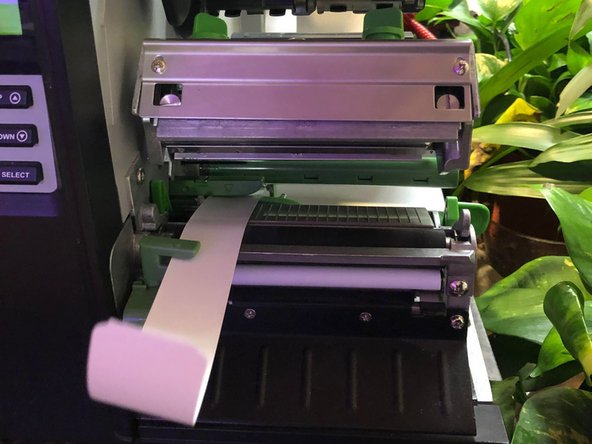
    • Replace the previous armband roll if it's damaged and insert a new roll by sliding it onto the device and pushing the green bar back into place.

  6. How to Repair a Fastmark by AMT Datasouth Arm Band Printer: étape 6, image 1 de 3 How to Repair a Fastmark by AMT Datasouth Arm Band Printer: étape 6, image 2 de 3 How to Repair a Fastmark by AMT Datasouth Arm Band Printer: étape 6, image 3 de 3
    • Weave the new armband strip under the back and green cylinder and through the press. Close the press by pushing it down firmly.

  7. How to Repair a Fastmark by AMT Datasouth Arm Band Printer: étape 7, image 1 de 3 How to Repair a Fastmark by AMT Datasouth Arm Band Printer: étape 7, image 2 de 3 How to Repair a Fastmark by AMT Datasouth Arm Band Printer: étape 7, image 3 de 3
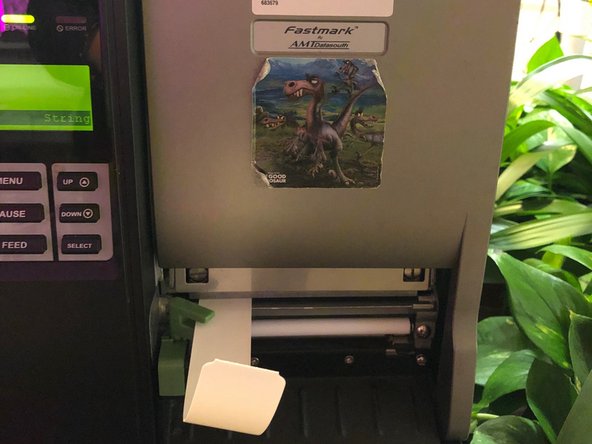
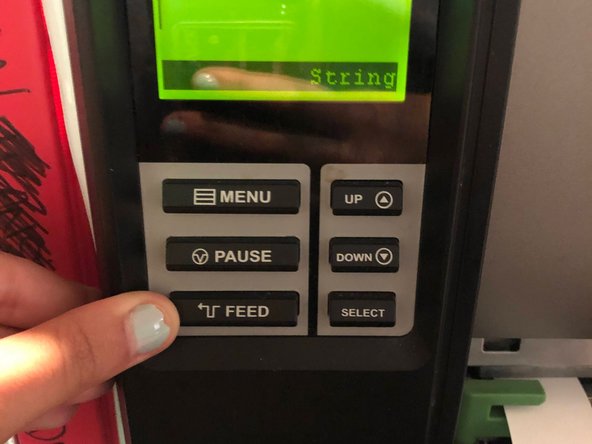
    • Close the top of the armband machine and then press the feed button on the outside to make sure it is working correctly.

Conclusion

Repeat these steps if the text is not lined up in the correct place on the armband.

2 autres ont terminé cette réparation.

Devon Sineno

Membre depuis le 02/02/20

202 Réputation

1 tutoriel rédigé

Équipe

USF Sarasota-Manatee, Team S1-G1, Stewart Spring 2020 Membre de l'équipe USF Sarasota-Manatee, Team S1-G1, Stewart Spring 2020

USFSM-STEWART-S20S1G1

23 membres

27 tutoriels rédigés

0 commentaires

Ajouter un commentaire

Nombre de vues :

Dernières 24 heures : 2

7 derniers jours : 17

30 derniers jours : 42

Total : 1,517