
How to Repair a Ripped Lunch Bag Handle

Erica Lee et
Dernière mise à jour le 3 juin 2022
Vues: 3,3 k
Afficher les statistiques :
- Dernières 24 heures :
- 2
- Sept derniers jours :
- 18
- Trente derniers jours :
- 136
- Total :
- 3 320
Commentaires: 0
Personne n'a commenté ce tutoriel. Serez-vous le premier ?
Aller aux commentaires de tutorielTerminé: 1 2
1 personne a marqué ce tutoriel comme « terminé ». Serez-vous la prochaine ?
2 personnes ont marqué ce tutoriel comme « terminé ». Dont vous — super travail !
Favoris: 1 2
1 personne a mis ce tutoriel en favori (et s'y est abonnée). Serez-vous la prochaine ?
2 personnes ont mis ce tutoriel en favori (et s'y sont abonnées) – dont vous !
Introduction
Allez à l'étape 1 ↓When a lunch bag handle gets ripped, people deem it unusable and end up buying a new one. In order to reduce waste, this guide is to instruct how to repair that rip using a few simple steps. No prior knowledge of how to sew is required as this guide will teach you step by step.
Ce dont vous avez besoin
Outils


-
-
-
Find colored thread to match the color of the lunch bag and a needle.
 Demander à FixBot
-
-
-
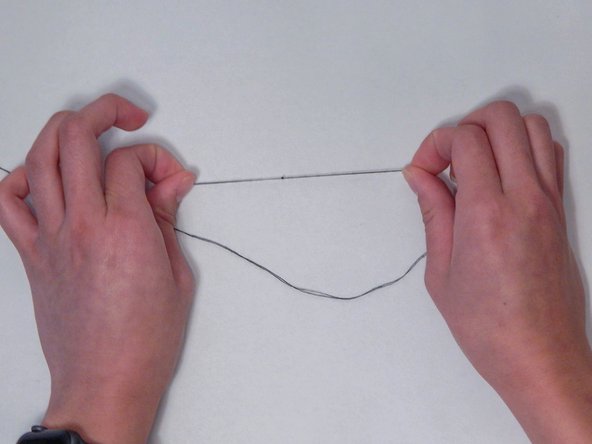
Gather thread that is 3 to 4 times the length of the part that needs to be sewn. Measure 18 inches of thread and double it.
-
Cut the thread to match the length of the ruler.
-
-
-
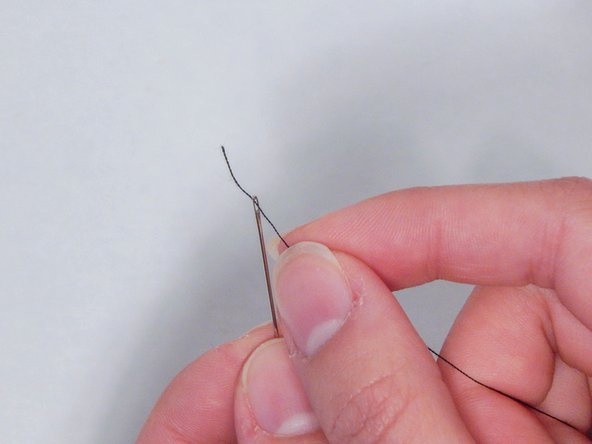
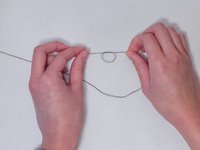
Loop one end of the thread through needle.
-
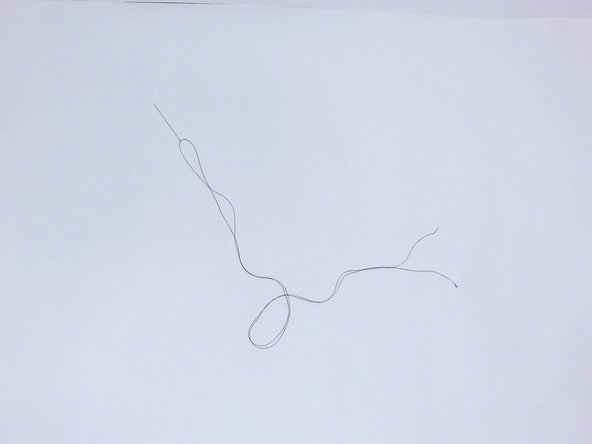
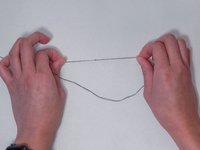
Move the needle to the middle of the thread to have even amounts of thread on each side.
-
-
-
-
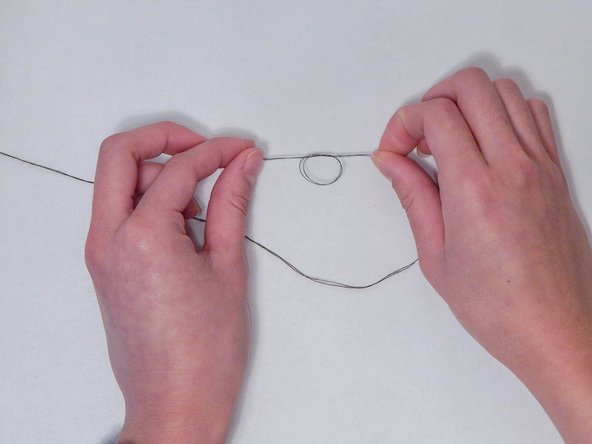
Tie knot at the end of string and repeat 3x. Try to place all knots in the same place.
-
-
-
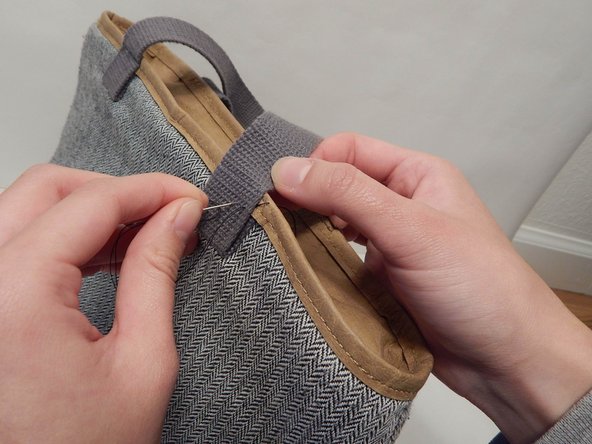
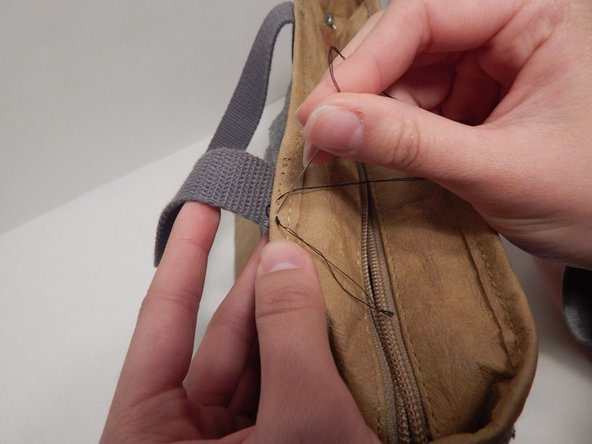
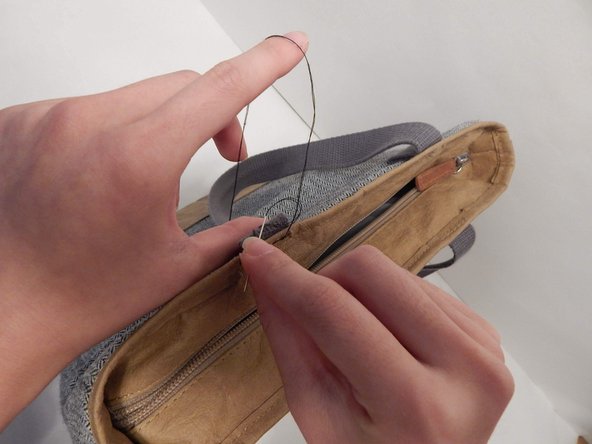
Thread the needle through the lunchbox and handle. Pull all the way through, until the knot stops. Start on the inside, so the knot is not visible at the end. Stick the needle the opposite direction, about a ¼” away from the first stitch. Leave room between your first and second stitch.
-
-
-
Thread the needle back through the lunchbox and handle in the space between your first and second stitch.
-
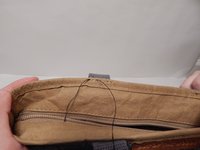
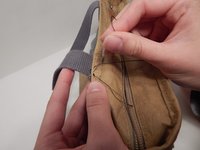
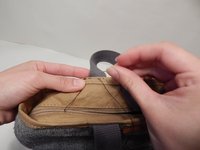
Continue to stitch every other space, until you have sewed the handle back in place.
-
-
-
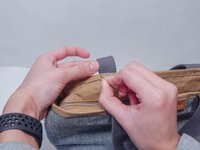
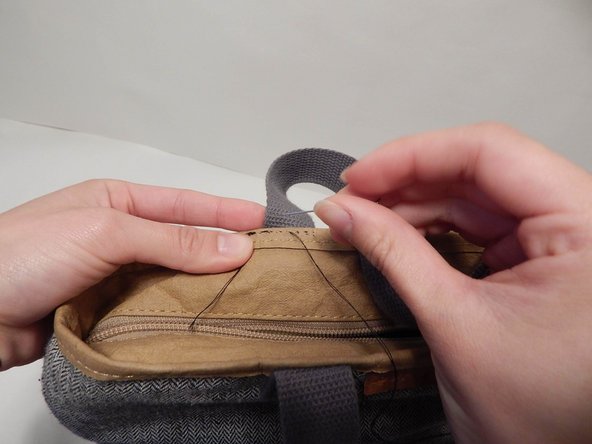
To end the last stitch, thread the needle between the lunchbox and thread of your last stitch. Rather than pulling the thread completely through, thread the needle back through the excess thread to make a knot.
-
You can continue looping the needle about the thread to make the knot extra secure.
-
-
-
Trim the excess thread as short as possible to make the stitches look clean and to avoid snagging. Your bag should now be good as new!
-
-





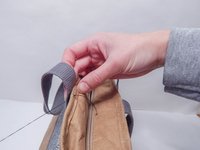
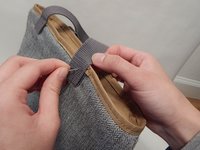


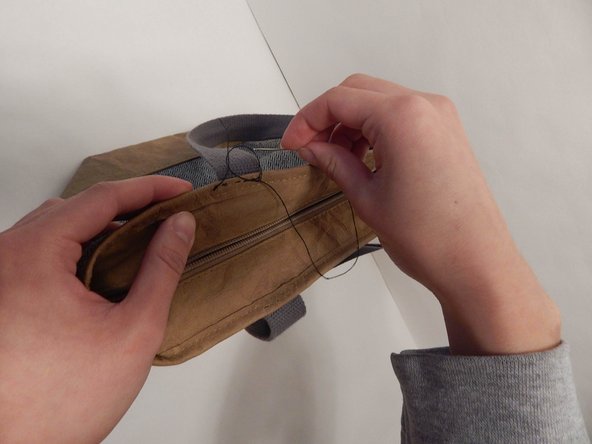
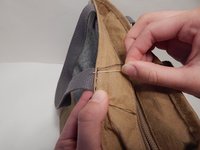
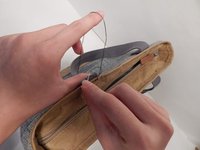
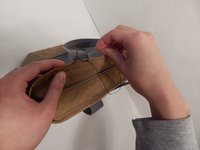

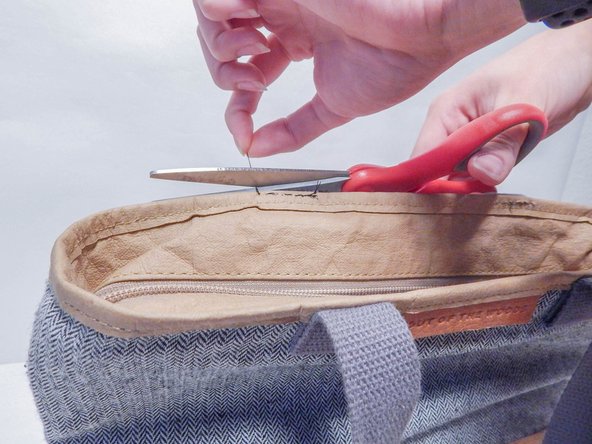
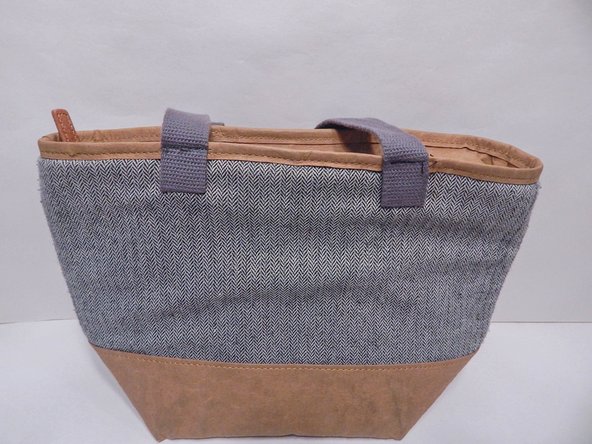
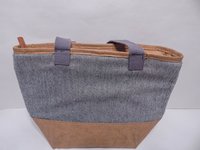
Now your lunch bag should be good as new. There's no reason to throw a perfectly good lunch bag away when there's such a simple fix. Happy lunching!
Annulation : je n'ai pas terminé ce tutoriel.
Une autre personne a terminé cette réparation.

Équipe

UC Davis, Team S1-G5, Bender Fall 2018 Membre de l'équipe UC Davis, Team S1-G5, Bender Fall 2018
UCD-BENDER-F18S1G5
3 membres
12 tutoriels rédigés
