Introduction
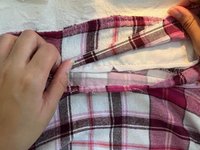
A shirt collar that comes unstitched or has soiled fabric might lead you to think that it’s no longer usable. However, this is a simple repair, and fixing and reusing clothing reduces textile waste, and consequently, the negative environmental impact it causes. Not to mention, it saves you money!
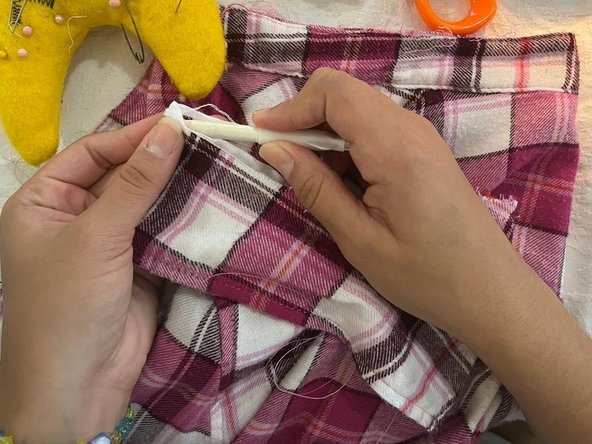
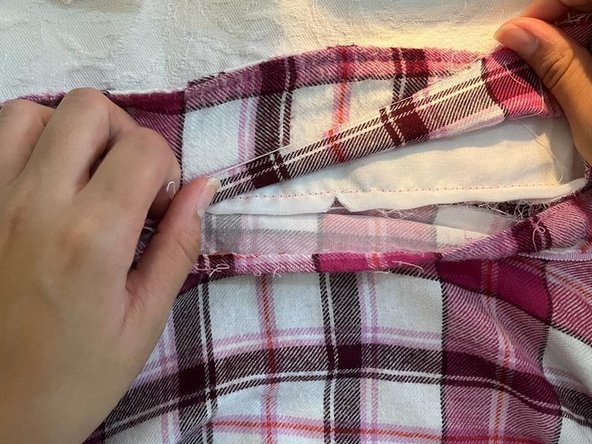
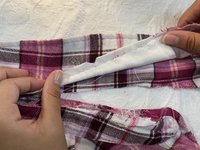
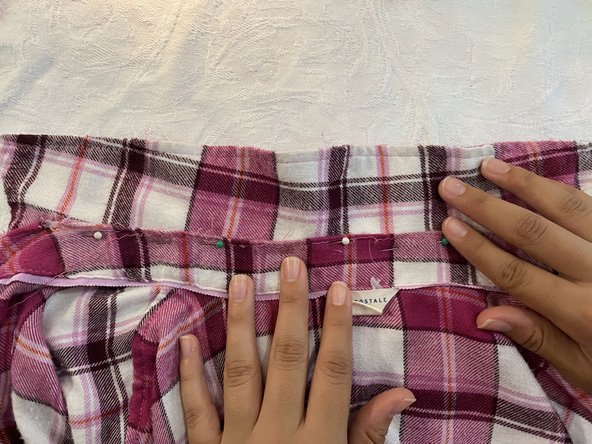
If your shirt's collar is unstitched or stained, this guide will help you fix it in about 20 minutes. Knowledge of using a sewing machine is required to perform a satisfactory fix.
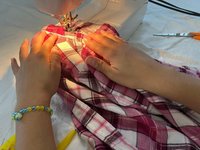
Beware of your fingers while using the sewing machine and seam ripper, as the needle and end of the seam ripper are very sharp and can puncture your skin. When ironing your shirt collar to set the needlework, be careful not to burn your skin. A clothes iron can get very hot.
Ce dont vous avez besoin


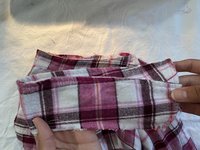


Enjoy your like-new collar!

Équipe

University of Puerto Rico Mayagüez, Team 3-12, Cools Stephens Spring 2022 Membre de l'équipe University of Puerto Rico Mayagüez, Team 3-12, Cools Stephens Spring 2022
UPRM-COOLS STEPHENS-S22S3G12
1 membre
1 tutoriel rédigé
1 commentaire de tutoriel
It used to be the case when you bought a shirt that it would come with a spare collar and cuff. When the collar started to fray you could take it to your local tailor and they would change the collar for you. While no longer included when you buy a shirt you can repair a shirt collar yourself or if you can't sew there are services like collarreplacement.com that will do this for you.