Introduction
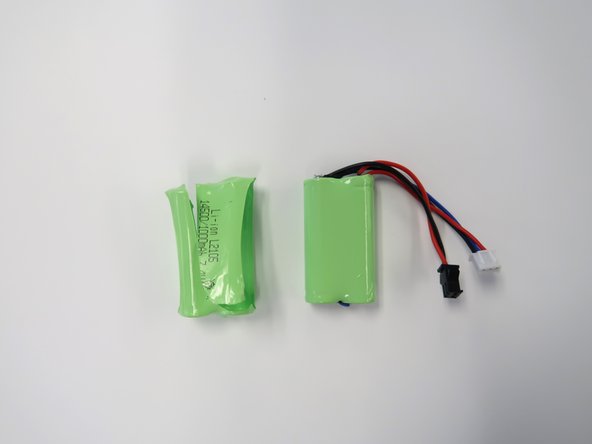
Rechargeable battery packs are common components in electric gel blasters and are necessary for the toy to work. Vibration through usage or faulty soldering can damage the functionality of these battery packs. If you need to reattach the wires to the existing battery of your Anstoy Electric AKM-47 Gel Blaster, follow this step-by-step guide.
To re-solder a battery pack in an AKM-47 Gel Blaster you will need a soldering iron. The soldering iron will get hot during use, so proceed with caution.
If there is any confusion on how to solder, please refer to the link below:
How to Solder and Desolder Connections
Additionally, If you need to replace the battery pack of your Anstoy Electric AKM-47 Gel Blaster because the battery has come to the end of its lifecycle, follow this guide to Step 3.
Ce dont vous avez besoin
-
-
Set your gel blaster flat on a table.
-
Push the battery compartment release tab upwards.
-
Lift the battery cover and remove it.
-
-
-
-
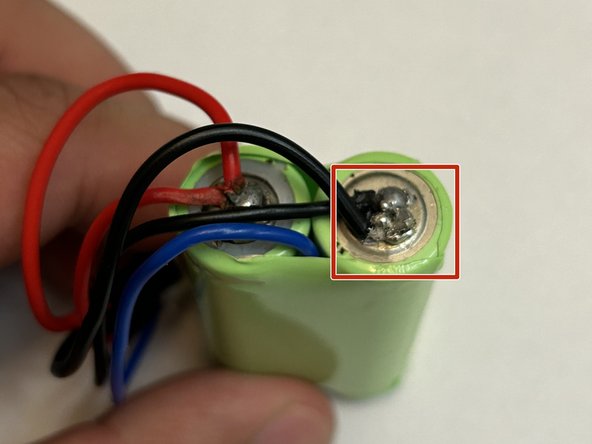
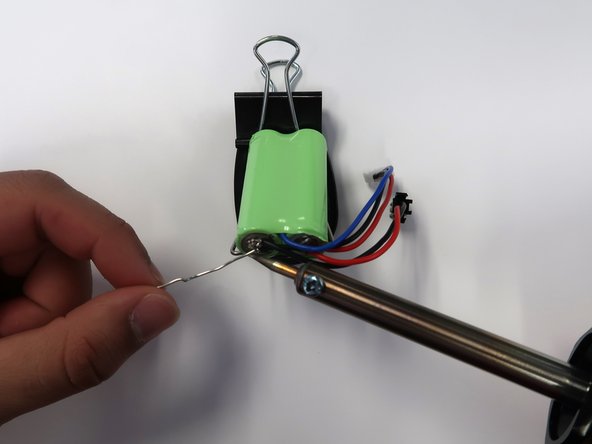
Using the soldering iron and the lead-free solder, re-solder the wire to the battery to ensure a stable connection.
-
If there is any confusion on how to solder, please refer to the link below: How To Solder and Desolder Connections
-


To reassemble your device, follow these instructions in reverse order.
To reassemble your device, follow these instructions in reverse order.
Équipe

University of Memphis, Team 3-3, Sneed Spring 2024 Membre de l'équipe University of Memphis, Team 3-3, Sneed Spring 2024
UM-SNEED-S24S3G3
4 membres
8 tutoriels rédigés