Aller au contenu principal

How to Repair an Apple Lightning Cable

Ce dont vous avez besoin

  1. How to Repair an Apple Lightning Cable, How to Repair an Apple Lightning Cable: étape 1, image 1 de 3 How to Repair an Apple Lightning Cable, How to Repair an Apple Lightning Cable: étape 1, image 2 de 3 How to Repair an Apple Lightning Cable, How to Repair an Apple Lightning Cable: étape 1, image 3 de 3
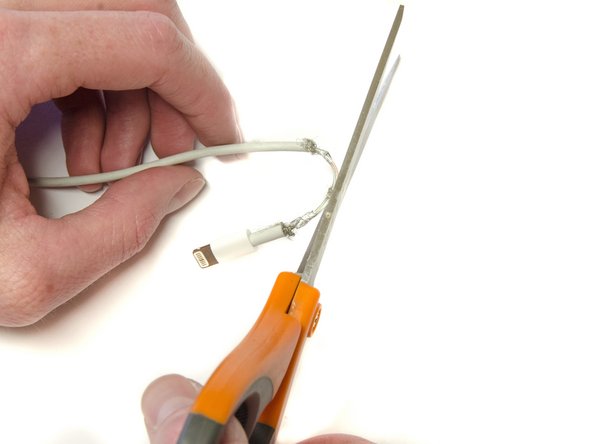
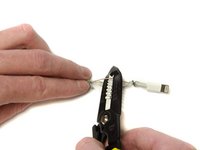
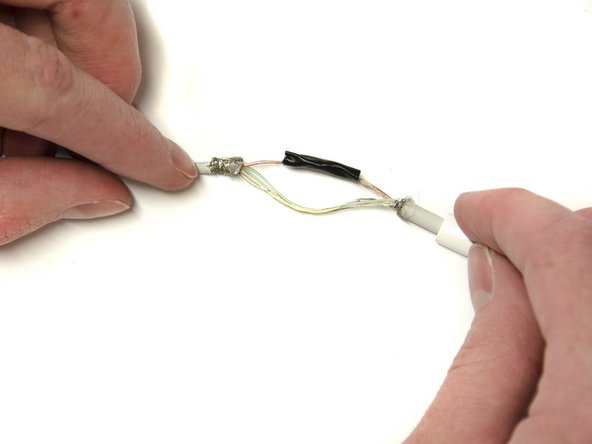
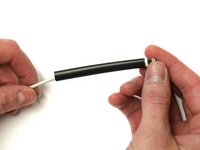
    • Locate the damaged area of your lightning cable.

    • Damage may differ from user-to-user.

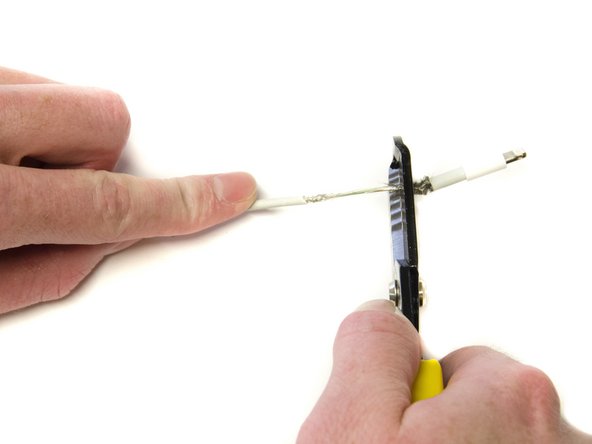
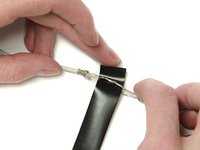
    • Use the 1.6 mm gauge on the wire strippers to strip a small portion of the outer jacket.

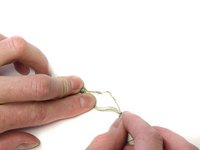
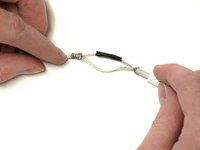
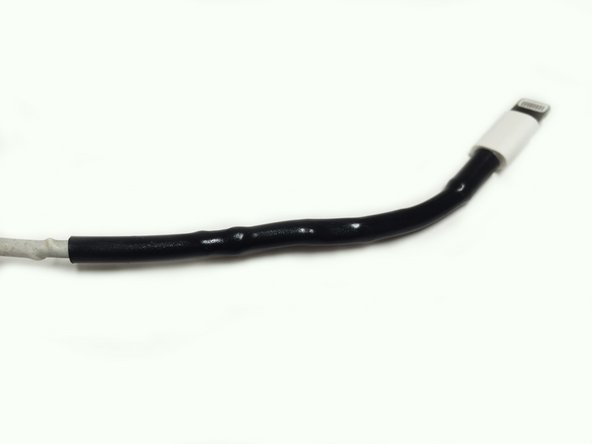
    • Peel the outer jacket from both sides of the damaged area, exposing the underlying metal jacket.

  2. How to Repair an Apple Lightning Cable: étape 2, image 1 de 3 How to Repair an Apple Lightning Cable: étape 2, image 2 de 3 How to Repair an Apple Lightning Cable: étape 2, image 3 de 3
    • Carefully strip the metal jacket away from the underlying wires using the 1.0 mm gauge.

    • Use the scissors to cut the metal jacket off the cable.

    • Do not cut through the wires.

  3. How to Repair an Apple Lightning Cable: étape 3, image 1 de 2 How to Repair an Apple Lightning Cable: étape 3, image 2 de 2
    • Separate and examine the three main wires for any damage. Red (Power), White (Data), and Green (Data).

    • Separate the damaged wire from the other wires.

  4. How to Repair an Apple Lightning Cable: étape 4, image 1 de 2 How to Repair an Apple Lightning Cable: étape 4, image 2 de 2
    • Strip the wire around the damaged area using the 0.6 mm gauge and expose the copper wires underneath.

  5. How to Repair an Apple Lightning Cable: étape 5, image 1 de 2 How to Repair an Apple Lightning Cable: étape 5, image 2 de 2
    • Solder the exposed wires together, ensuring contact throughout the damaged area using the soldering iron.

    • Repeat for any other damaged wires.

    • Soldering guns reach very high temperatures. Inappropriate use may result in injuries.

    • To learn how to solder, follow the link on Comment souder et dessouder des connexions.

  6. How to Repair an Apple Lightning Cable: étape 6, image 1 de 2 How to Repair an Apple Lightning Cable: étape 6, image 2 de 2
    • Wrap the soldered part of the wire in a thin layer of electrical tape to insulate it from the other wires.

    • Repeat for all soldered wires.

  7. How to Repair an Apple Lightning Cable: étape 7, image 1 de 2 How to Repair an Apple Lightning Cable: étape 7, image 2 de 2
    • Slide the shrink tubing over the exposed wires to cover the bare wires on both ends.

  8. How to Repair an Apple Lightning Cable: étape 8, image 1 de 2 How to Repair an Apple Lightning Cable: étape 8, image 2 de 2
    • Use the lighter to shrink the tubing around the lightning cable.

    • Straighten out the cable as you apply heat to the heat shrink tubing.

Conclusion

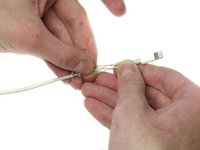
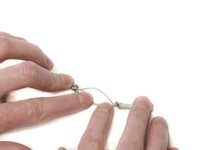
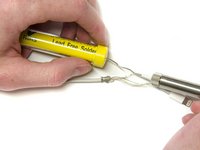
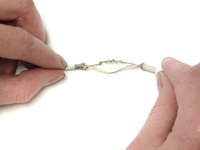
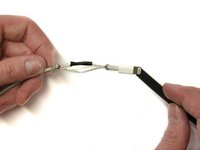
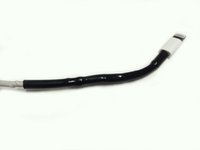
Repeat for any other damaged areas on lightning cable.

Redacted

Membre depuis le 02/23/16

166 Réputation

1 tutoriel rédigé

0 commentaires de tutoriel

Ajouter un commentaire

Nombre de vues :

Dernières 24 heures : 2

7 derniers jours : 10

30 derniers jours : 67

Total : 806